
From the makers of Verdun and Tannenberg …
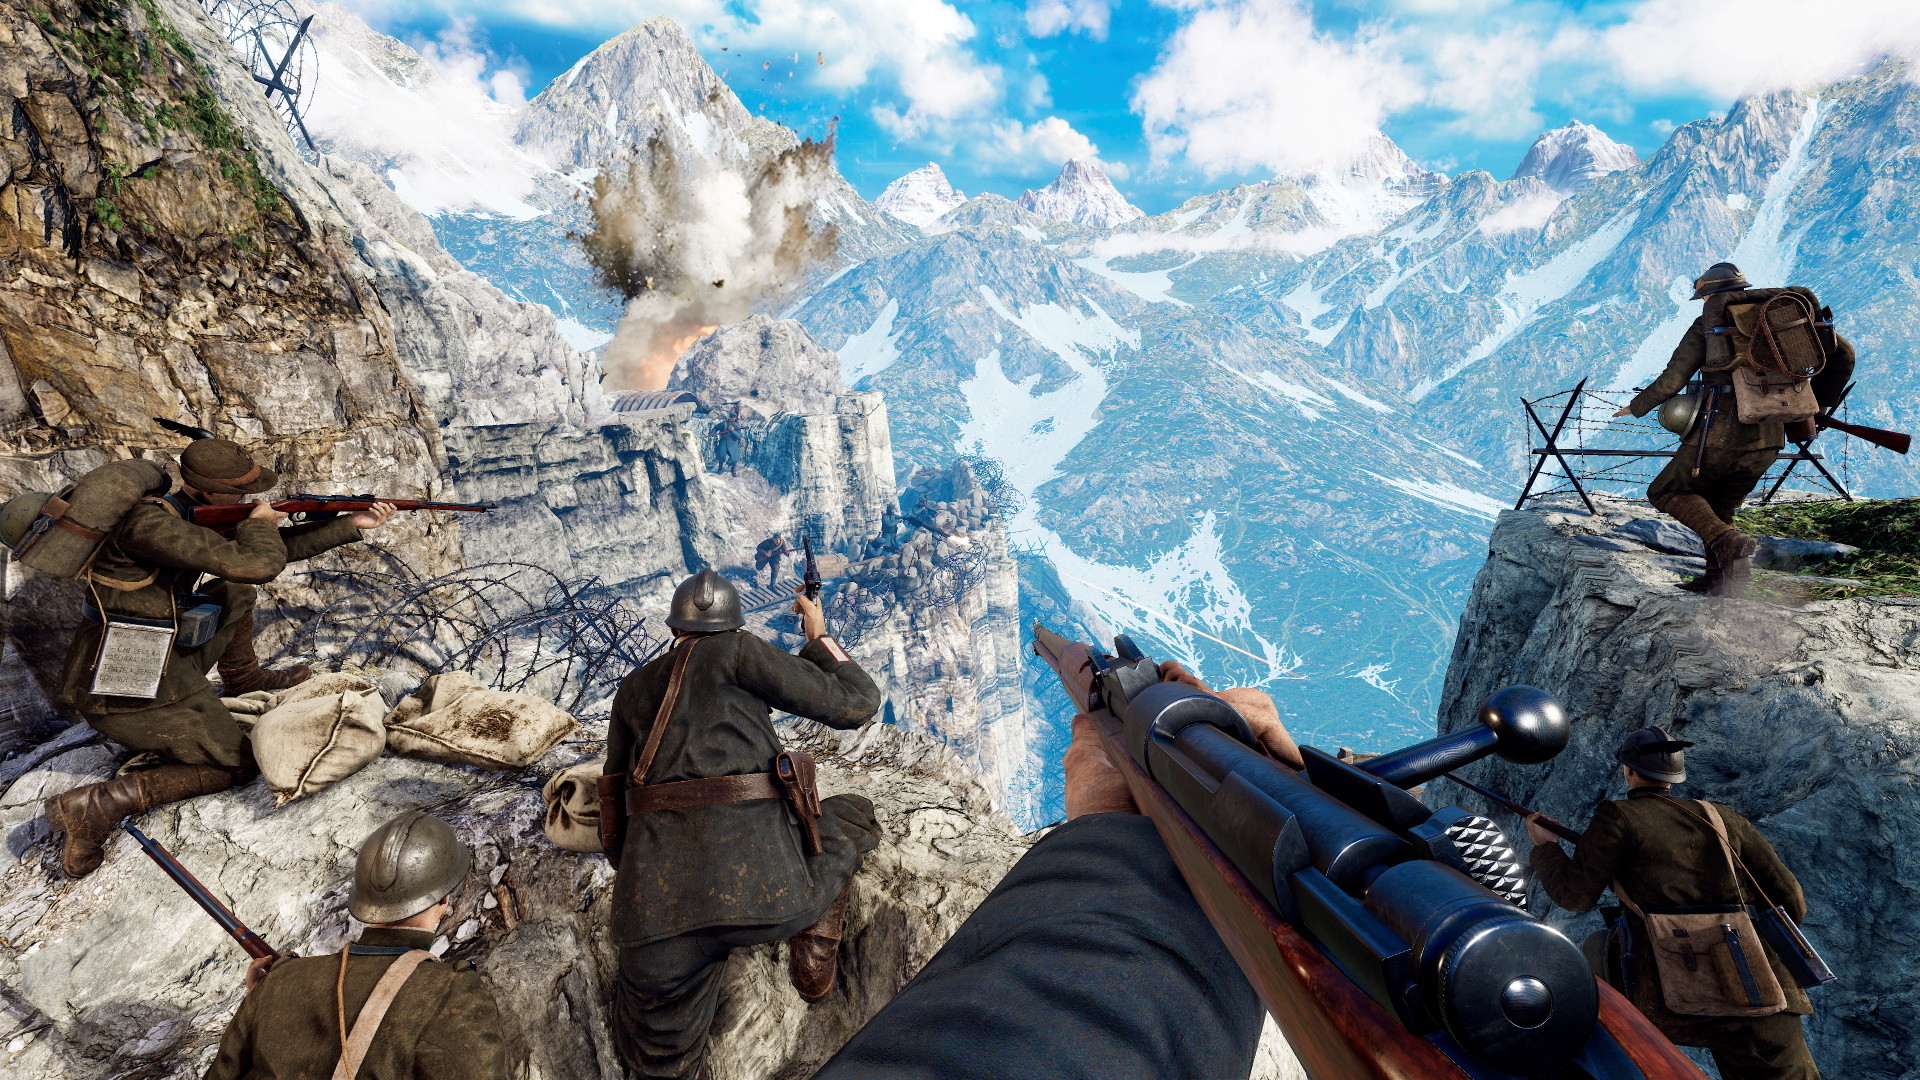
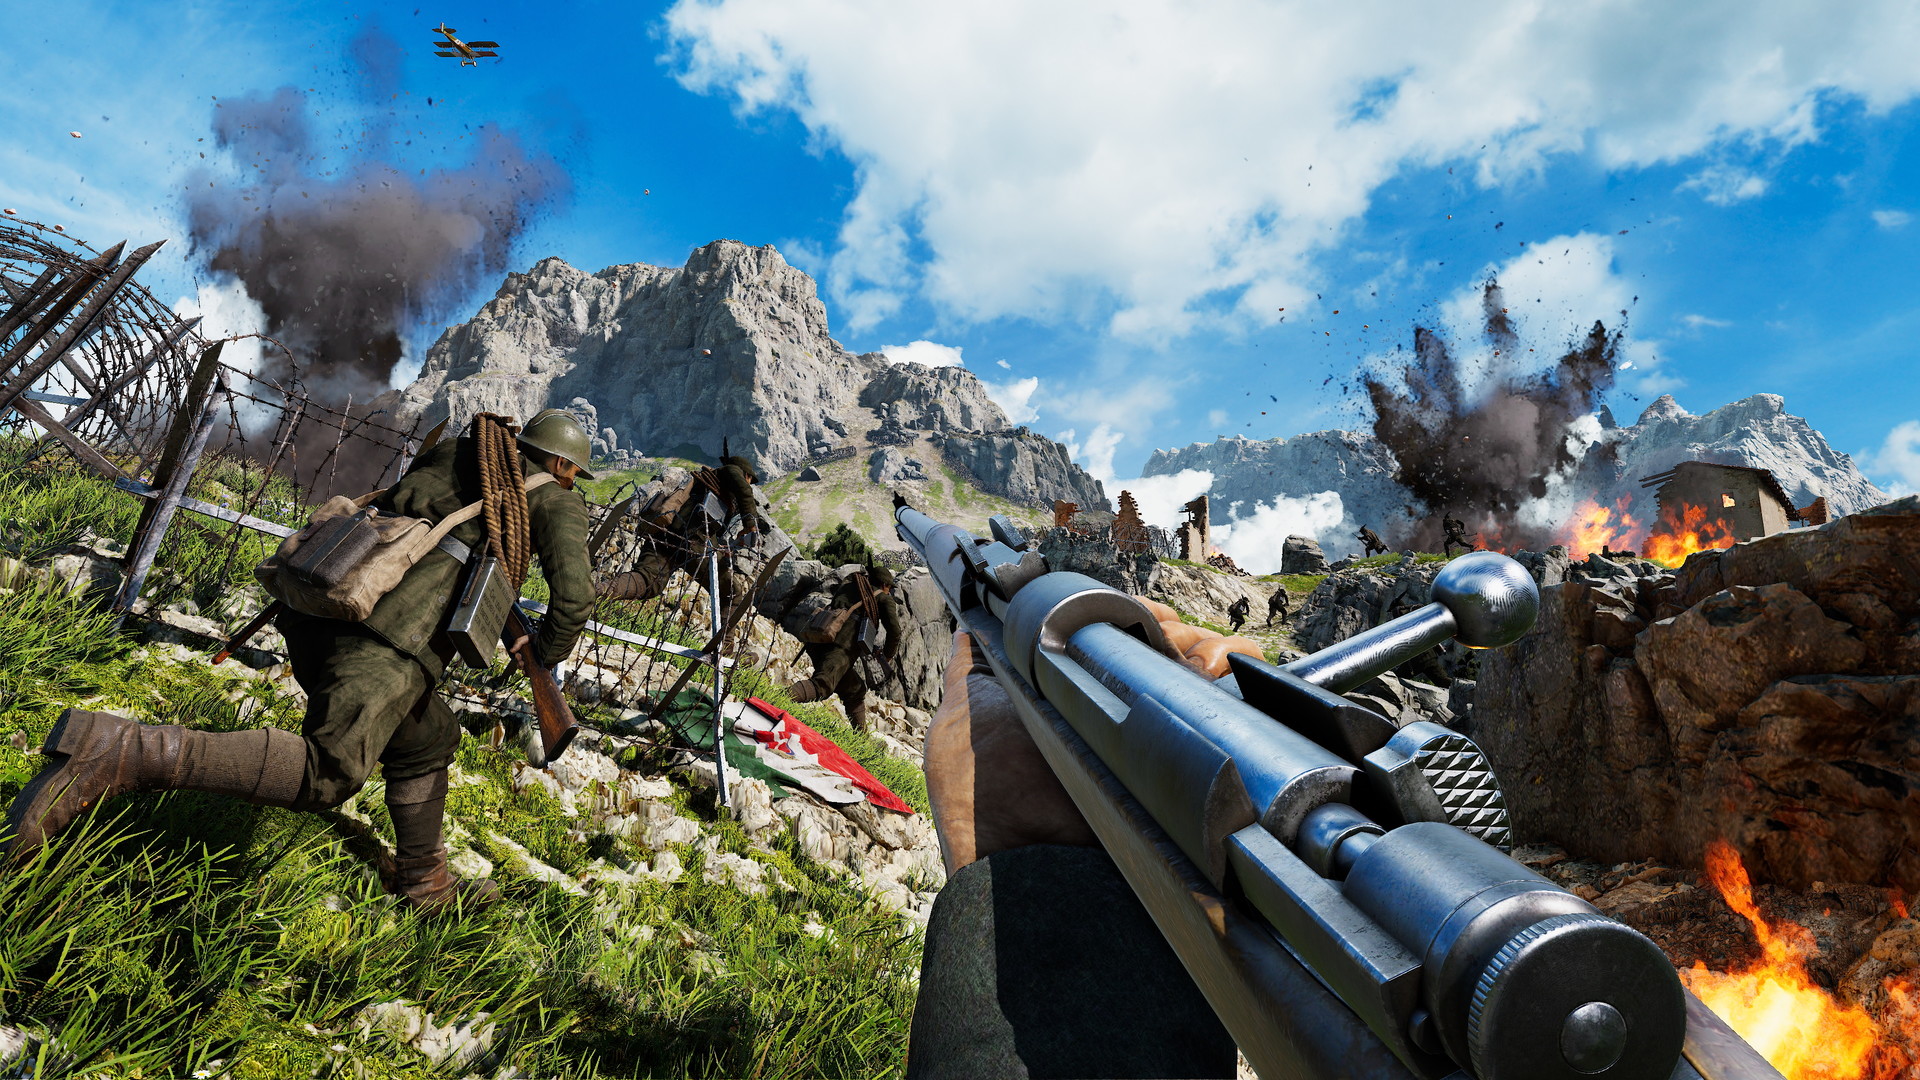
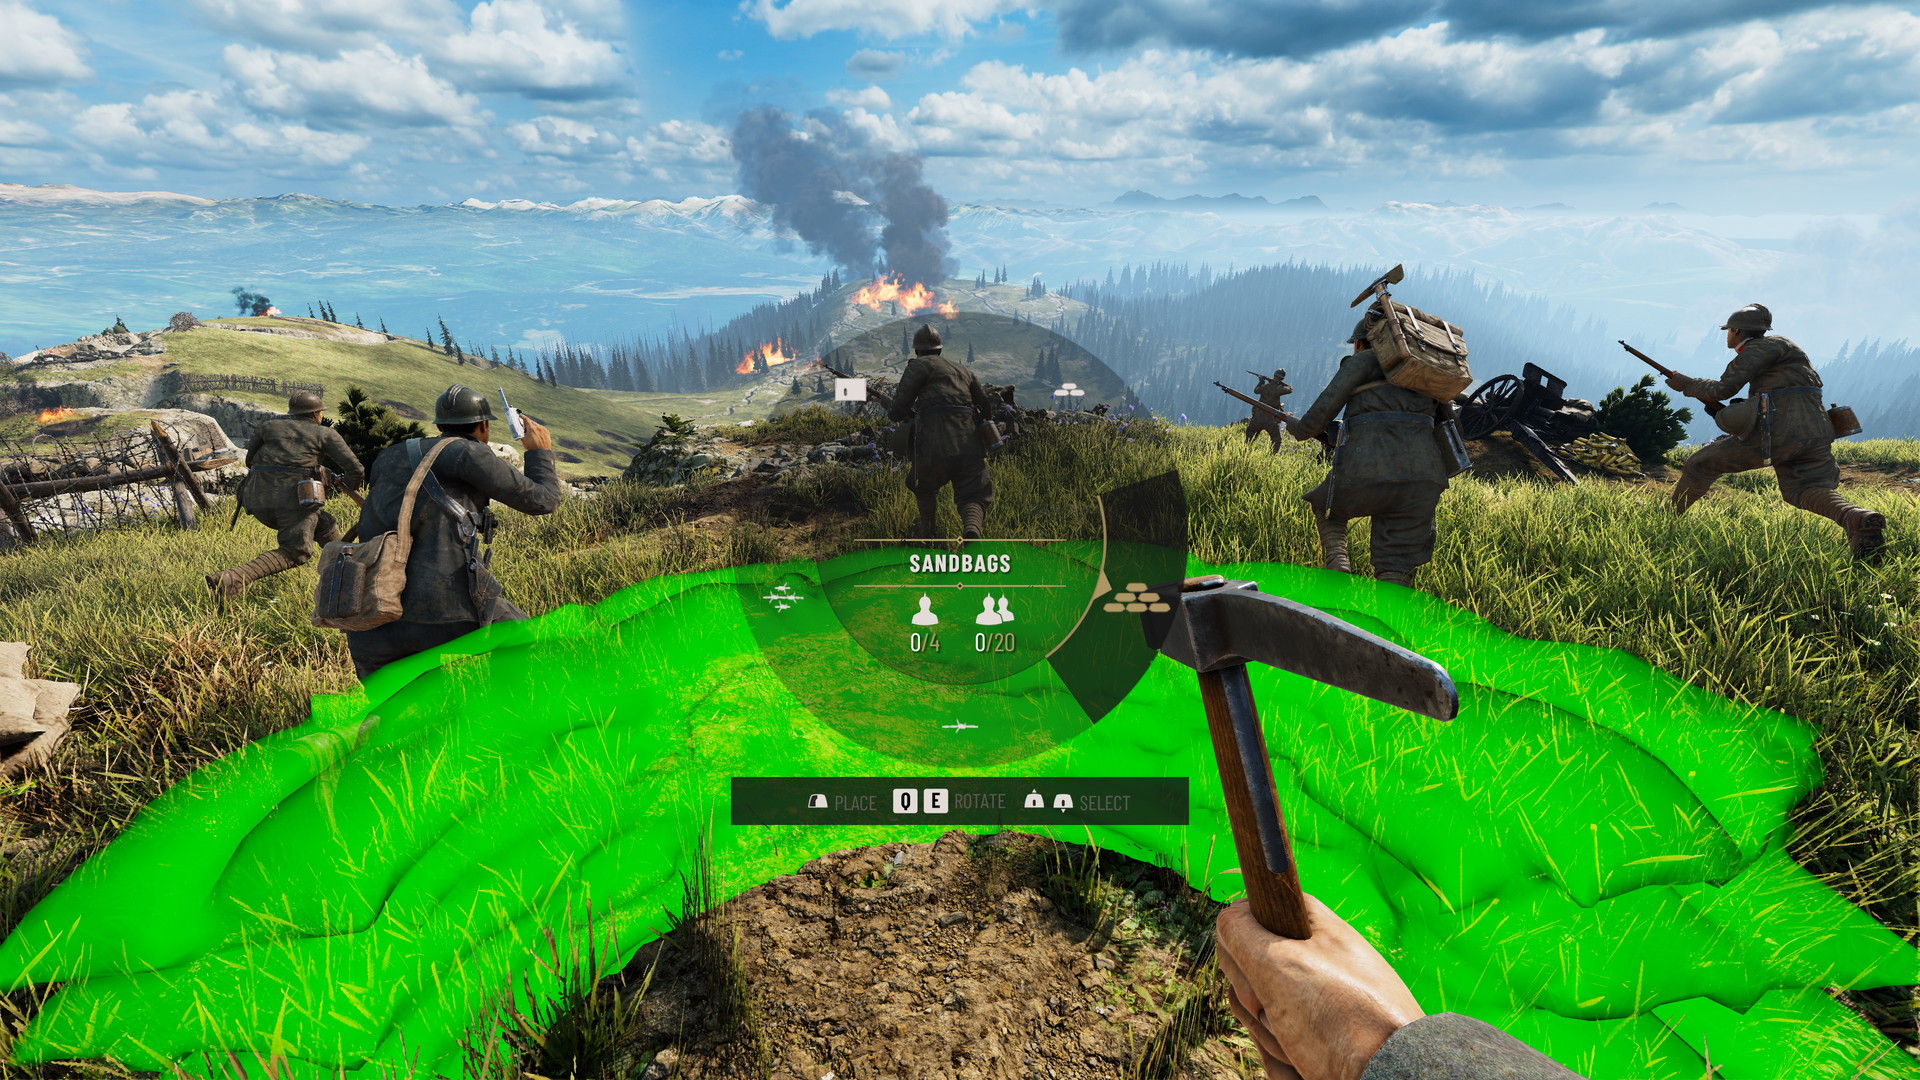
The new Offensive game mode puts you right in the middle of key historical offensives on the Italian Front. Lead the charge across stunning Italian landscapes as you choose your path to victory - cut paths through barbed wire, flank your enemies by following mountain trails, or man a mortar to blast a way through. Shape a dynamic battlefield by laying sandbags and wire, placing ammo crates, deploying trench periscopes or sniper shields, and more.

Take part in historical offensives from the Sixth Battle of the Isonzo to the Strafexpedition. Reflecting the course of the actual battles, as the attackers advance the fighting will shift through vastly different landscapes within a single offensive: from hillside fortresses to mountain trenches and fierce urban combat on city streets. Everything is recreated based on research and field trips, from sound effects and uniforms down to the houses, vineyards and trenches you’ll be fighting over.

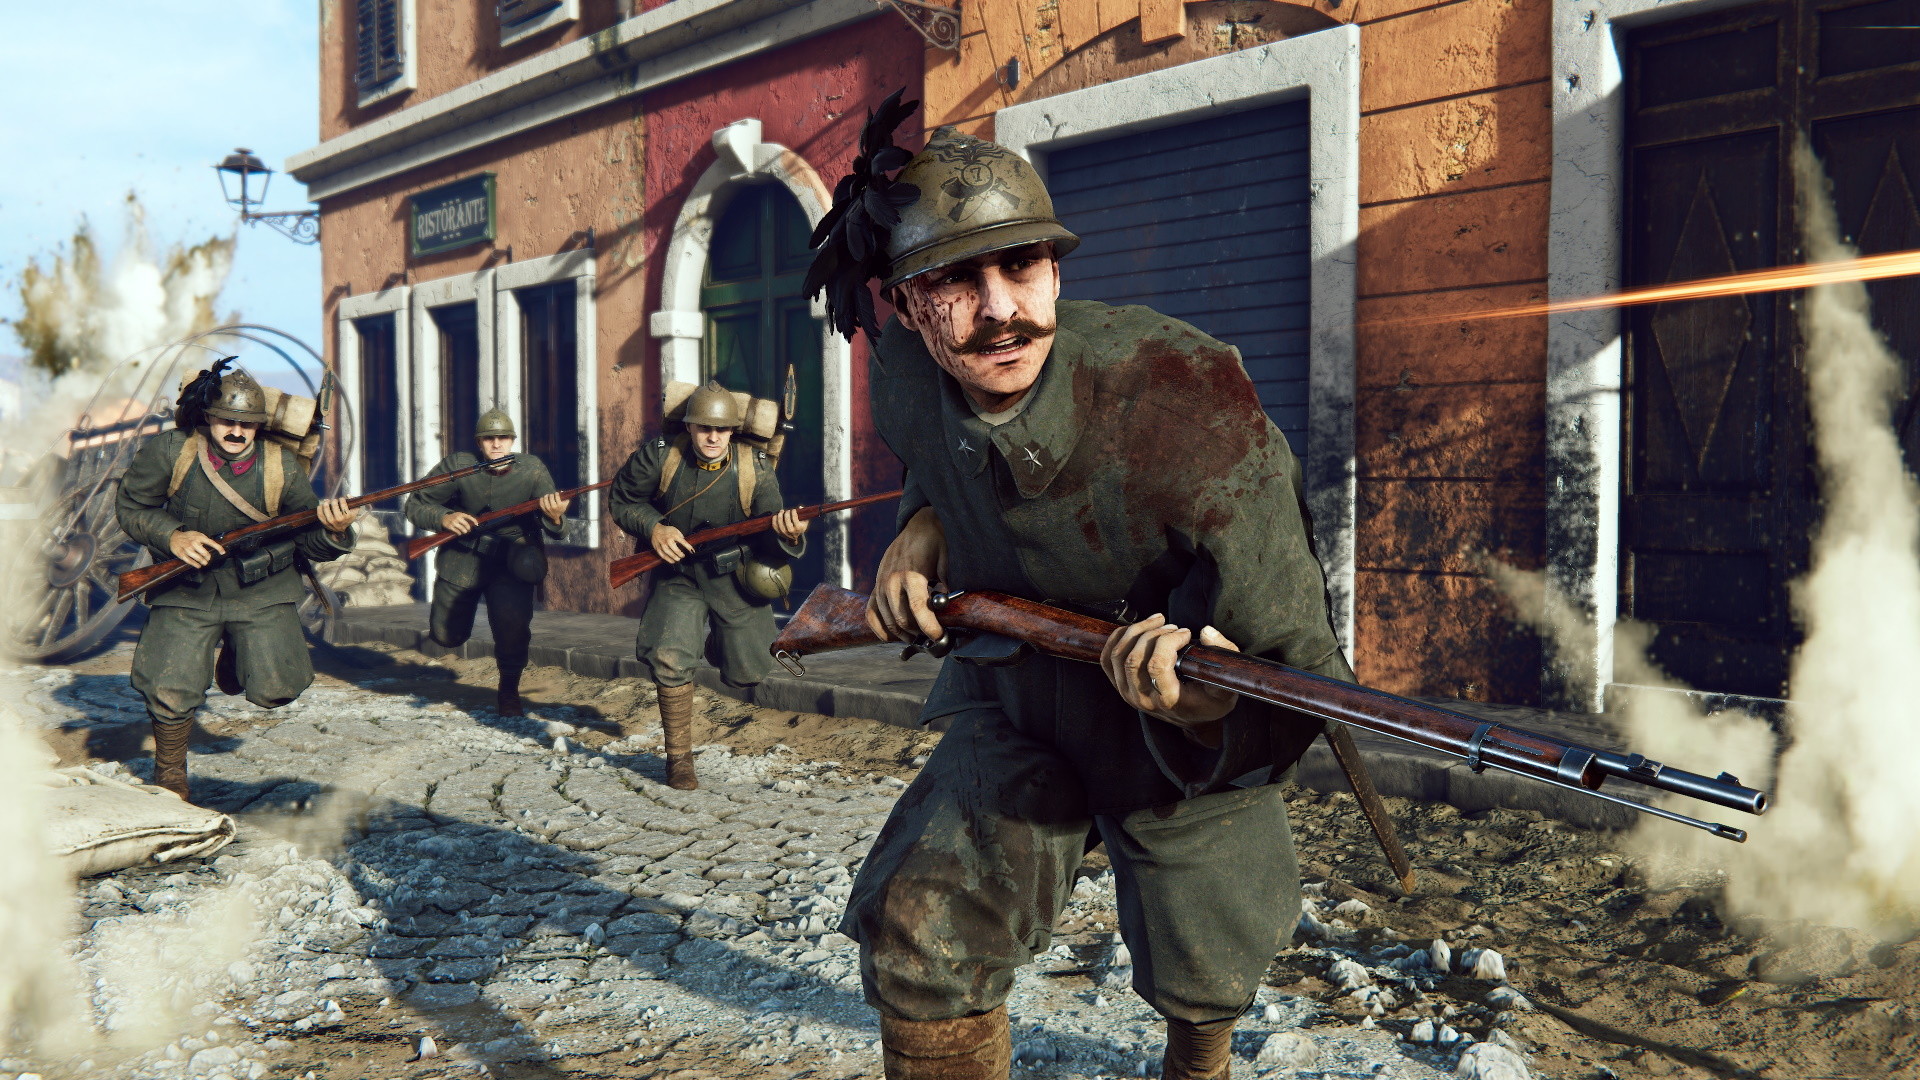
Call in support with a unique historically accurate flare system: flare guns can mark targets for artillery or biplane flybys, or different colored flares can be used to guide your team. Once the big guns have softened up the enemy, finish the job at close quarters with an Arditi dagger or mountaineer’s pickaxe. Man heavy machine guns, mortars and even mountain guns for more direct fire support.
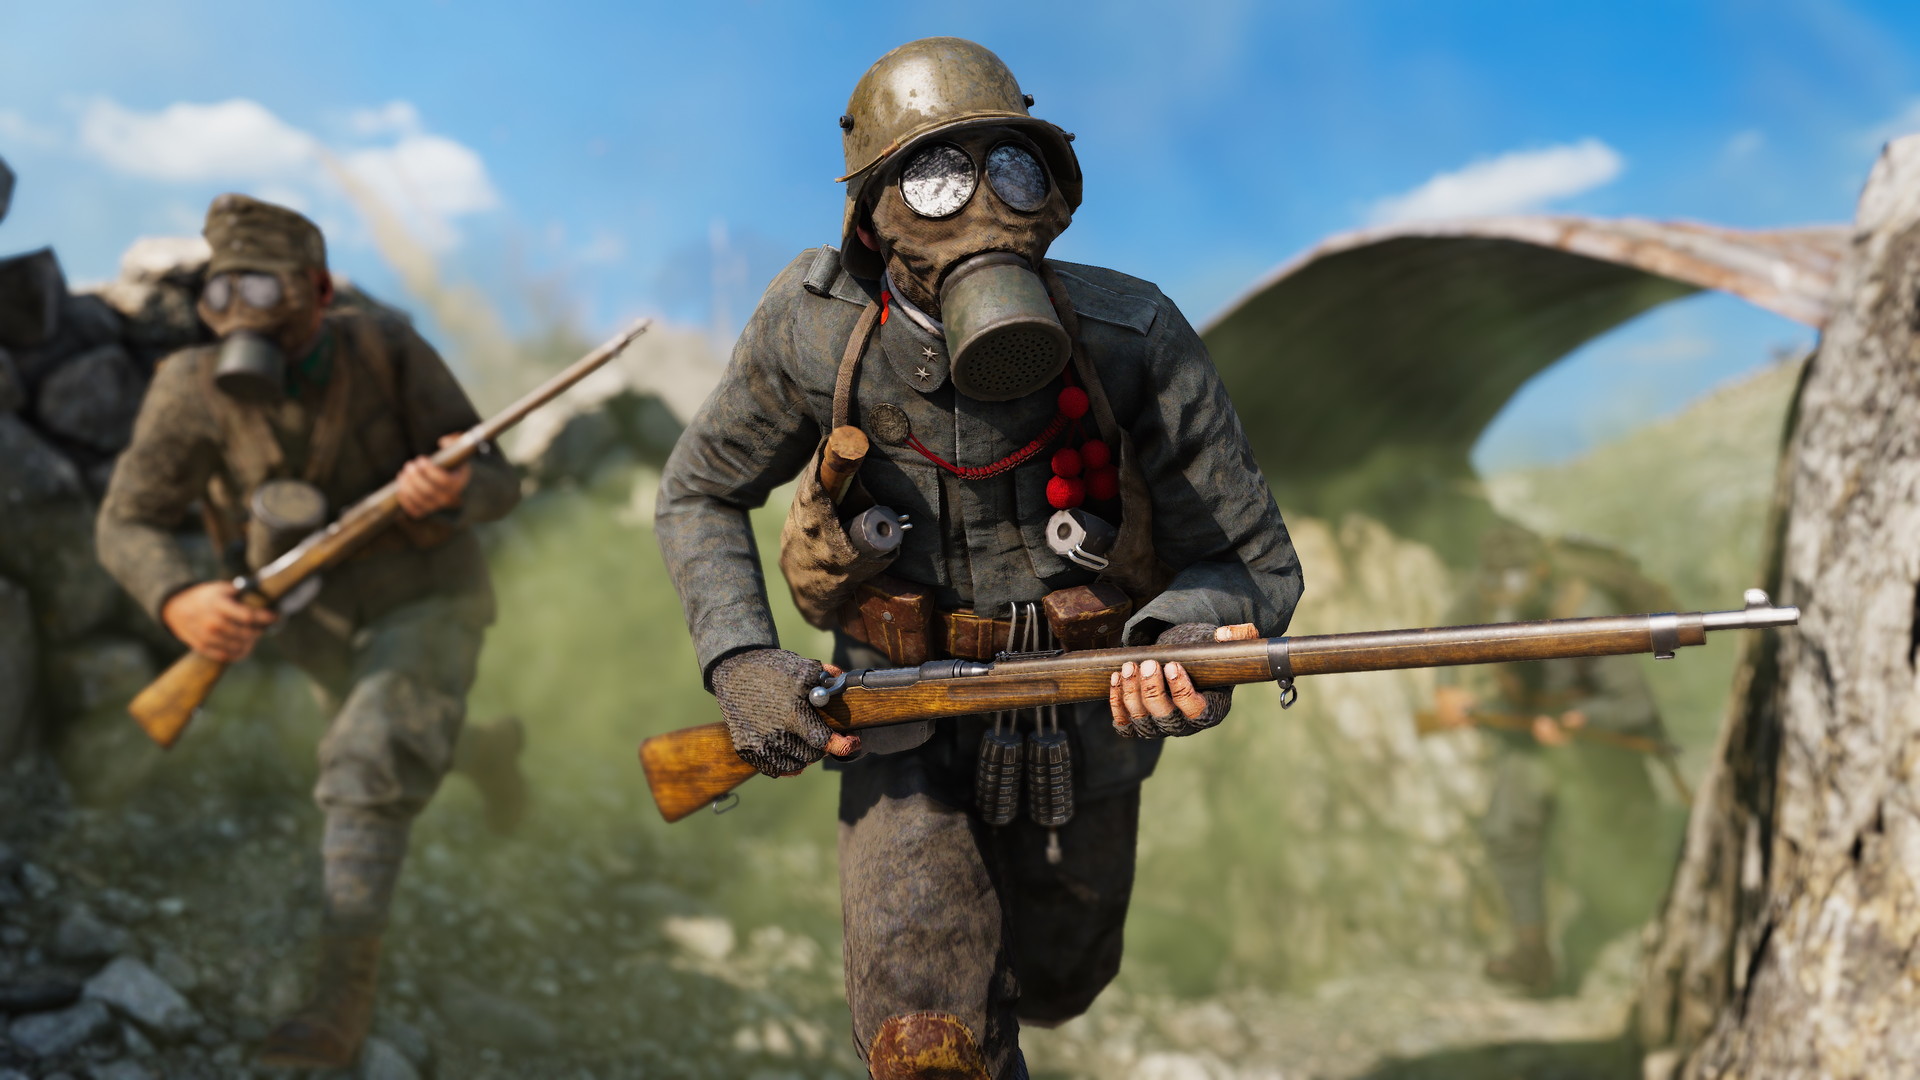
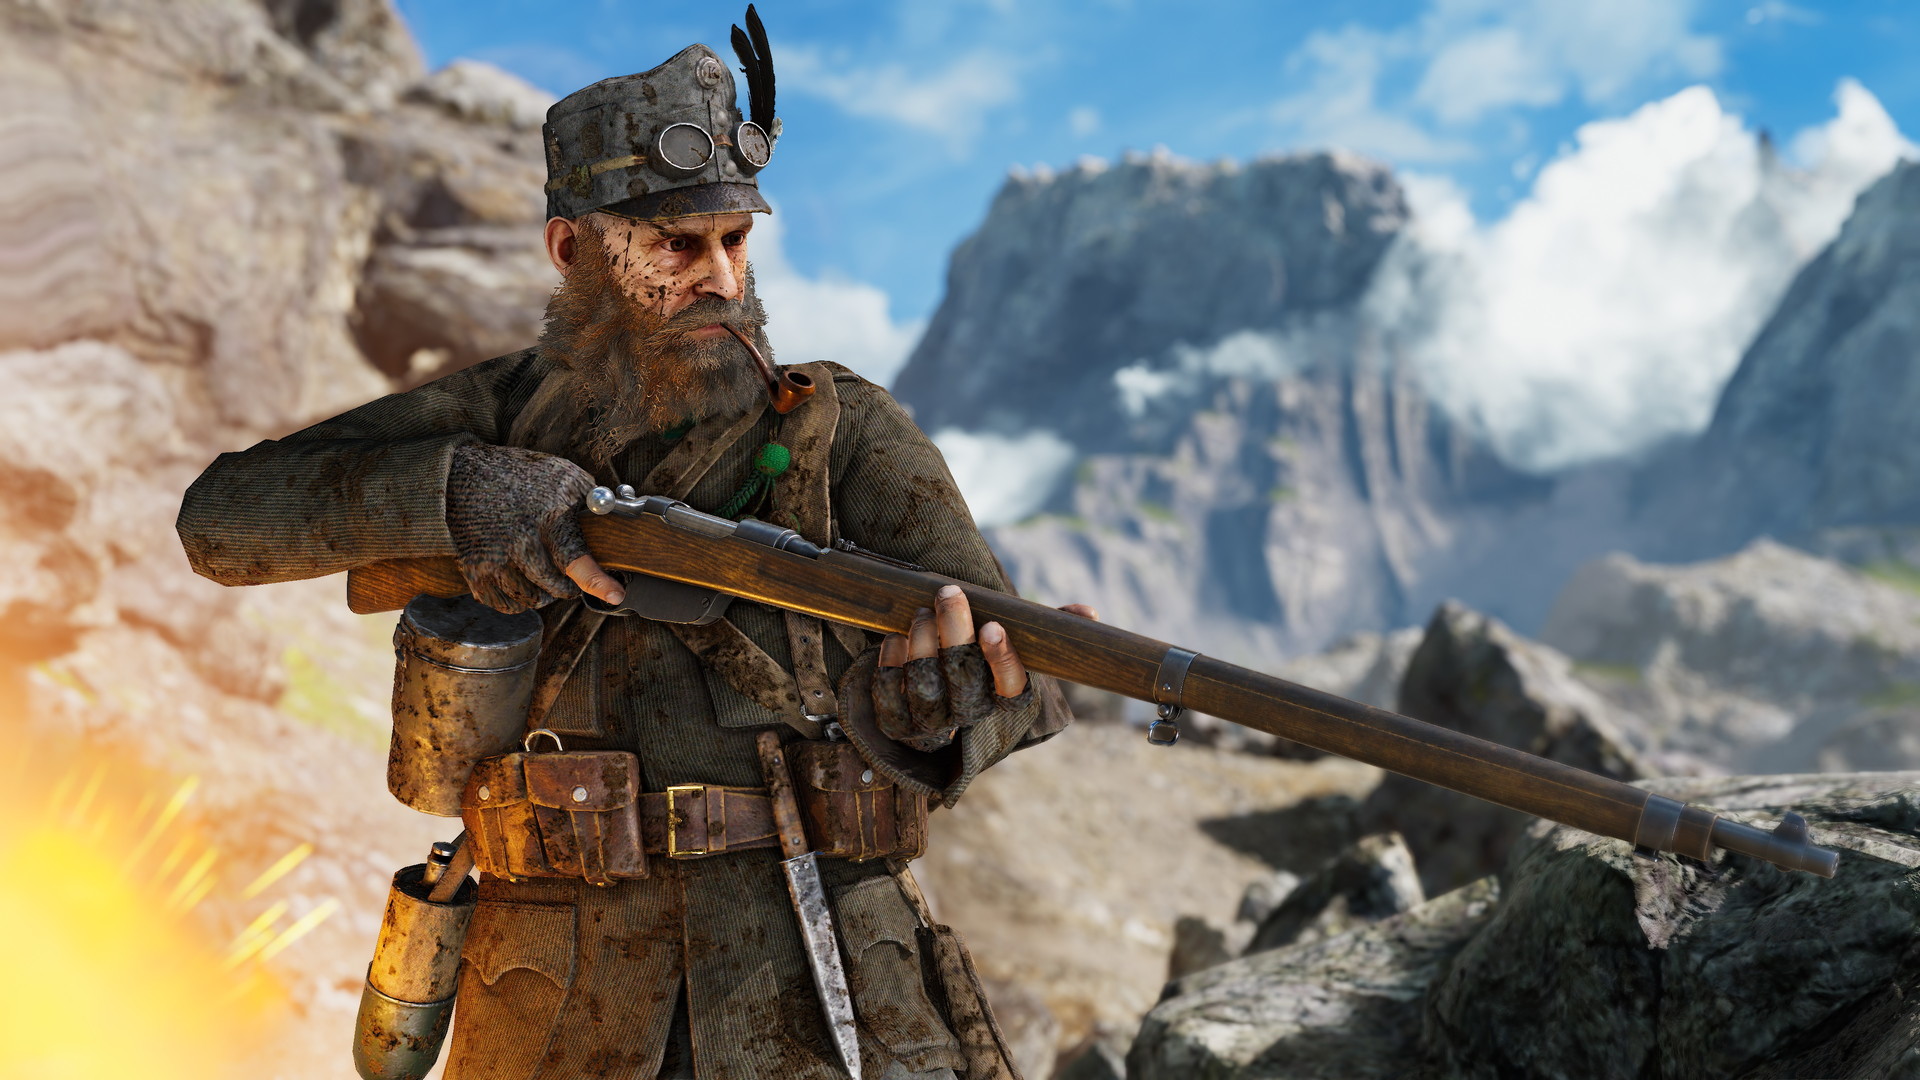
Choose from six classes based on historical combat roles and build your loadout from a selection of weapons, equipment and perks linked to that class, giving flexibility and variety while staying grounded in what real soldiers might have carried. You’ll be operating wire cutters, bandaging yourself and wounded teammates, and blowing the whistle to start an assault. One shot can kill and even lighter injuries can lead to quickly bleeding out.
Being an effective soldier in Isonzo is not just about being a good marksman. Mastering the terrain is also key - the mountain can be a friend or foe. Learn how to navigate well to maintain cover and surprise your enemies or support your allies.
Finally… watch out for the dreaded poison gas. You’ve never experienced WW1 action quite like this!
Isonzo key features include:
- Mountain warfare: Assaulting mountain fortifications, battling through ruined towns, and fording rivers are just a few of the challenges you’ll face as you fight your way through numerous enemy positions
- Tactical multiplayer FPS: Choose your role and loadout carefully to survive this high altitude combat - play a sniper to pick off the enemy engineers before they can cut your wire, use rifle grenades to clear enemy machine guns, and much more
- World War One Gameplay: Historical Offensive game mode based on real battles and focused on the unique challenges of Alpine warfare. Fight with 30+ WW1 weapons, poisonous gas attacks, and intense artillery barrages
- Build for victory: Place your own wire, sandbags, trench periscopes, and more! Whether you’re digging in or on the attack, shaping the battlefield to your advantage will be key to victory
- Faces of war: Make every class your own by picking from a variety of historically class-appropriate uniforms, accessories and headgear. As a finishing touch, you can even pick your mustache from several famous period-accurate styles!
- Authentic WW1 atmosphere: Accuracy in everything from maps and weaponry to music and the uniforms – fight for the Kingdom of Italy or the Austro-Hungarian Dual Monarchy
More Games in the Authentic WW1 Game Series
Immerse yourself in more WW1 action with our other standalone titles Tannenberg and Verdun. Experience trench warfare on the Western Front in Verdun, or maneuver for control of key sectors in Tannenberg on the Eastern Front. These authentic WW1 shooters let players choose from a range of squads from across the war, as they fight for control of the ever-changing frontlines.
🎮 Full Controller Support
- K Station Windows Content [17.84 G]
While we already explored the Austro-Hungarian assault at Montello and Nervesa della Battaglia, the Second Battle of the Piave River featured many battles along the river. One of such battles was the battle at Col Moschin where the Austro-Hungarian 11th Army, led by Generaloberst Scheuchenstuel, pushed in the direction of Bassano del Grappa.

Its the late Spring of 1918 when the Austro-Hungarian 10th and 11th Armies moved from the north through the Grappa massif along both sides of the Brenta river. The goal was to breach the Italian defenses at the western and eastern end of the massif. Once through, they could outflank the Italian deployment along the Piave river.
 Italians pulling a field gun up Col Moschin.
In the middle of the night of June 15th, the Austro-Hungarians commenced a heavy bombardment on the Italian defenses on the Grappa massif to follow up with an infantry assault. However, having gathered intelligence on this plan, the Italians bombarded the approaching infantry while they were still moving into position. This proved particularly effective on the eastern side, severely weakening the 11th Army.
 Col Moschin forest, or rather what was left of it.
Early in the morning, the infantry assault commenced. The 10th Army had great successes on the western side, but the weakened state of the 11th Army on the eastern side meant they had a much more difficult time getting through the Italian defenses at Col Moschin.
Introducing: Moschin

Your eyes do not deceive you, Moschin is indeed an upcoming night map! Itll be tougher to spot your enemies in the dark, so be sure to bring other tools to help pinpoint them.
However, just because the sun has gone to get some cigarettes doesnt mean theres no light at all. The sky is clear and the moon does a decent job of illuminating the battlefield, so youll still be able to see where youre going. Also, in case you havent noticed, half the battlefield is on fire. That helps.
Today, well explore the first half of the new map!
Initial approach
While Moschin isnt necessarily mountainous, theres still a fair degree of elevation here. From the attackers perspective, the right side of the map will often be able to overlook the left side and the Austro-Hungarians will have to advance one ridge at a time.

Approaching the first ridge, the attackers will have to get through a line of barbed wire. This is easier said than done, as the Italians will be defending from the trenches right behind it. Theres a patch of fire slightly off to the left, separating the approach until you reach the trenches.

Sector #1
Once through with the trenches secured, its quite a walk towards the first capture points. You can opt for the left side, where theres little fire and you get a good amount of coverage from the trees. This offers a more tactile approach to advancing. Or, if war isnt hell enough for you, use the sea of flames on the right side to cover your advance. Embrace the chaos and let the fire fuel your fury! Disclaimer: fire hurts.
Objective A is a cow farm down the slope, with a couple of buildings and trucks that provide excellent cover for the Italians. The treeline clears around this capture point and the defenders will have a clear shot, so the approach may prove difficult if they know youre coming.

Objective B however, requires the Austro-Hungarians to destroy a cannon thats surrounded by flames. As if theres not enough destruction already, youll have to plant explosives to explode the Italians explosives. Im sure this wont set even more things ablaze.

After a final ridge, the terrain starts to flatten a bit, but well save that for part 2! Spoiler alert: [spoiler]theres more fire[/spoiler].
[hr][/hr]
Follow our socials:
YouTube Discord Reddit X / Twitter Bluesky (New!)Minimum Setup
- OS: Requires a 64-bit processor and operating system
- Processor: Intel Core 2 Quad Q9550Memory: 4 GB RAM
- Memory: 4 GB RAM
- Graphics: NVIDIA GeForce GT 640
- Storage: 20 GB available space
Recommended Setup
- OS: Requires a 64-bit processor and operating system
- Processor: Intel i7-4770Memory: 16 GB RAM
- Graphics: NVIDIA GeForce GTX 1050
- Storage: 20 GB available space
[ 6372 ]
[ 5872 ]
[ 1265 ]
[ 1943 ]
[ 986 ]

Time left:
356100 days, 8 hours, 31 minutes

Time left:
356100 days, 8 hours, 31 minutes

Time left:
4 days, 16 hours, 31 minutes

Time left:
32 days, 16 hours, 31 minutes

Time left:
35 days, 16 hours, 31 minutes

Time left:
36 days, 16 hours, 31 minutes

Time left:
10 days, 2 hours, 31 minutes
Time left:
5 days, 10 hours, 31 minutes
Time left:
11 days, 10 hours, 31 minutes
Time left:
12 days, 10 hours, 31 minutes
Time left:
17 days, 10 hours, 31 minutes
Time left:
19 days, 10 hours, 31 minutes
Time left:
23 days, 10 hours, 31 minutes
Time left:
2 days, 23 hours, 46 minutes

Time left:
7 days, 16 hours, 32 minutes

Time left:
9 days, 15 hours, 32 minutes
Time left:
14 days, 22 hours, 42 minutes


