
The game offers players a choice between allegiance to the Gods of Light and Shadow or the gods of Corruption and Gold!
But be careful!
Decisions made in the game affect your progression by changing the available paths and abilities.
The game's key art creates a unique experience for gamers with no run being the same as others, this duality encourages players to explore both paths.
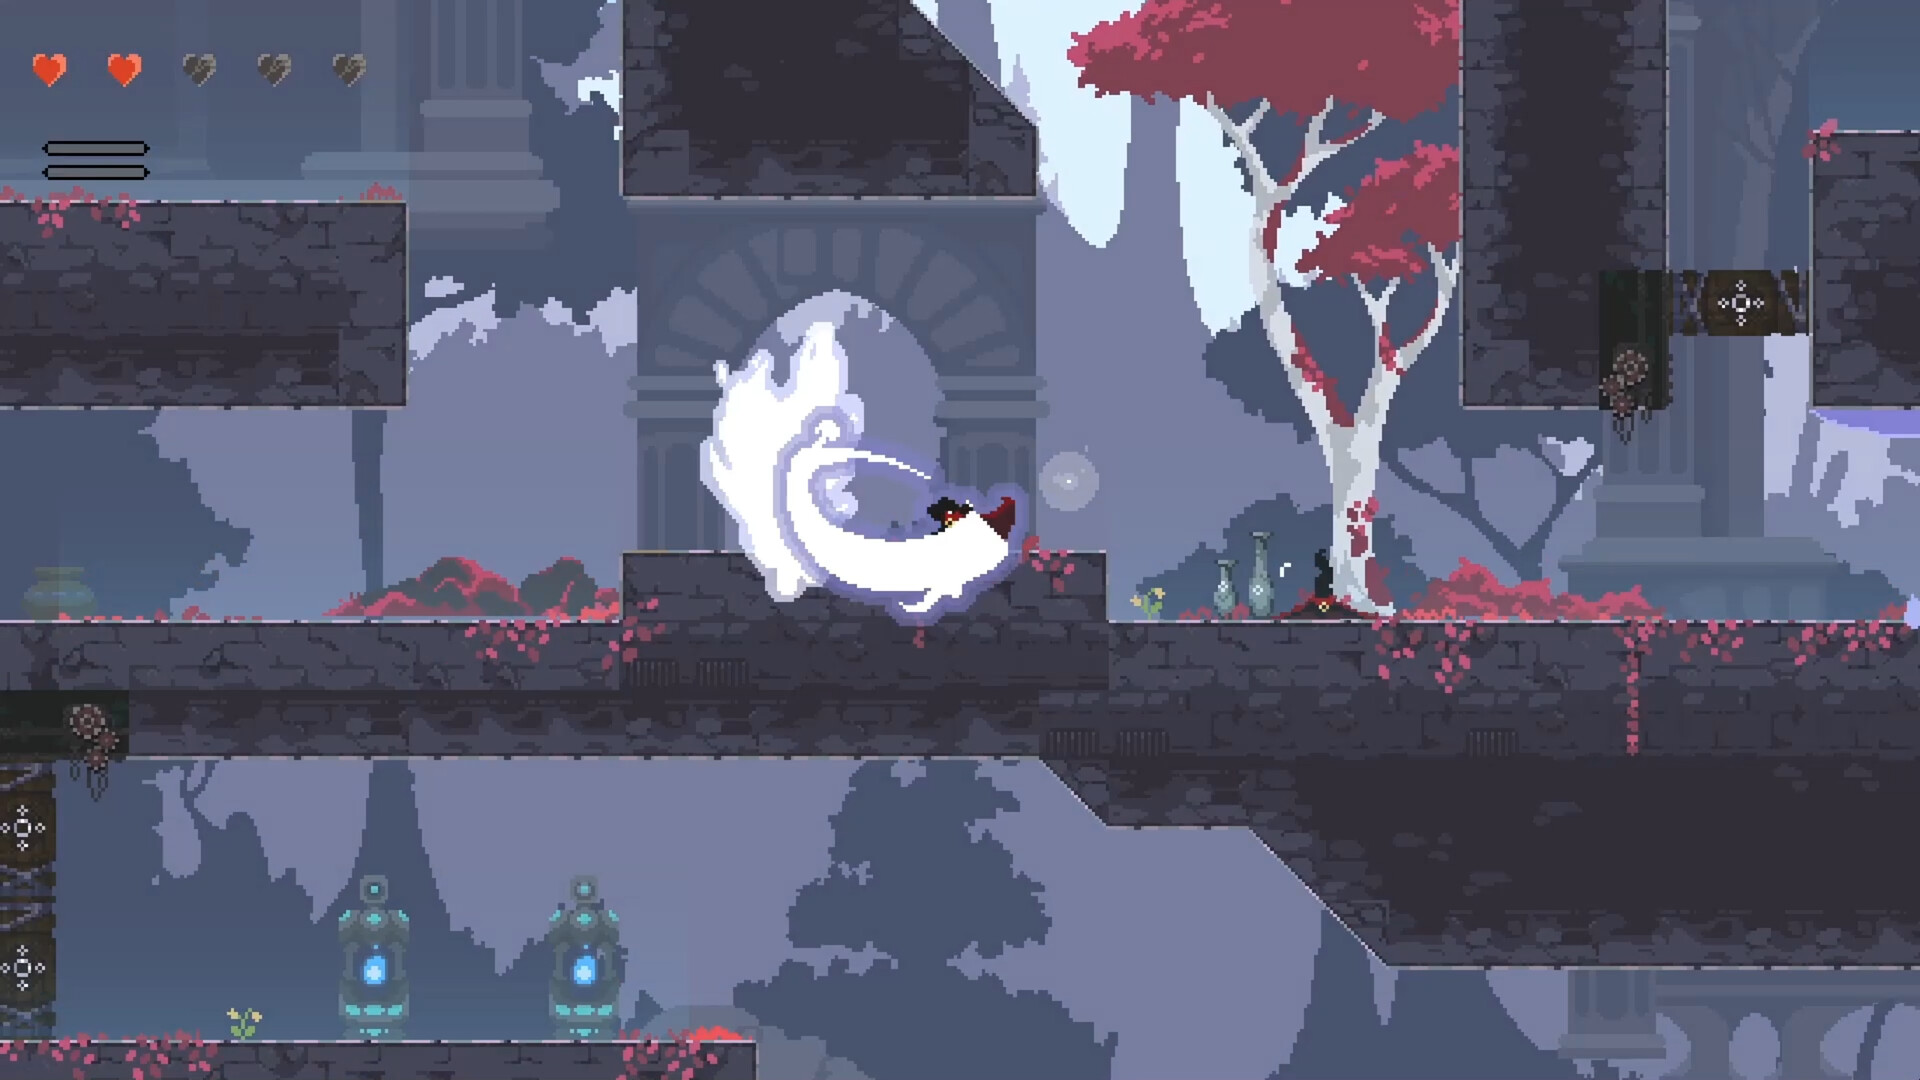
Auria, the God of Avarice, took power over the city of Lemia after imprisoning the Goddess of Light. Kali, a fighter who lost everything at the hands of the gods, sets out for the city to verify the rumors surrounding this new god who corrupts and subjugates humans in exchange for wealth.
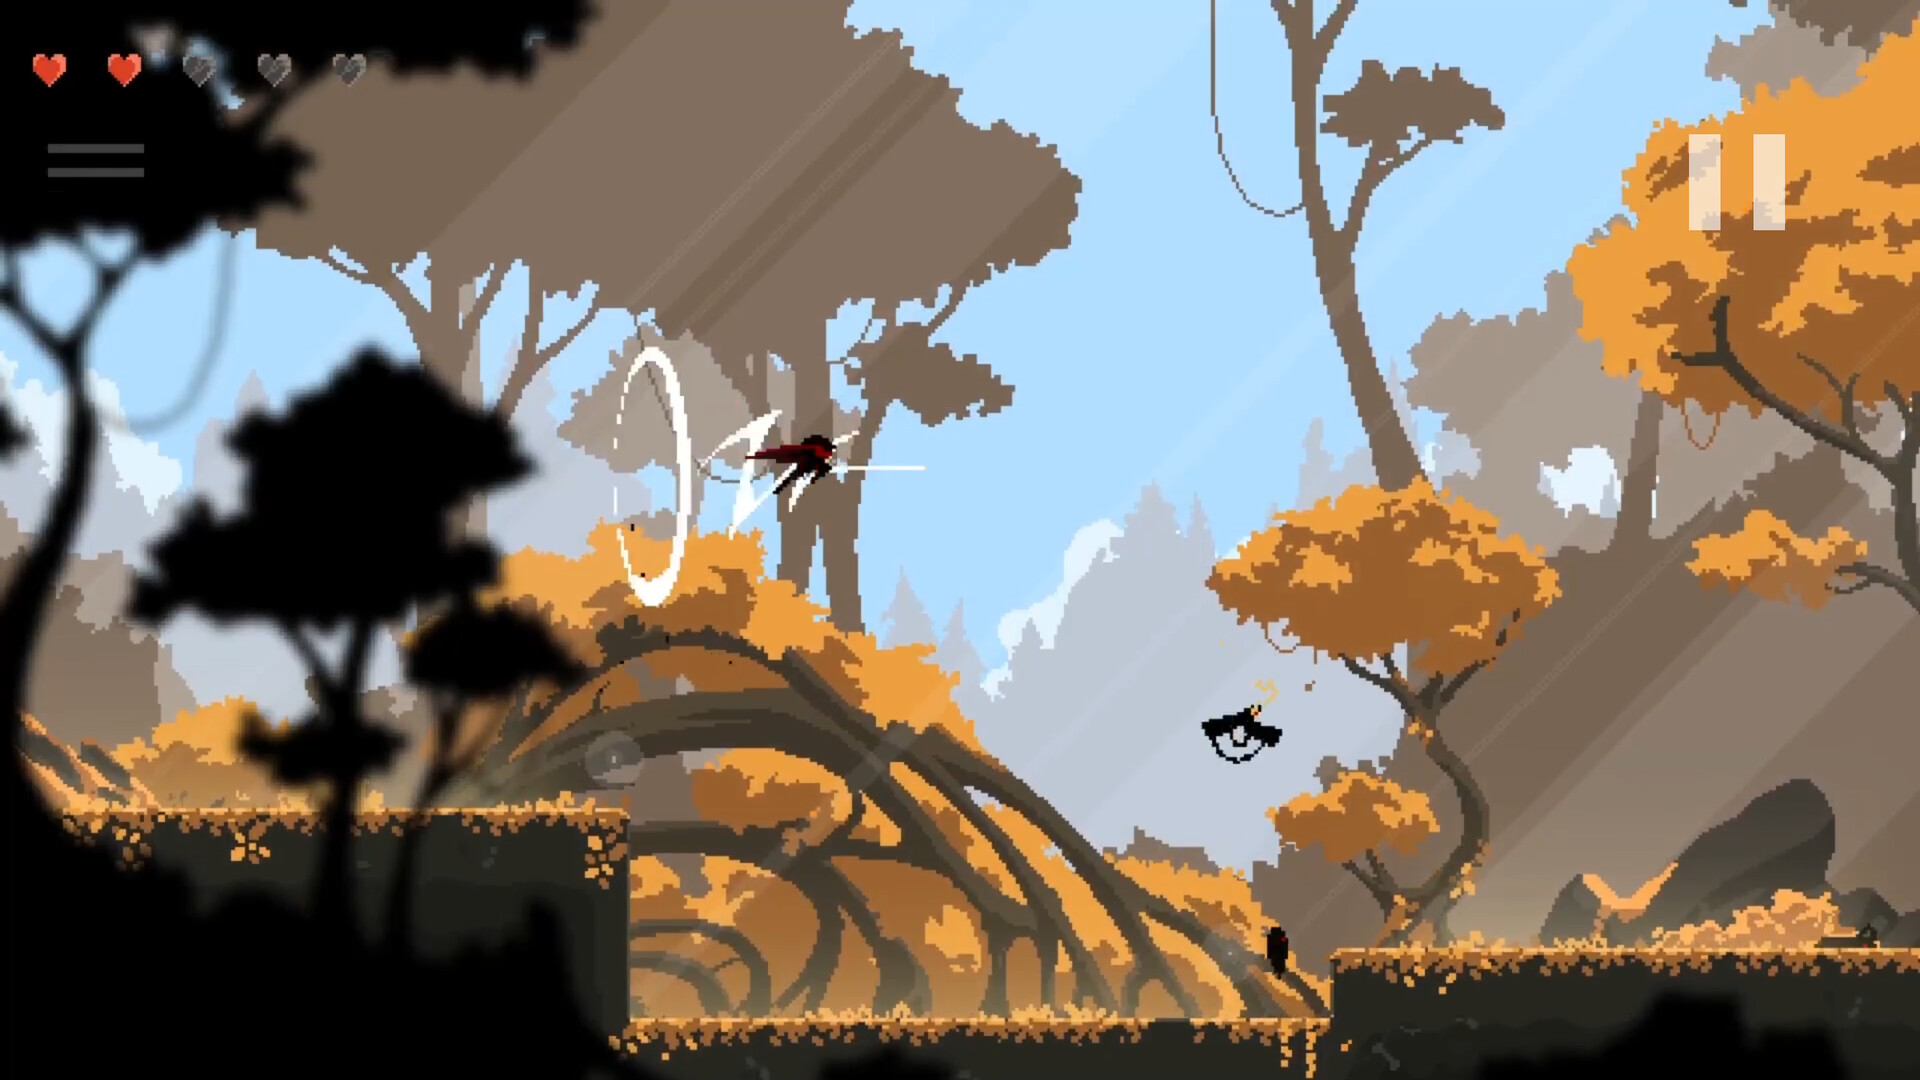
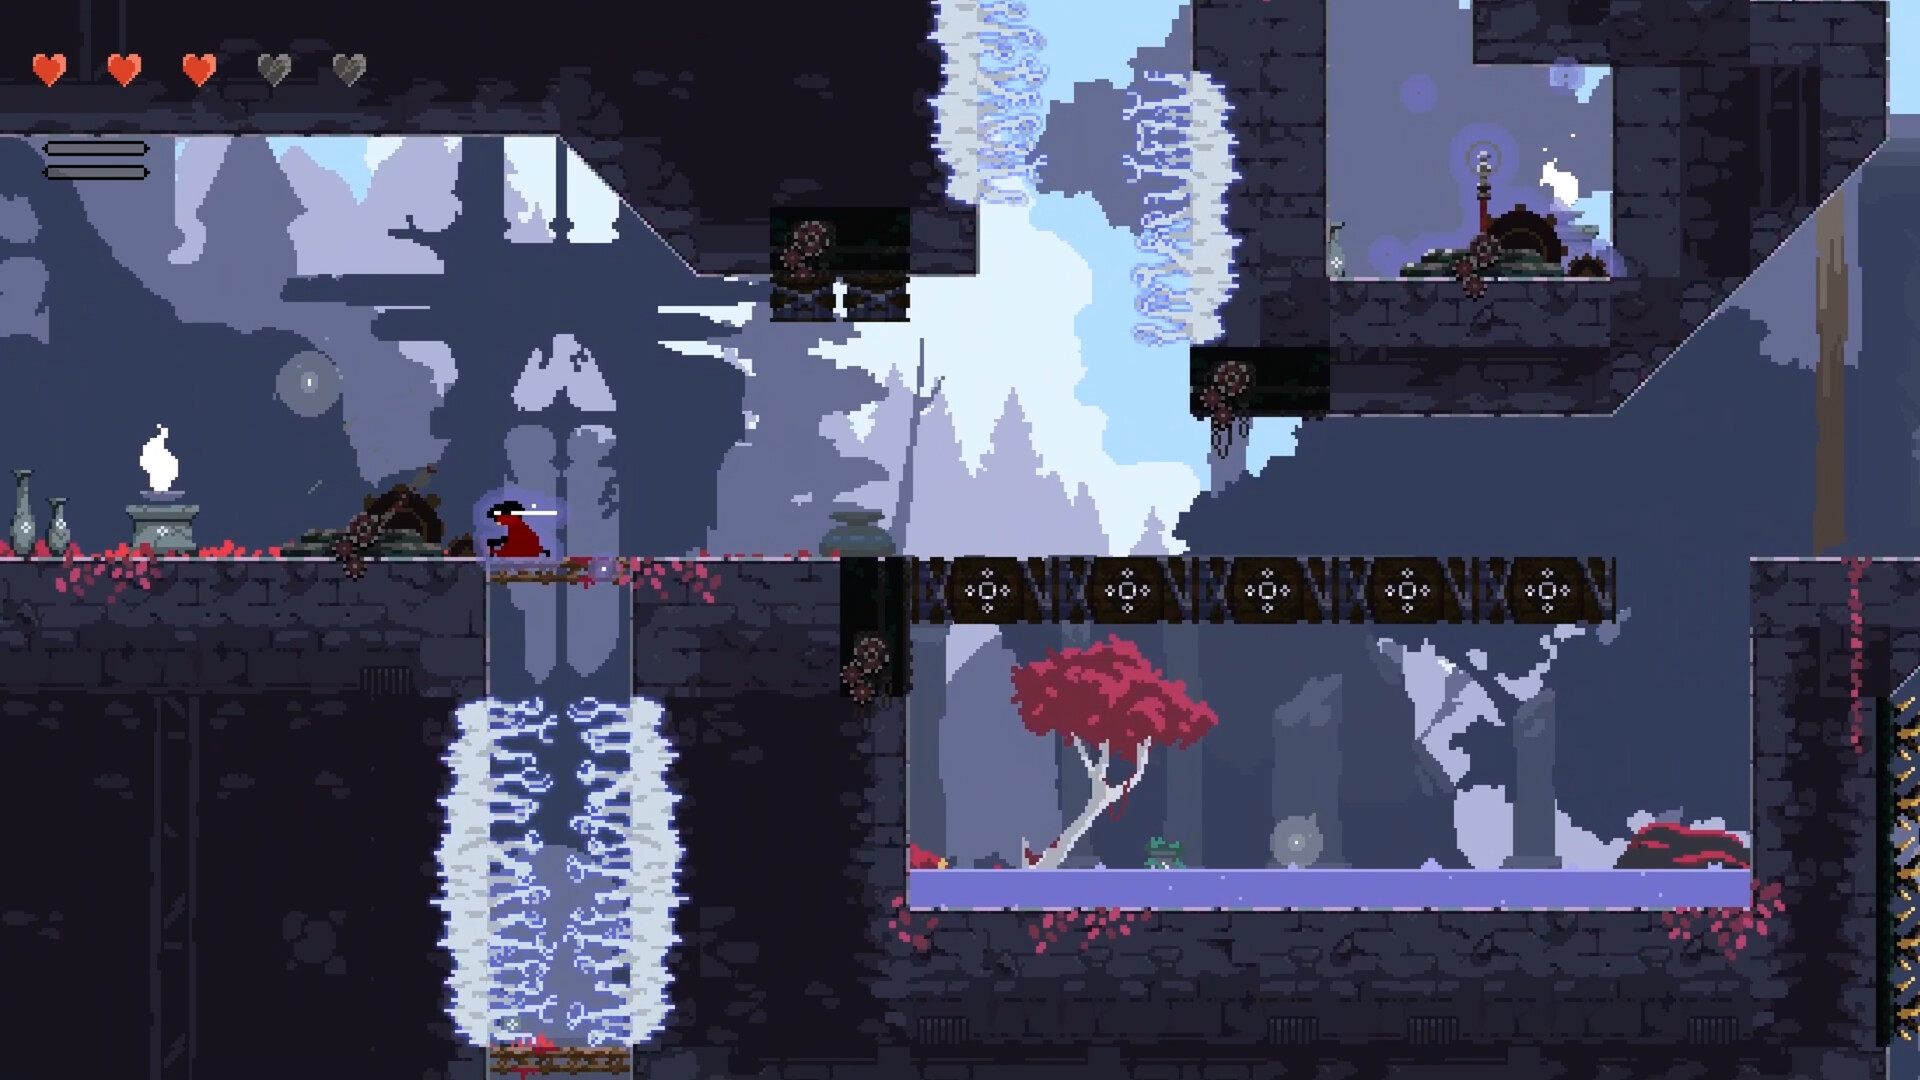
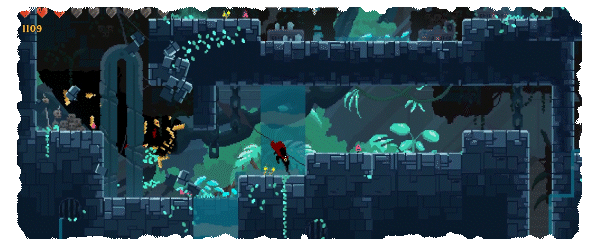
Explore the City of Gold and its cathedral, confront the creatures of shadow and gold, pledge allegiance to the god of your choice to embody their power, or detach yourself from the gods and suffer their wrath. Again
Game features
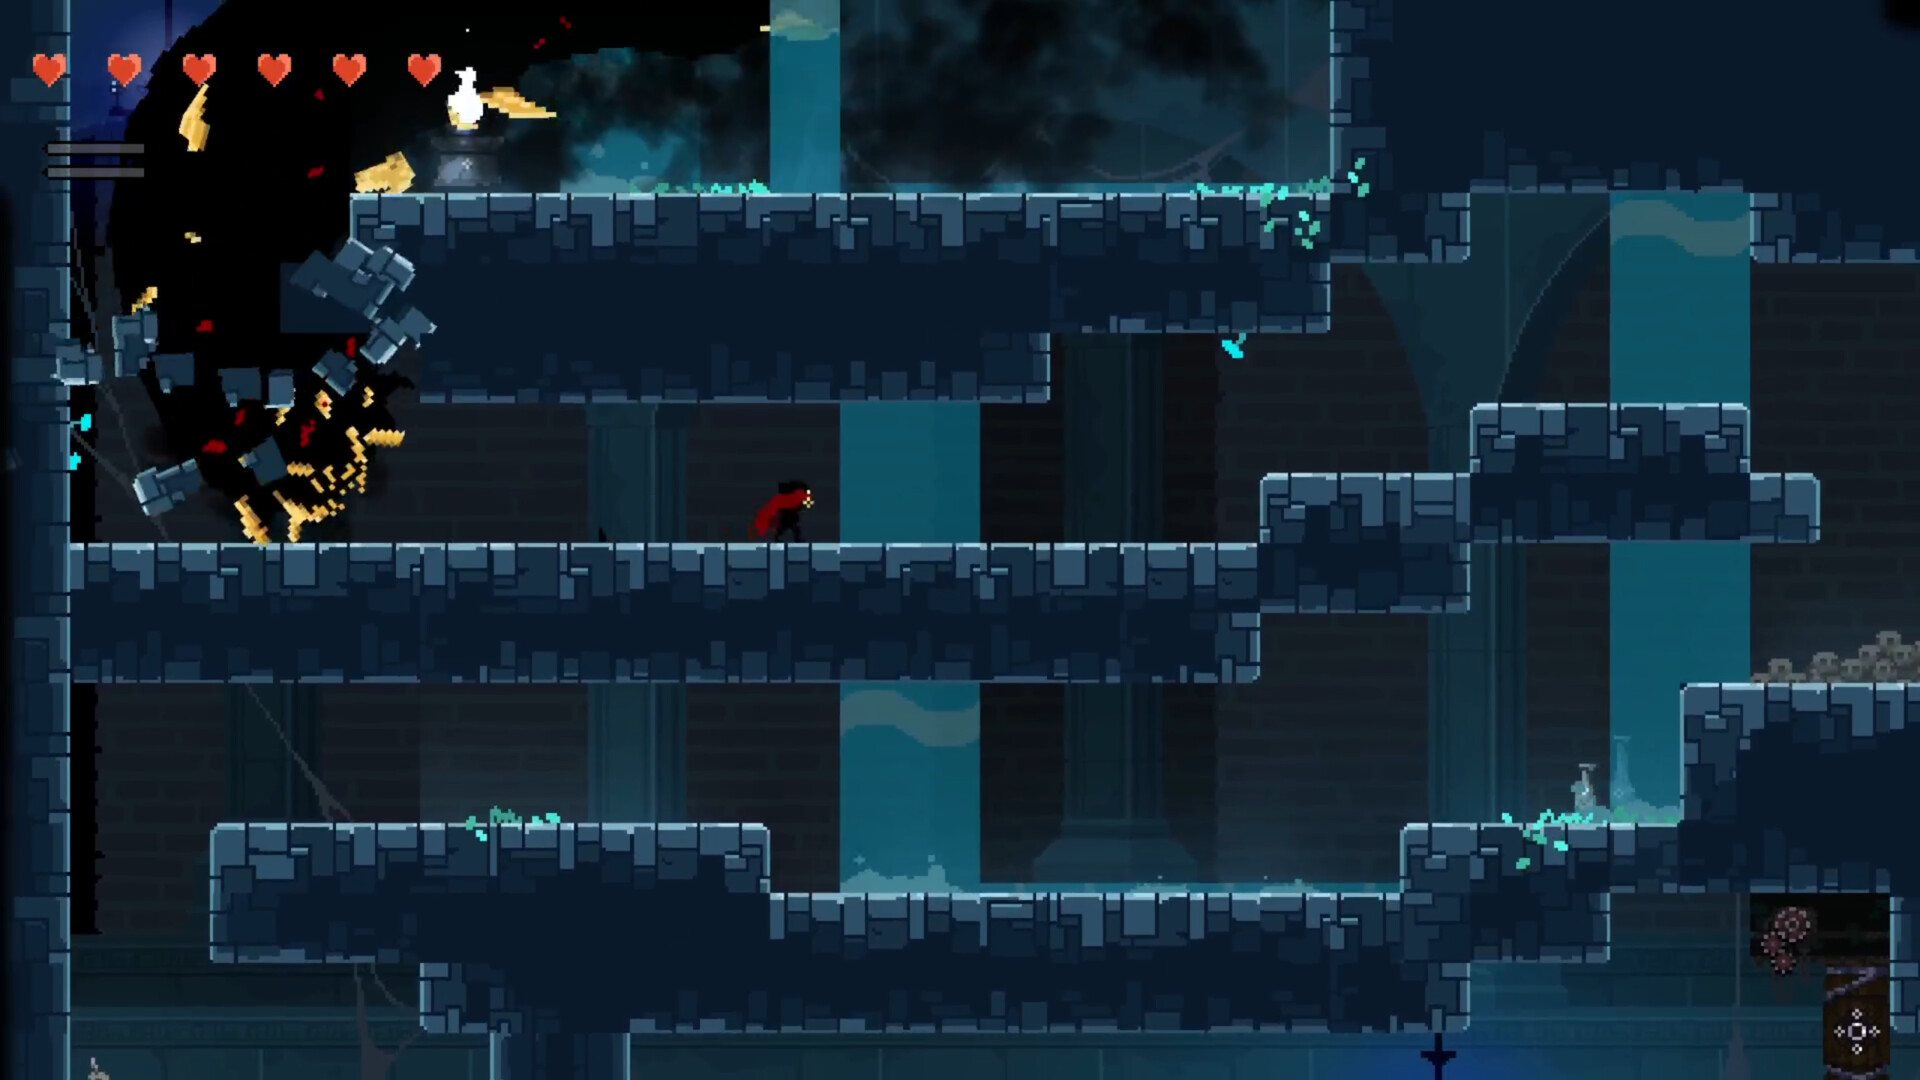
- Meticulously crafted pixel art
- 2 Unique persistent worlds that evolve according to your chosen allegiance to the gods (The Path of Gold or The Path of Light)
- A skill tree with over 50 abilities!
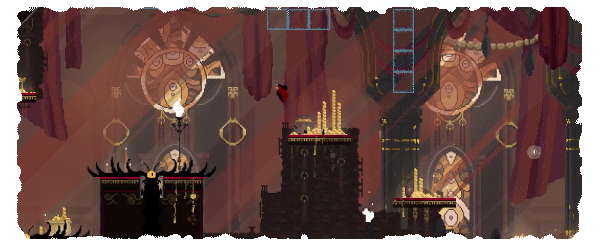
- 7 memorable bosses
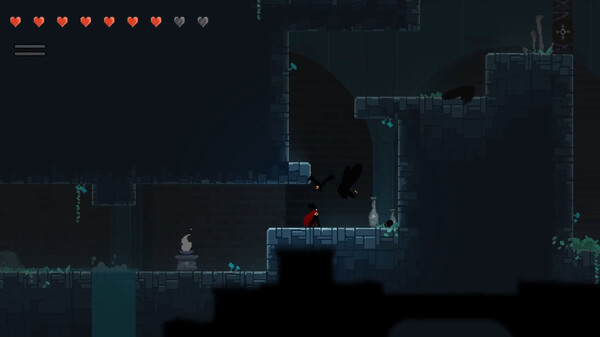
- Over 25 totally unique monsters with innovative gameplay surrounding each monster.
- Easy-to-play, hard-to-master controls.
- Smooth, pleasant platforming.
- Fast, dynamic gameplay.
- Pixel-perfect combat, subtle and accessible.
- Several possible endings.
- An original, epic soundtrack by Sarys and Xavier Dang (MisterMV), which evolves according to your allegiance.
- An original storyline scattered around the world: find all the stelae in the game to understand the history and mysteries surrounding the gods (optional storyline).
- A non-linear map: discover the world as you please
Backstory: The world of Noreya
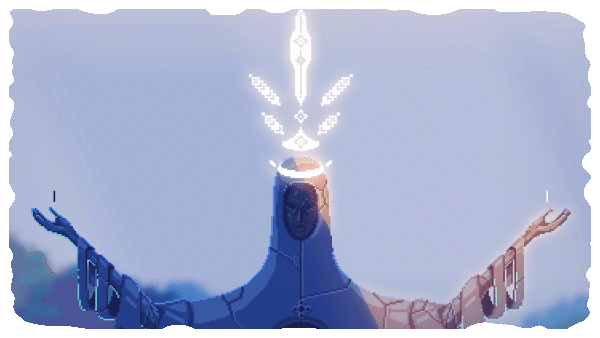
In time immemorial, seven deities joined forces to shape the land we know today as Noreya.
Such was the power of the Seven that Men, as a sign of respect but also out of fear, began to worship them. Some sinners, however, strayed from the path, bringing out the most maliciously treacherous parts of themselves. From this malice came new deities, gaining their powers from the servitude of their subjects.
In the lands of Lemia, home of the primordial Goddess of Light, an endless famine persisted. The poor inhabitants' desire for wealth benefited the God of Avarice, who in turn promised an end to their misery. The god everyone now calls the "God of Gold" transformed all his followers into shapeless, tormented creatures: the golden shadows. Lemia, once so luminous, now gives way to unhealthy greed.
Duality: Pledge allegiance and receive the power of the gods!
With a skill tree containing over 50 skills, you can evolve according to your allegiance to the Goddess of Light or the God of Gold.
You can also play double duty, but in this case you won't have access to the most powerful spells. It's up to you to find the best balance for your style of play.
A world for every god.
No more metroidvania with a single map to discover.
In the world of Noreya, the world changes according to your allegiance.
Are you familiar with the Golden World and have now decided to worship the Light? Get ready for a whole new experience, forge ahead as you discover which areas have changed and discover which parts of the game are no longer accessible! However, in turn get ready to explore other new adventures that now await the servant of the Light!
Each version of the world conceals secrets and exclusive bonuses. Can you find the artifacts hidden in the depths of the world? Only time will tell!
The soundtrack
Signed by the incredible duo Sarys / MisterMV, enjoy an original soundtrack that will accompany you throughout your adventure.
Switch allegiance, and the music will change and evolve with you.
A game for arachnophobes:
Initially, we had planned to include spiders in the game, but we realized that many players are arachnophobic.
WIth this in mind, we worked on coming up with an alternative that works and retains the feel of the underground environments.
But who knows, maybe one day the spiders of Noreya will be released. But that's a tale for another time.
Read more on our dev blog:https://store.steampowered.com/news/app/1760330/view/3712699226995016096
Hello everyone!
[b]We haven't been very active on Steam, and we apologize for that.
In order to have a continuous thread of DEV BLOG updates, we have decided to repost the articles originally posted on Kickstarter.[/b]
The other articles will follow shortly, and we hope you will enjoy reading them!
-- this article was originally posted: 01/08/2023
Good news fella ! Today we are showing you some images
Of course, everything is not final and can change over the coming months.
We thought it would be cool to explain the process of creating monsters in the game.
What is the beginning ?
Its a famous question players ask us many times how do you start the work ?. And the answer can sound frustrating as there is not one answer.Sometimes the process will start with a quick drawing giving us ideas, it can also be based on a joke while chatting with the team. Or it can be when we try things in the code and something not planned happens (here comes the famous its not a bug, its a feature).
As there is no specific order or rules, we will try to explain those different steps.
Remember we do not use all of those steps in an exclusive way.
Before digging in, we must know what we need to make a monster.
How to make monsters by filling the games needs
A bit of Game Design is required. When talking about needs of the game it will be: We need a monster who can- fly
- have ranged attack
- walk on the ceiling
- blind the player
- jump in a specific way
- etc
To make Gold, we created the following legend. It lets us adjust each monster and try to get a graduating balance and difficulty over the play time.

Other types of needs we are looking for could be described as follows: How to make a monster that
- do not let the player jump over it
- force the player to do a specific action
- induce the player to go to a specific place
In summary, Gold Projects design is a mix of ideas/concepts art/code/needs which will define the monster.
Today, we have 19 Monsters planned for the game. Sometimes, during conversations, we have new ideas we love so much that we decide to add a new monster.
Sometimes it is because of an accident (we tried a few prototypes, and some concepts are really cool).
But we first try to make this fit the calendar.
Of course, our way to do is probably close to other teams.
There are dozens of ways to design a game but the components required to make a game are the same.
Its normal to have similarities and maybe our explanations along this article sounds familiar to you.
Method 1: start by the Character-Design
It is one of the easiest methods to explain as it is visual. An artist makes some quick sketches we call concepts, then we talk about it.While looking at this concept we may think This one is great and gives me ideas. It can also be right from the conception point that the artist got early ideas in mind.
What is the process of this method ?
The art team working on monsters will make concepts and then show off their work to the rest of the team. It can be very specific ideas like this is an assassin. Or it can be pretty vague and we start brainstorming about it.
Of course we will focus on the objectives coming from the Game & Level Design to get very different behaviors and monsters. From easy to very hard, with bosses etc
Once the selection is done, the iterative process starts.
We take one monster, create a monster specs sheet (see method 2), then prototype it (see method 3). And finally validate it (see Iterations).
Some people would prefer to imagine every aspect of the monster before even making a prototype and testing it. We completely avoid this approach as it is very risky to spend a lot of time making animations, without guarantees of the monsters being cool in the end.
If we do so, we should tweak the monsters depending on the animation and not the opposite, the gamefeel would be locked.

While making the preproduction of the game, we did some animations before monsters in order to imagine what the final render would be. But we do not do that on production.
Method 2: start by the Game Design
Starting by the Game Design is radically different.
This principle is to first think about different levels of monsters and the functions expected from each of them.
Then we create a monster sheet specs, containing the intention of the Game Designer and what we try to achieve with this monster. Potentially with an idea of what it could look like.
Here is what a monster sheet specs contain :

To make it simple, this general process can be shortened as follows: we first write ideas that we test in our mind and then make a prototype of it.
Once the writing is done, some people will consider their design job to be done and move on.
But we prefer to start prototyping with the help of the document, and give the freedom of creativity to the programmer in charge of this monster.
Then we have to tweak the monster and change it until it meets our expectations.
This cycle is completed by the art design, which means visuals and animations based on the prototype. We already know all the timings and all the attacks.
Sometimes the concept art of the monster is done before the code which helps us imagine what it is and what kind of behaviors and moves it should use.
Method 3: start by the Prototype
This method is probably the most popular across the game developers as it does not require any kind of work before doing it, like writing or drawing.The principle of the approach is to code freely and widely anything that inspires us. Each programmer will have a different way to make this happen, depending on the skill and the will.
Side note, the more we do monsters in the game and the more we can start from/get inspired from/compose with an existing one. And this allows us to go faster and faster along the developpement.
Specifically in the Gold Project, we created a component system very helpful for the AIs. We can pick any component that already exists if it is close to what we want to achieve.
For example, we have some monsters capable of walking on walls or ceils and they use the WallWalker component. Any new monster needing that feature will just have to use the same component.
The big advantage of this method is that we can directly test out the monster along its making.
When it is validated, then the art team can work on visual and animations as they can experience it and play its final behavior, with timings and everything.
This avoids surprises and useless work for the art team.

Here we use a big zombie from the pre-prod to make a prototype of a Boss
The big downside of this technique is that we have to work with placeholders. It can be squares of colors or another monster that already exists even if it is not the same size or behavior (just to use something better than a square).
In our case we often use the basic Zombie as a placeholder but not only.
We can also use a concept-art image static (with no animations).
It is really hard to imagine the final monster when we are working with placeholders.
Sometimes we can think our work is not that good just because its visually empty. A very small visual fx can change all of it.
Also when playtesting it is hard to make a difference between monsters if they all look the same.
We must be able to identify the fun of that monster with a very simple placeholder, and then trust the art team to make it visually astounding.
Method 4: start with a Joke
This method is not a game changer compared to the others but it is real!Sometimes while talking and drawing, or making prototypes, we can have what we call stupid ideas or funny ideas. It can be a way to exploit a bug to create a monster, or just a joke that sounds fun to do.
Its hard to give you a visual explanation of it, but at least you know this exists! Will you be able to guess which monsters have been created, based on a joke or a bug ?
Iterations
No matter which method you chose to use, each of them leads to the same thing: iterations.If we had to resume this with a sentence it would be something like art > design > code > tweaking > art > design > code > tweaking

When is it enough? Here is the big question no-one can answer, junior nor veteran.
We are never 100% happy with our creative work and sometimes we can go back months after to change a little thing, when everything seems to be done.
Game developers have a saying I hear a lot: A game is never done, only abandoned (which originally came from Leonardo da Vinci talking about Art).
While making the Gold Project, we try to make the maximum of iterations we can, according to our previsional planning. Once we like a monster we move on to the next one.
And then, later, we do another iteration over all monsters to check one more time if there is something we want to change, or if we have a new idea.
Most of the time it will result in a visual evolution more than a functional evolution.
Why visual only? Because once a monster is technically done, except for bugs, we rarely have to change it after all the tests and playtests we did.
Tweaking can take a lot of time, but once we find the good one, we rarely change it later.
During the production of new monsters, our visual skills improve. This make us notice some issues on the precedently created monsters.
Small precision, sometimes an evolution is not necessarily more beautiful if we only see the monster alone. We have to take all the game in consideration, the gameplay and how it is readable in the game, levels, but also its size and animations.
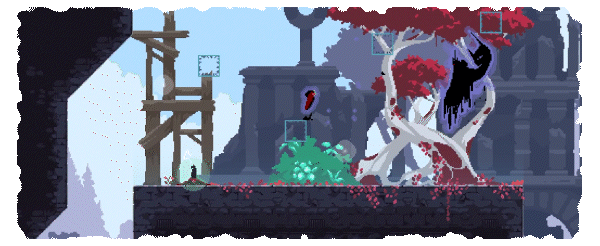
Preview of the Biome 1
We hope this article was interesting to read!Before we go back to work, we wish you a Happy New Year !
As promised, let us conclude this article by revealing a preview of the biome 1: The Forest.
One more time, thank you all for your support and patience. More is coming very soon !
Minimum Setup
- OS: Ubuntu
- Processor: Intel Core I5Memory: 8 GB RAM
- Memory: 8 GB RAM
- Graphics: RTX 1660
- Storage: 1500 MB available space
Recommended Setup
- OS: Ubuntu
- Processor: Intel Core I5Memory: 16 GB RAM
- Graphics: RTX 1660
- Storage: 1500 MB available space
[ 6411 ]
[ 7114 ]
[ 3474 ]
[ 4937 ]

Time left:
356108 days, 20 hours, 55 minutes
Time left:
356108 days, 20 hours, 55 minutes

Time left:
4 days, 4 hours, 55 minutes
Time left:
13 days, 4 hours, 55 minutes

Time left:
41 days, 4 hours, 55 minutes

Time left:
44 days, 4 hours, 55 minutes

Time left:
45 days, 4 hours, 55 minutes
Time left:
5 days, 22 hours, 55 minutes
Time left:
6 days, 22 hours, 55 minutes
Time left:
13 days, 22 hours, 55 minutes
Time left:
19 days, 22 hours, 55 minutes
Time left:
20 days, 22 hours, 55 minutes


