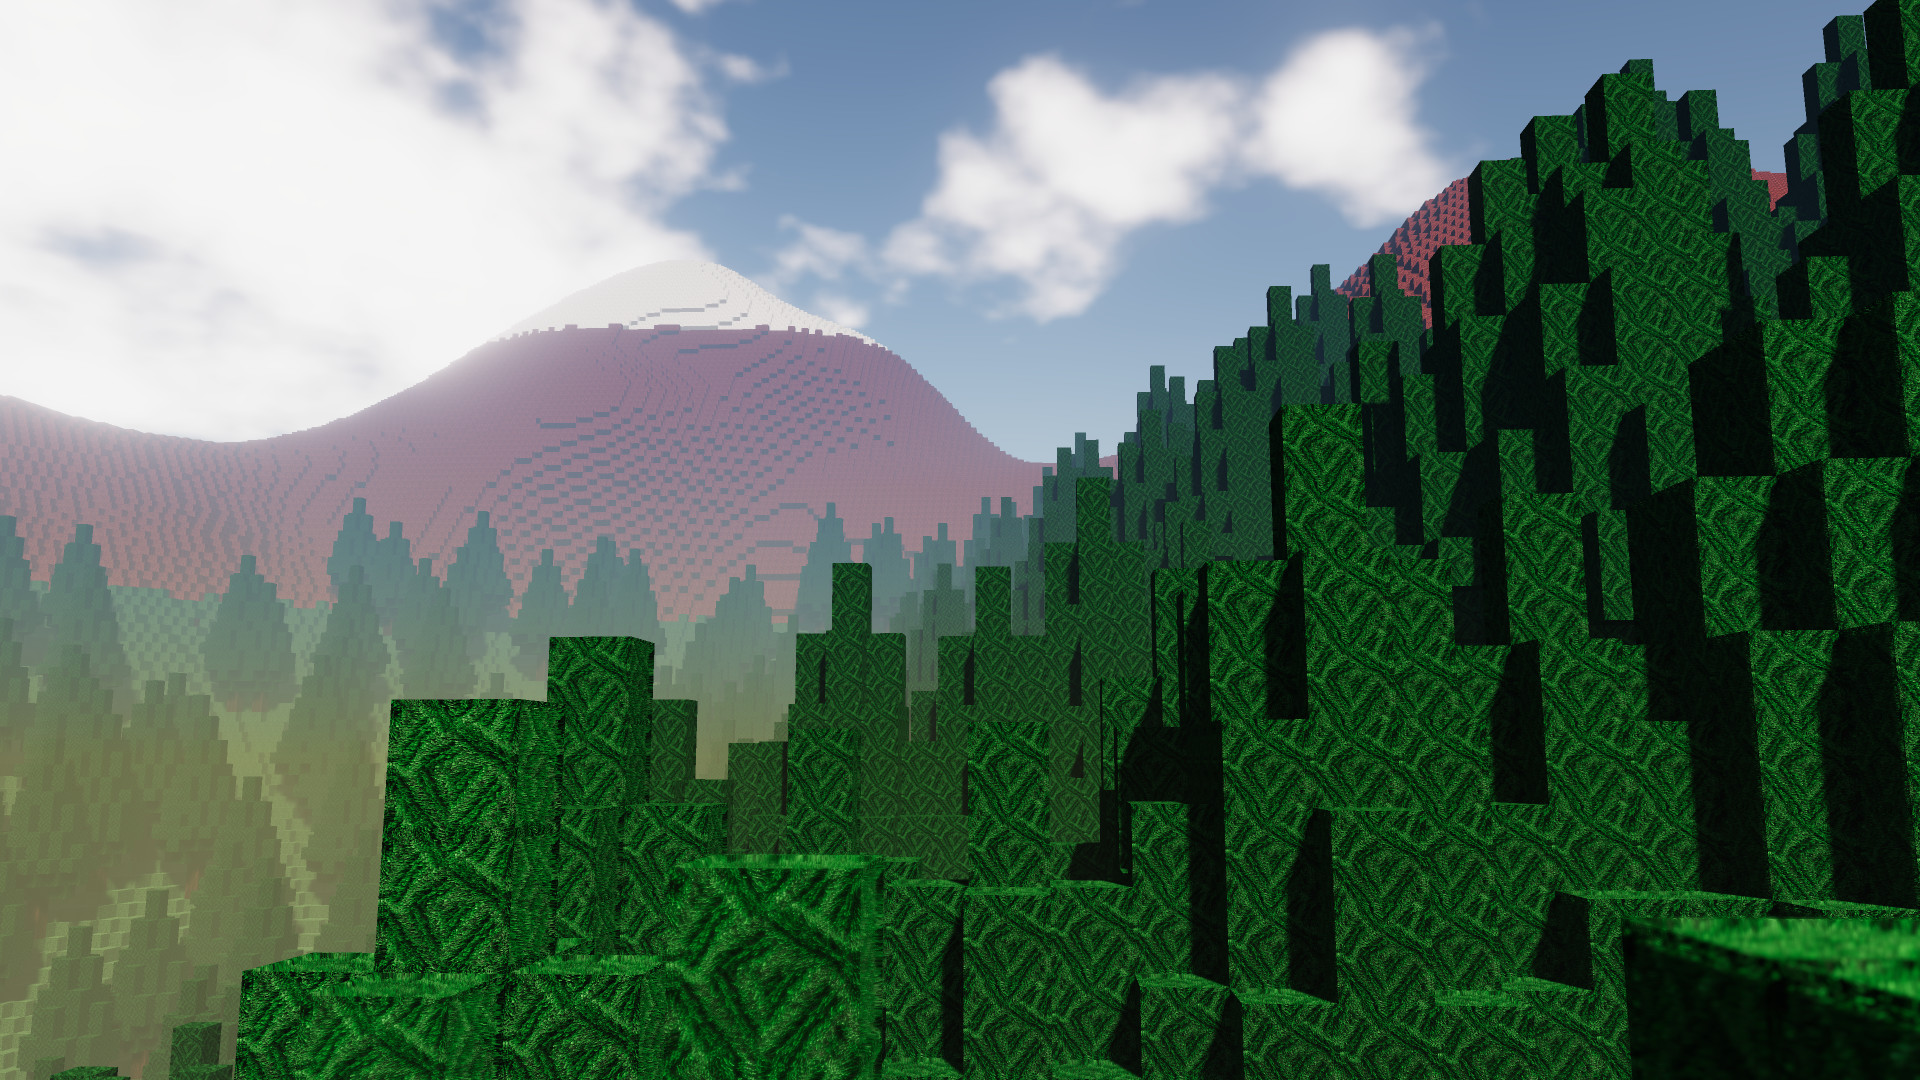
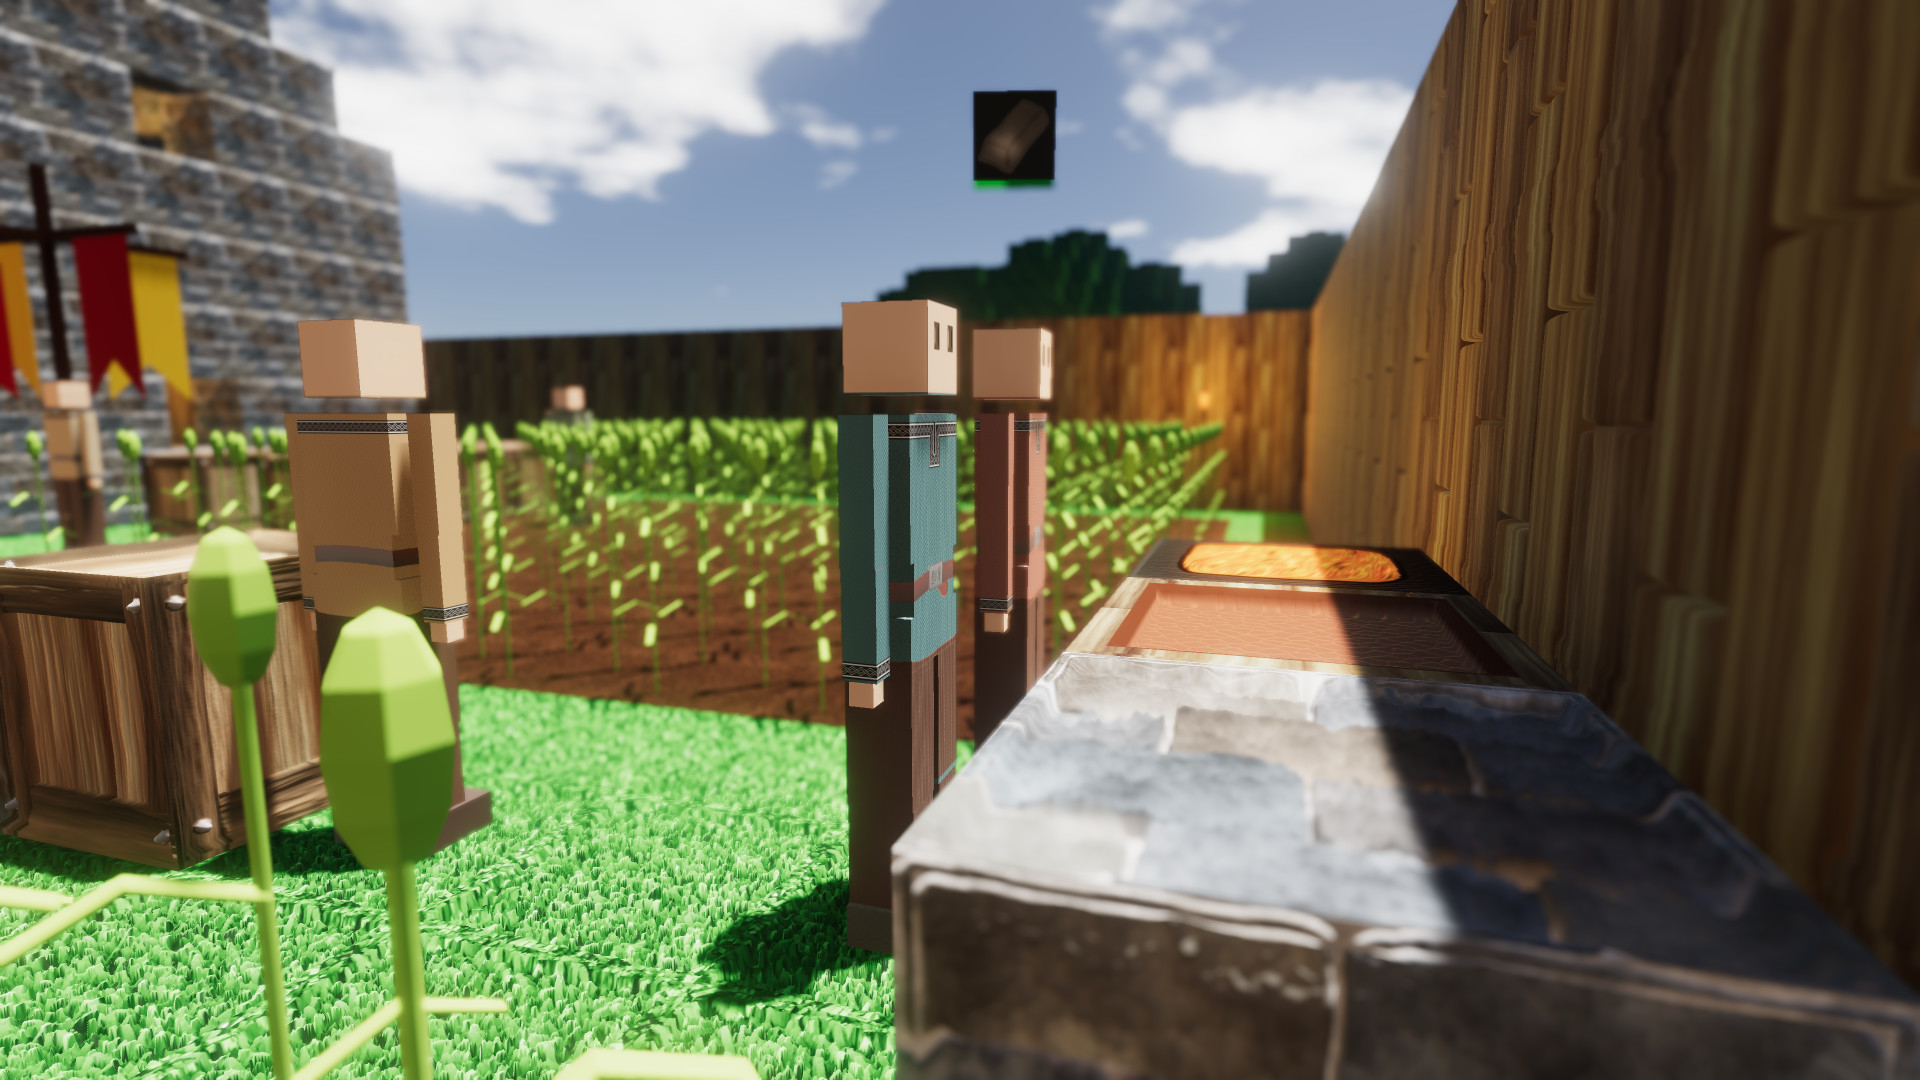
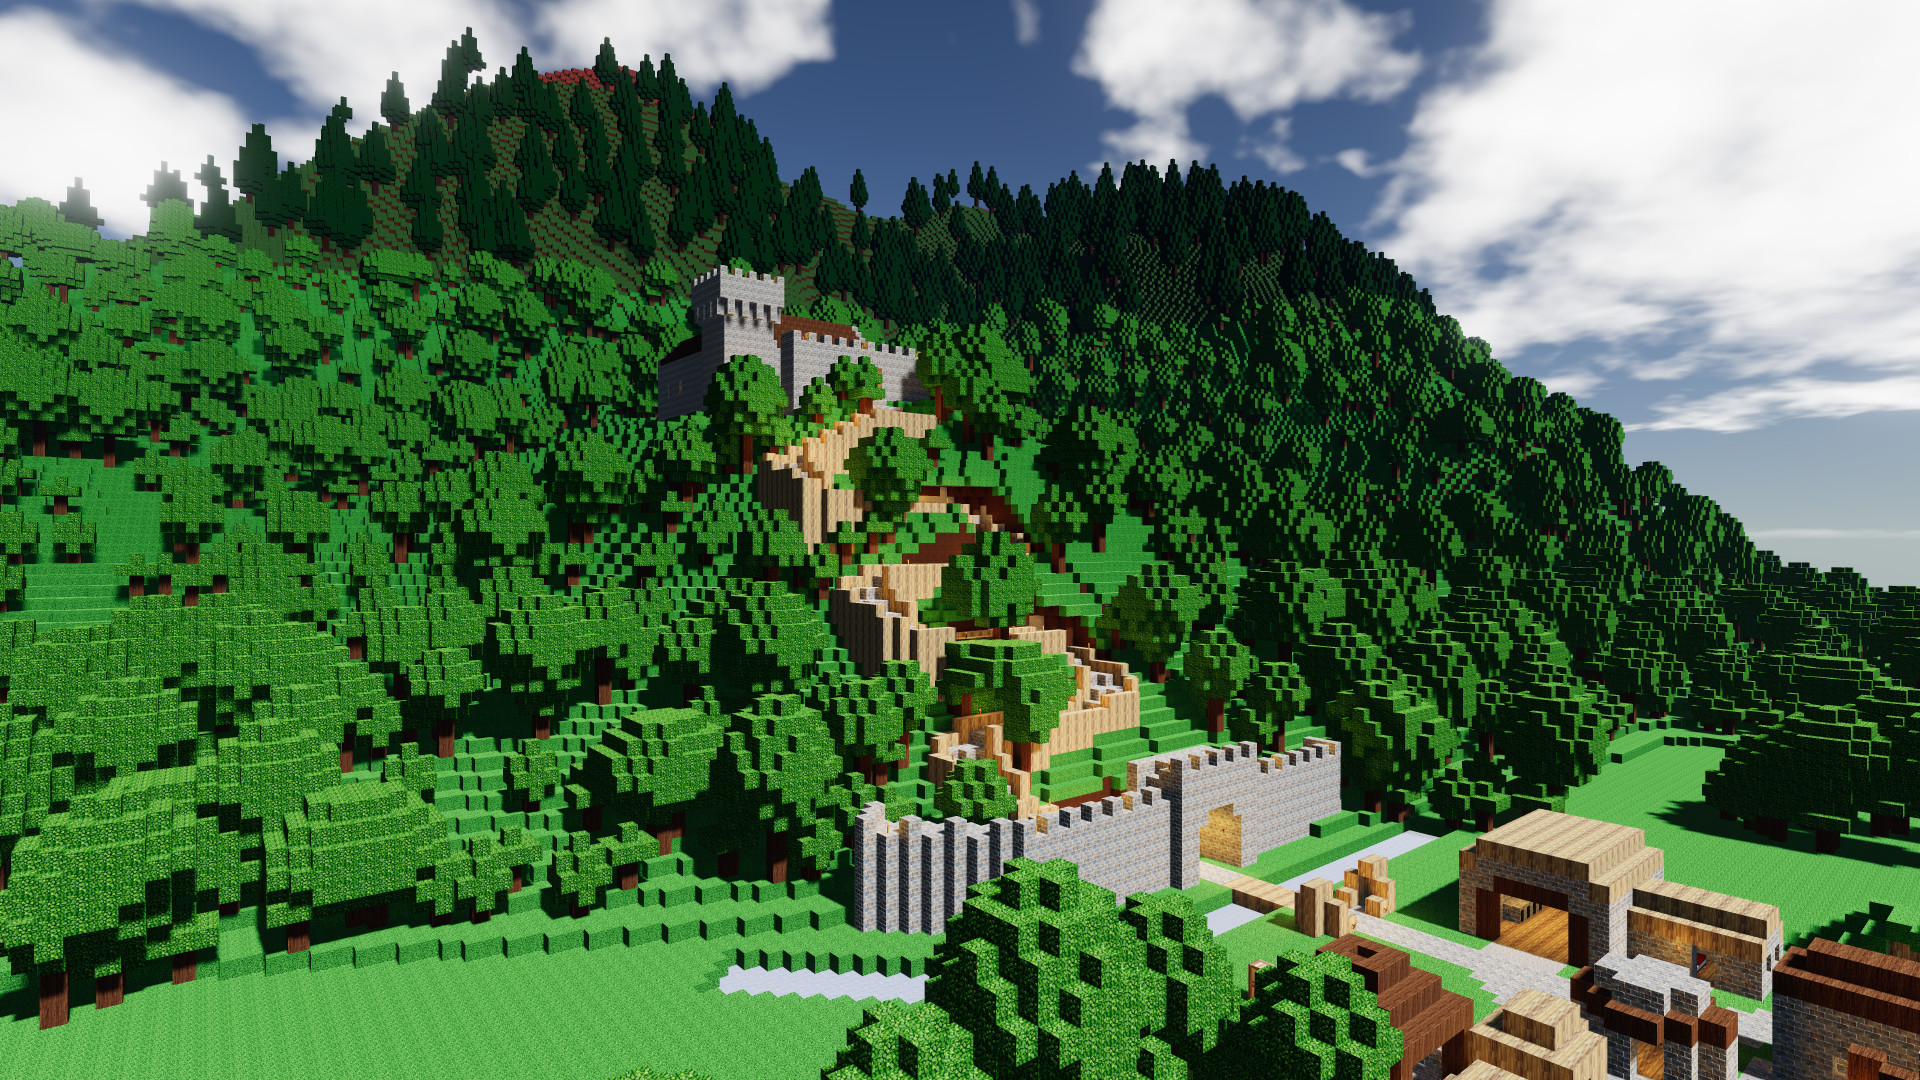
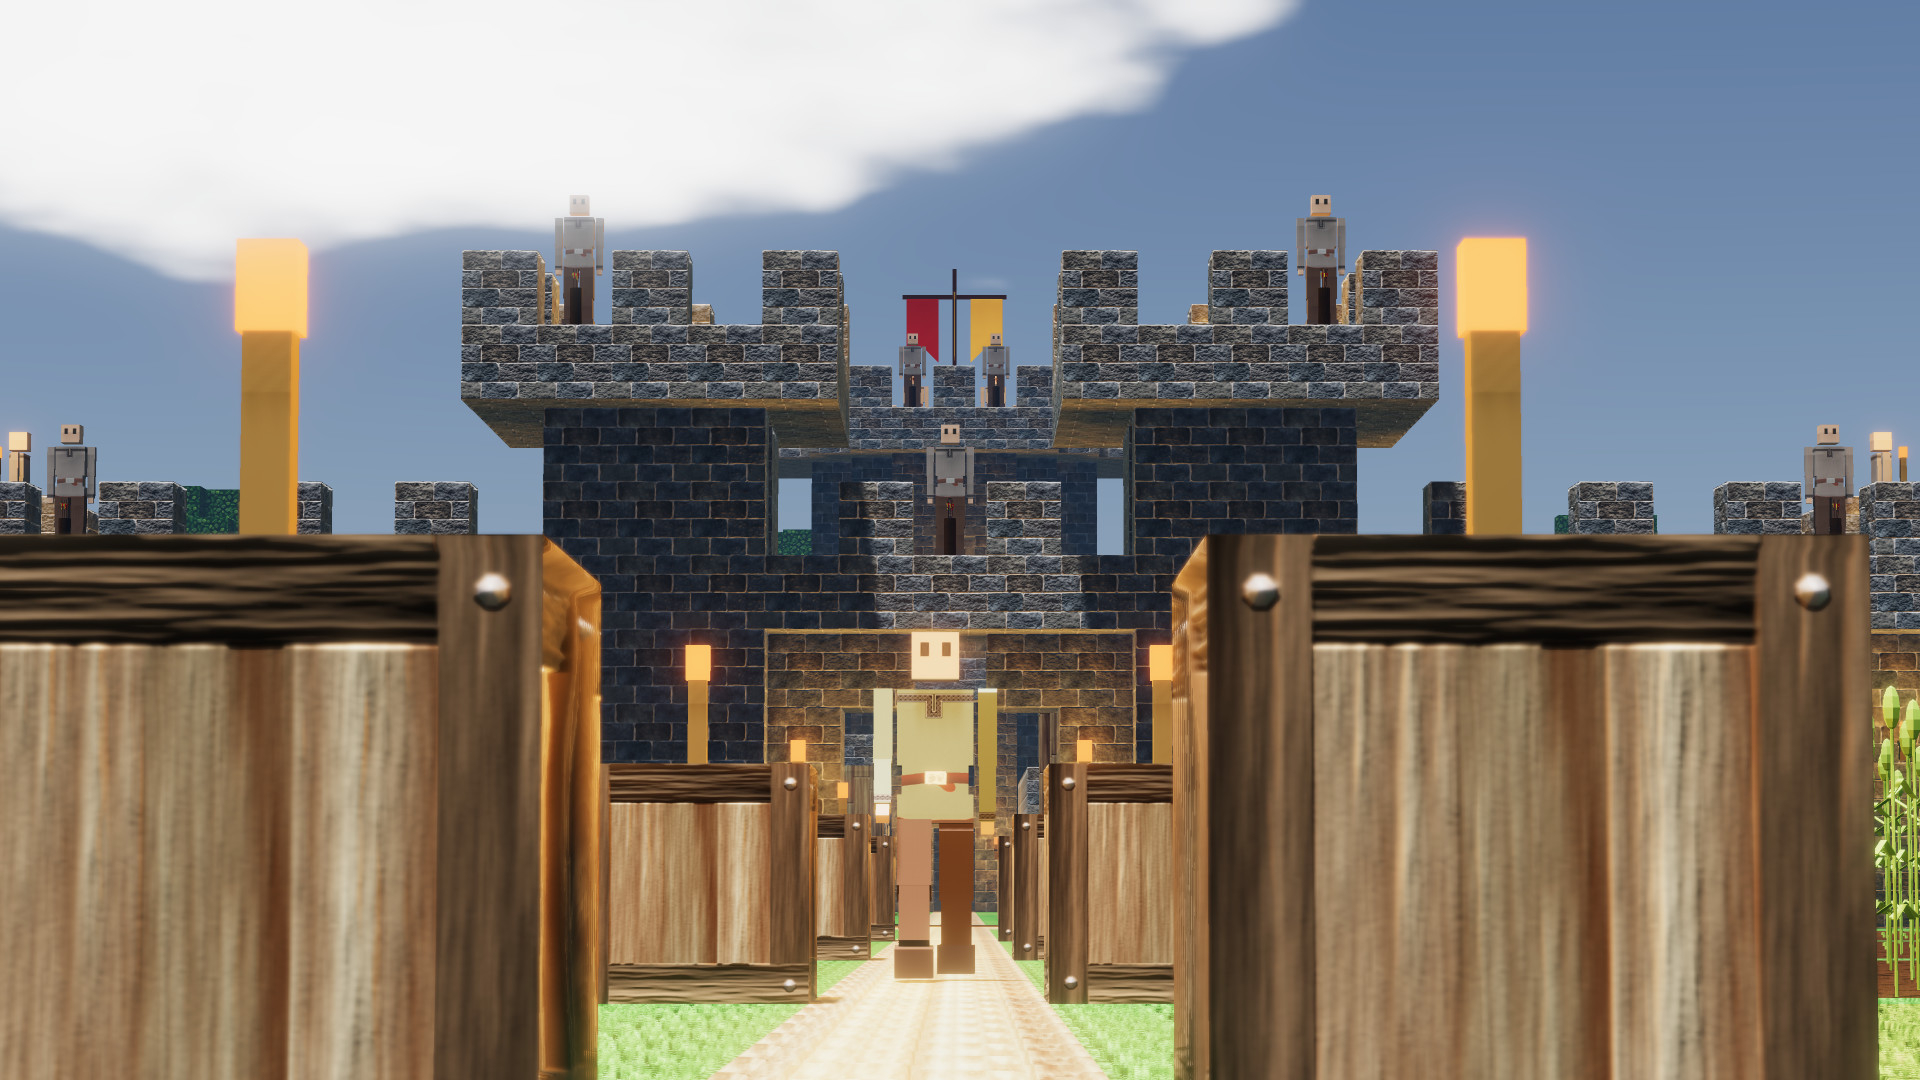
Build your own village, castle or city and populate it with colonists! Let guards, farmers, miners, foresters, bakers, smelters and artisans work for you. After the sun has set, most colonists will go to bed, but the enemy awakens. A horde of monsters will assault your colony and try to slaughter you and your villagers. Defend your colony with walls, moats and guards!
- Multiplayer support: play with friends and strangers!
- Advanced pathfinding: colonists and zombies will find their way in the world you've build. They will dynamically navigate stairs, bridges and tunnels.
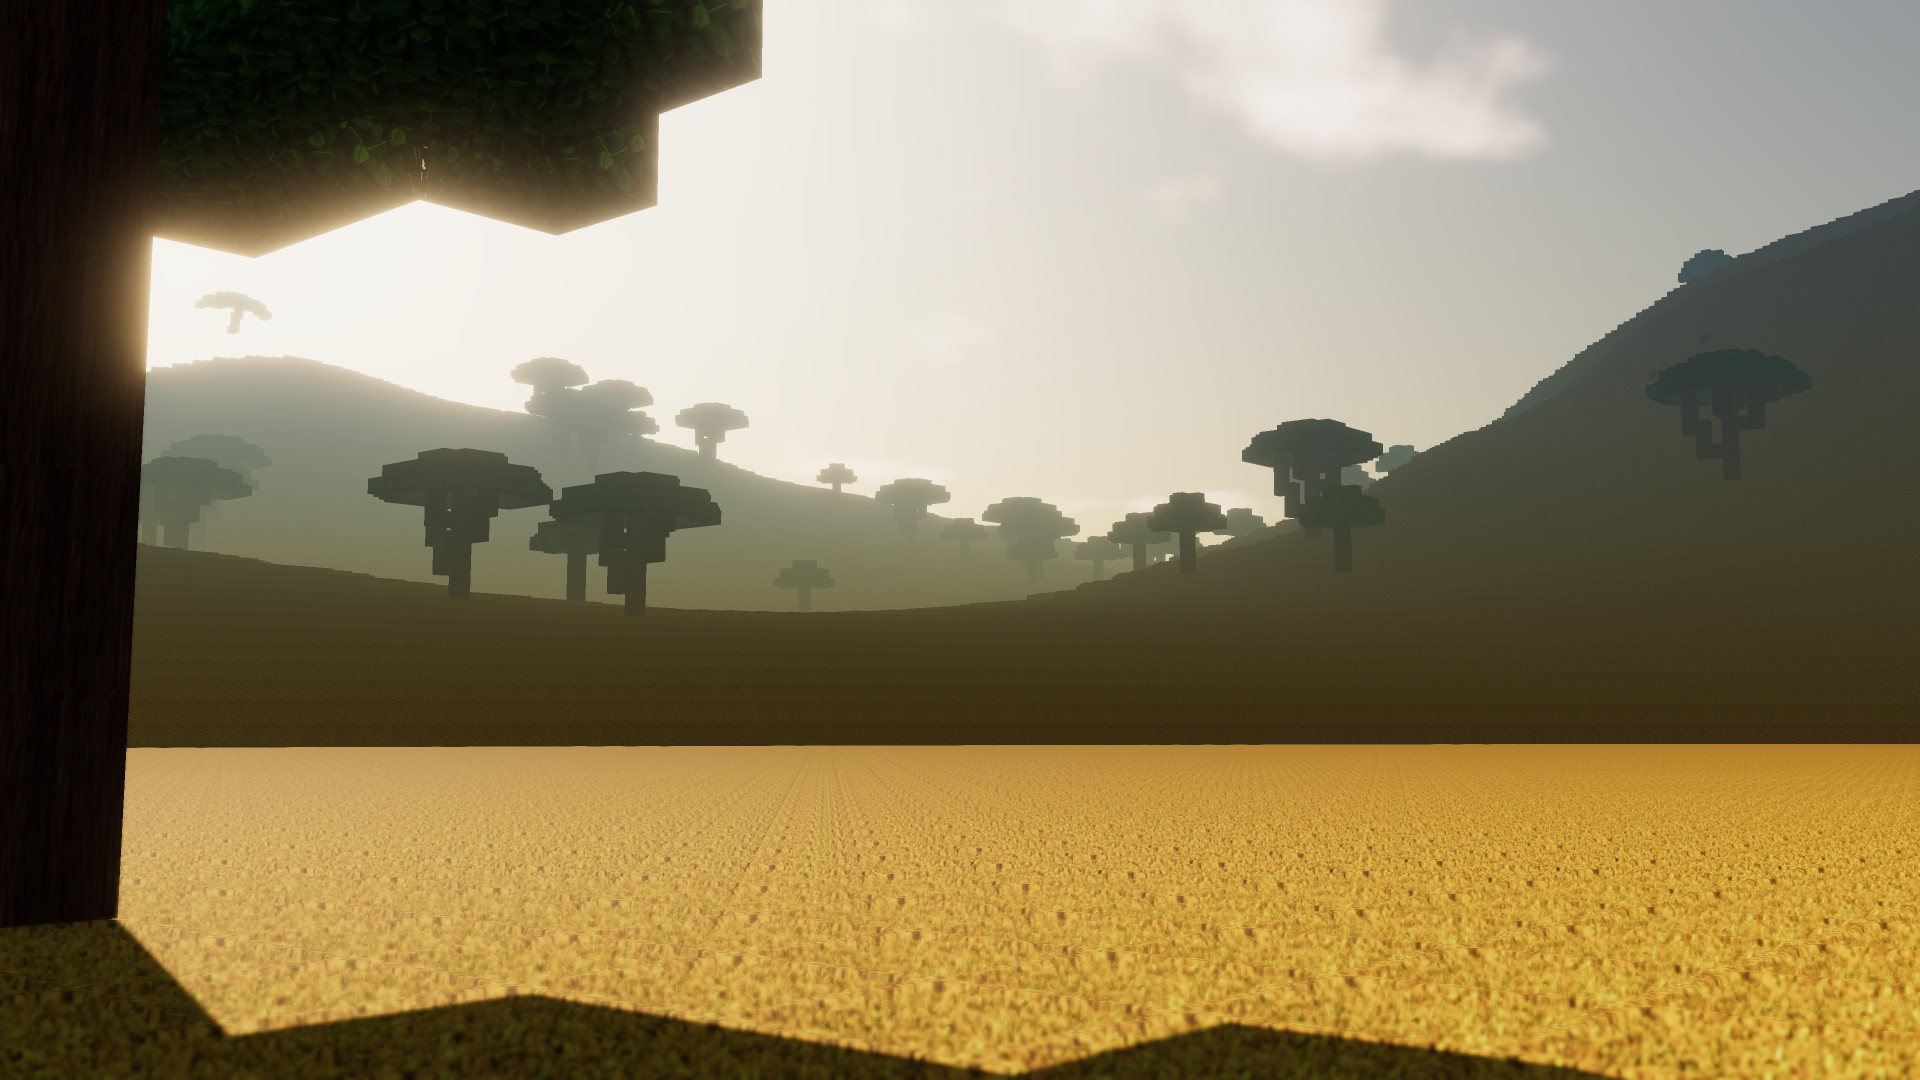
- Explore a world with realistically placed biomes. A giant jungle in the center of the world, surrounded by savannas, deserts and temperate biomes. Two polar regions in the far north and south.
- Support for textures and language packs created by players
- Dynamic lighting and eye adaptation
- Voice your suggestions and be part of the development of Colony Survival!
Friday Blog 75 - Lighting / Texture Guide
There is one big slider that applies to all food items; the "rations slider". Here you'll set how much food a colonist will consume in a day. You can "weigh" each food item to determine what part of their diet will consist out of that food type. For example, if bread weighs "10" and berries "5", 66% of their daily calories will consist out of bread and 33% out of berries.
For non-food items, food value is replaced with "how long the item will provide happiness". There are some things we consume every day. Electricity, internet, water. Other items need to be replaced on a slightly longer timescale: toilet paper, gasoline, toothpaste. And other items will last years: clocks, winter coats, cars.
It wouldn't make sense to deliver daily packages with new smartphones (or clocks, for a more historical alternative) to every colonist. But a yearly package with 1 smartphone and 365x3000 calories wouldn't be appropriate either. So the "happiness-time" value will scale the daily requirements to appropriate levels. Imagine you've got 800 colonists and a clock will last 200 days; this means you've got to produce 4 clocks per day. That seems like a reasonable and realistic result.
A lot of work has happened behind the scenes to make these processes reality. Adjusting items, creating new systems, saving the new values, teaching the server how to deal with this. Sadly, nothing that can be easily shared in an awesome screenshot or video. I can't wait until that's the case!
When I was younger, I intuitively thought that my eyes worked as an active system, something like radar. It probably sent something out to scan objects at a distance and report back its findings.

When I started messing around with photo cameras I started researching the subject for the first time. Apparently, the word "photography" was created from the Greek words "photos" (light) and "graphe" (drawing). Photography is drawing with light. To me, photography was creating images with interesting subjects and good composition - I barely knew about the importance of light.
But when operating a camera manually, the fundamental importance of light becomes very apparent. Your camera is basically "catching" light and you have to determine how much you're going to let in for what amount of time. When there's little light available, you've got to change the sensitivity of the sensor.

The image above should be obvious. Sun shines light on flag, light bounces off flag into eye. Eye sees flag. That's how our eyes and photo cameras alike perceive the world. But lots of objects aren't directly illuminated by the sun or a lamp. How does that work?
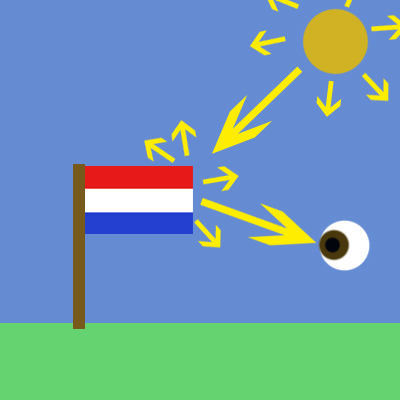
The sun emits lights in all directions. And when light hits an object, it might be partly absorbed, but it will probably also be partly reflected. Many objects, like textiles, paper and skin, reflect light in all directions. So light is "bouncing" all around us, giving our eyes lots of input to create an image of the world around us.
To simulate this, you would have to calculate every ray of light emitted by every light source and track it through multiple bounces. It's called ray tracing and it's used to generate photorealistic images and videos.
You can probably imagine that this is pretty hard to do for a computer. Even using limited ray tracing in a simple scene in Blender takes ~30 seconds. That's not a problem if you're just trying to render one image, but it's impossible to use it to generate 60 frames per second. That's why CGI trailers often look so different from real gameplay .
The solution that Colony Survival and many other games use is a distinction between direct and ambient lighting. It's the primary thing we notice when looking around in real life. Some things are directly lit by the sun or a lamp and are pretty bright, while all the other things are relatively dark. So that's how it works in-game. All blocks are automatically lit by virtue of existing, whether a light source is nearby or not. If a block is 'hit' by the sun or a lamp, it becomes significantly brighter.
The results resemble real life the most when you're standing outside and the sun directly lights most of what you see. But it's less appealing in other situations. The world is too bright when you're underground without light sources. There's a lack of contrast indoors. Cloudy days are also hard to simulate accurately with this system.
Plenty of modern games try to overcome this by 'baking' the lighting. Lighting is rendered with ray tracing once and saved in a texture. Now people can explore a 3D world in real time with nearly perfect lighting. Here's an example of such a world:
https://youtu.be/Y6PQ19BEE24
Still frames from this video are nearly indistinguishable from real life. But baking has some pretty big disadvantages. The baking results are accurate as long as both the light source and the environment don't change. Both are stable in the video, but they're highly unstable in Colony Survival. The sun is permanently moving and players can change every block in the world. So baking is unsuited for Colony Survival.
But there are other systems we can use to add semi-realistic lighting to Colony Survival. We talked about light hitting an object and it bouncing away in all directions. This happens because most surfaces are pretty rough on a microscopic level.

But that isn't true for all objects. Plenty of objects have relatively smooth surfaces, even on a microscopic level. Plastic, metal, finished wood and wet objects are often quite smooth. This means the light isn't equally reflected in all directions.

Most of it reflects in the same direction. This means the object will look darker from most angles (because less light hits your eye / the sensor), but it'll look a lot brighter from some special angles.
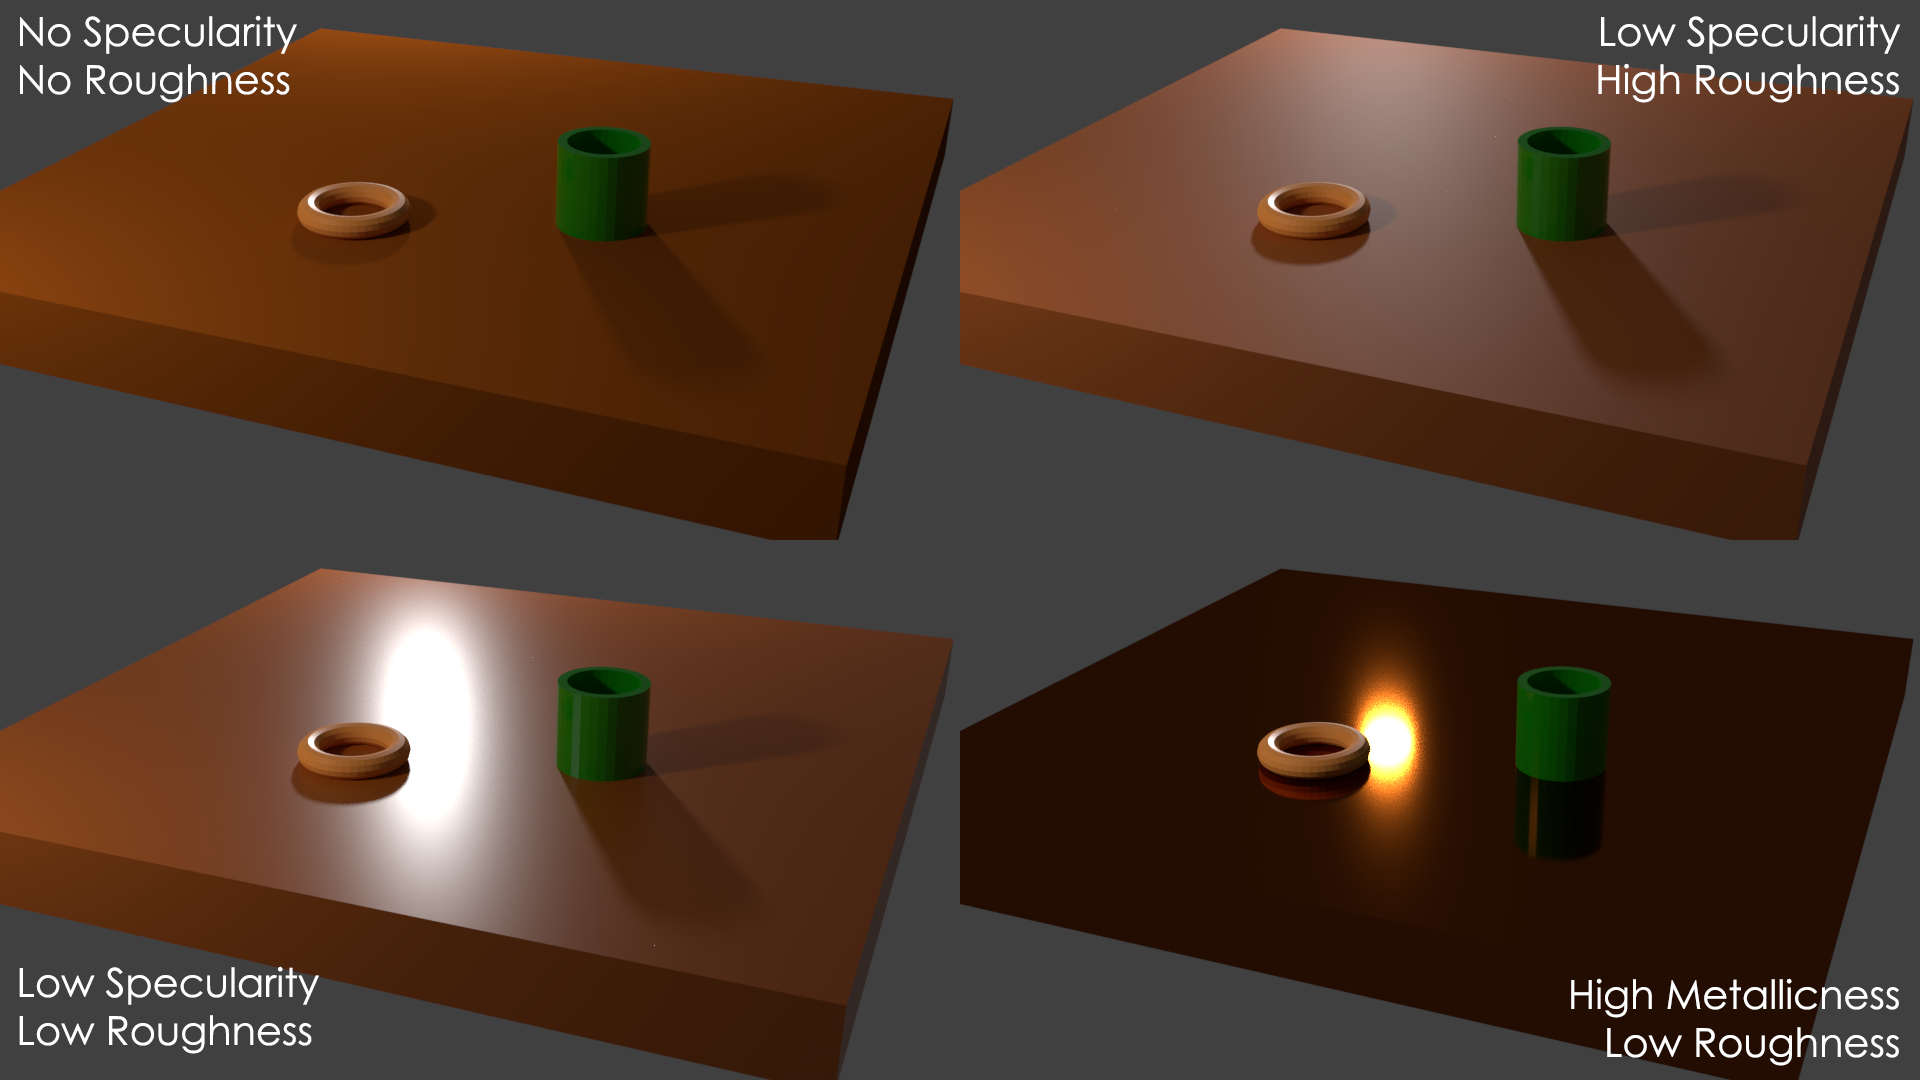
Because we're truly talking about roughness on a microscopic level, it doesn't make sense to simulate this with actual "physical" bumps and indentations. Most games have certain textures that can be used to instruct the software how an item should reflect light. Colony Survival has "specular maps" (they determine how much light the object reflects) and "smoothness maps" (they determine how smooth or rough the object is on a microscopic level). Here's an example in Blender:
 Fullscreen
You can view and modify Colony Survival's textures by going to "steamapps\common\Colony Survival\gamedata\textures\materials\blocks". There you'll see four folders: albedo, emmissiveMaskAlpha, heigthSmoothnessSpecularity and normal. We'll focus on the most important textures.

This is the basic look of the block, without reflections. It can be made or adjusted in software like Paint, Gimp and Photoshop. It's pretty straightforward.
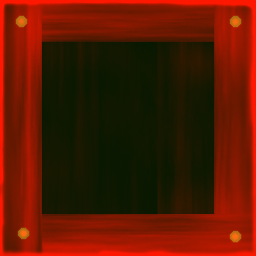
This one is more complicated. It consists out of three separate greyscale maps. Instead of choosing the height/roughness/smoothness value with a slider that goes from 0 to 100, it's chosen in a greyscale map that goes from black to white.
Blocks in Colony Survival are simple objects with six flat sides. But when you look closely, they seem to have 3D details. This is done with the height map. We can use it to slightly adjust the height of the block without a big impact on performance. For example, the nails are slightly higher and the center of the crate is lower.
RGB images consist out of three channels: Red, Green and Blue. We put a different greyscale map in each channel to create one colored image: the "Heigth / Smoothness / Specularity" map. Software like Gimp or Photoshop can be used to inspect and adjust different color channels.
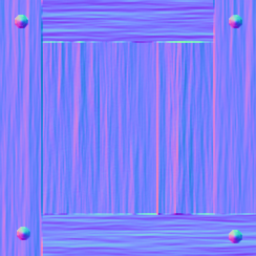
The specularity and smoothness maps are meant to simulate lighting effects on a microscopic level, but normal maps are used to simulate bumps and ridges on a bigger scale. Normal maps are made by special software that "reads" height maps and outputs blue-purple images like the one above.
The game's lighting system uses normal maps so that the lighting acts as if the bumps and ridges described in the normal map are actually there. It's a great way of making objects look detailed while they are actually pretty simple.
---
This might seem pretty complex on a first glance, but opening these textures, messing around with them, and checking the results in Colony Survival will quickly teach you everything you need to know. And if you need more help, join the Discord :) More and more people are starting to experiment with the textures and we're seeing awesome results.
For those interested in my Unity/programming experiments, here's my latest project.
Bedankt voor het lezen!
Reddit // Twitter // YouTube // Website // Discord
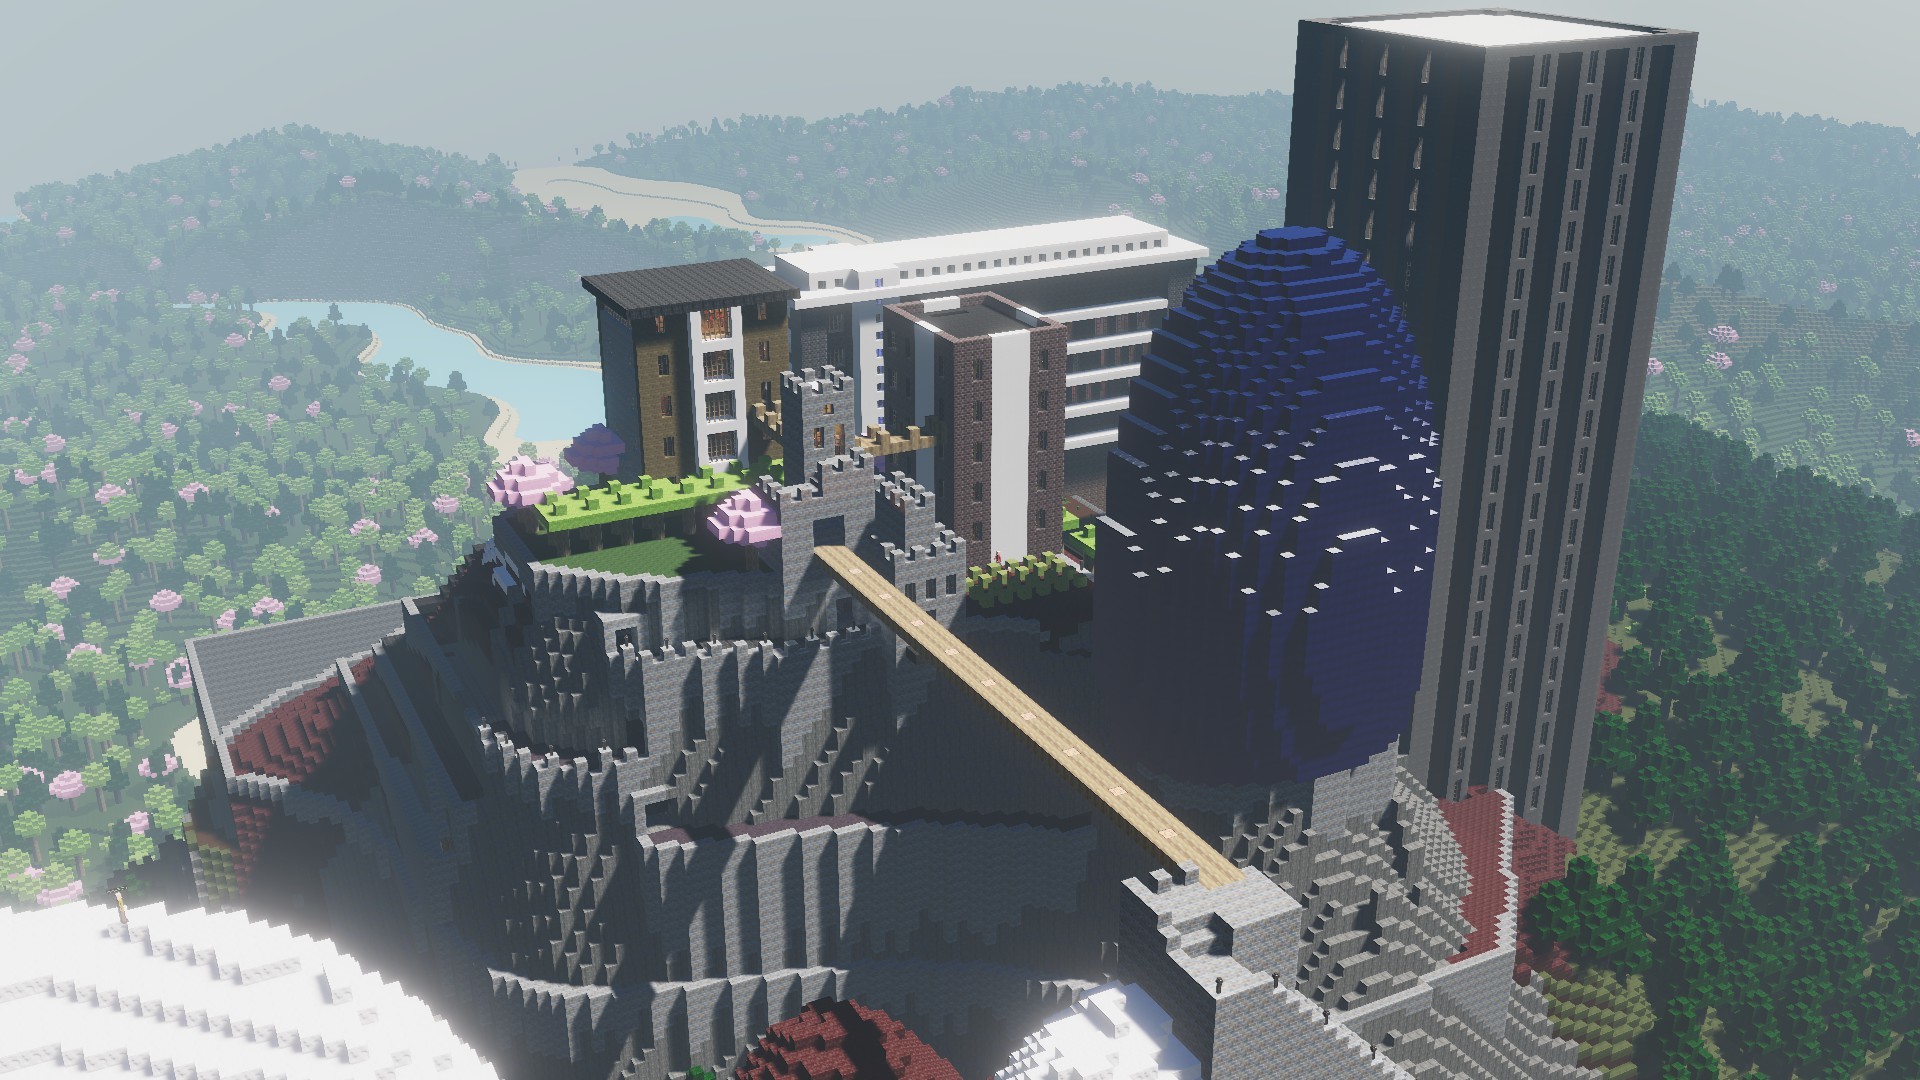
Built by Boneidle, with modded blocks made by Boneidle
Last week was focused on the mechanics of the grocer's shop; this week we focused on the mechanics behind the happiness items. Every happiness item now gets three stats. For food items:
- Food value / calories: how much hunger it satisfies
- Happiness: how happy the colonist becomes from eating the food
- Monetary value: the value that the VAT will be based on.
There is one big slider that applies to all food items; the "rations slider". Here you'll set how much food a colonist will consume in a day. You can "weigh" each food item to determine what part of their diet will consist out of that food type. For example, if bread weighs "10" and berries "5", 66% of their daily calories will consist out of bread and 33% out of berries.
For non-food items, food value is replaced with "how long the item will provide happiness". There are some things we consume every day. Electricity, internet, water. Other items need to be replaced on a slightly longer timescale: toilet paper, gasoline, toothpaste. And other items will last years: clocks, winter coats, cars.
It wouldn't make sense to deliver daily packages with new smartphones (or clocks, for a more historical alternative) to every colonist. But a yearly package with 1 smartphone and 365x3000 calories wouldn't be appropriate either. So the "happiness-time" value will scale the daily requirements to appropriate levels. Imagine you've got 800 colonists and a clock will last 200 days; this means you've got to produce 4 clocks per day. That seems like a reasonable and realistic result.
A lot of work has happened behind the scenes to make these processes reality. Adjusting items, creating new systems, saving the new values, teaching the server how to deal with this. Sadly, nothing that can be easily shared in an awesome screenshot or video. I can't wait until that's the case!
Lighting, in real life and games
When I was younger, I intuitively thought that my eyes worked as an active system, something like radar. It probably sent something out to scan objects at a distance and report back its findings.

When I started messing around with photo cameras I started researching the subject for the first time. Apparently, the word "photography" was created from the Greek words "photos" (light) and "graphe" (drawing). Photography is drawing with light. To me, photography was creating images with interesting subjects and good composition - I barely knew about the importance of light.
But when operating a camera manually, the fundamental importance of light becomes very apparent. Your camera is basically "catching" light and you have to determine how much you're going to let in for what amount of time. When there's little light available, you've got to change the sensitivity of the sensor.

The image above should be obvious. Sun shines light on flag, light bounces off flag into eye. Eye sees flag. That's how our eyes and photo cameras alike perceive the world. But lots of objects aren't directly illuminated by the sun or a lamp. How does that work?

The sun emits lights in all directions. And when light hits an object, it might be partly absorbed, but it will probably also be partly reflected. Many objects, like textiles, paper and skin, reflect light in all directions. So light is "bouncing" all around us, giving our eyes lots of input to create an image of the world around us.
To simulate this, you would have to calculate every ray of light emitted by every light source and track it through multiple bounces. It's called ray tracing and it's used to generate photorealistic images and videos.
You can probably imagine that this is pretty hard to do for a computer. Even using limited ray tracing in a simple scene in Blender takes ~30 seconds. That's not a problem if you're just trying to render one image, but it's impossible to use it to generate 60 frames per second. That's why CGI trailers often look so different from real gameplay .
The solution that Colony Survival and many other games use is a distinction between direct and ambient lighting. It's the primary thing we notice when looking around in real life. Some things are directly lit by the sun or a lamp and are pretty bright, while all the other things are relatively dark. So that's how it works in-game. All blocks are automatically lit by virtue of existing, whether a light source is nearby or not. If a block is 'hit' by the sun or a lamp, it becomes significantly brighter.
The results resemble real life the most when you're standing outside and the sun directly lights most of what you see. But it's less appealing in other situations. The world is too bright when you're underground without light sources. There's a lack of contrast indoors. Cloudy days are also hard to simulate accurately with this system.
Plenty of modern games try to overcome this by 'baking' the lighting. Lighting is rendered with ray tracing once and saved in a texture. Now people can explore a 3D world in real time with nearly perfect lighting. Here's an example of such a world:
https://youtu.be/Y6PQ19BEE24
Still frames from this video are nearly indistinguishable from real life. But baking has some pretty big disadvantages. The baking results are accurate as long as both the light source and the environment don't change. Both are stable in the video, but they're highly unstable in Colony Survival. The sun is permanently moving and players can change every block in the world. So baking is unsuited for Colony Survival.
But there are other systems we can use to add semi-realistic lighting to Colony Survival. We talked about light hitting an object and it bouncing away in all directions. This happens because most surfaces are pretty rough on a microscopic level.

But that isn't true for all objects. Plenty of objects have relatively smooth surfaces, even on a microscopic level. Plastic, metal, finished wood and wet objects are often quite smooth. This means the light isn't equally reflected in all directions.

Most of it reflects in the same direction. This means the object will look darker from most angles (because less light hits your eye / the sensor), but it'll look a lot brighter from some special angles.
Because we're truly talking about roughness on a microscopic level, it doesn't make sense to simulate this with actual "physical" bumps and indentations. Most games have certain textures that can be used to instruct the software how an item should reflect light. Colony Survival has "specular maps" (they determine how much light the object reflects) and "smoothness maps" (they determine how smooth or rough the object is on a microscopic level). Here's an example in Blender:
 Fullscreen
You can view and modify Colony Survival's textures by going to "steamapps\common\Colony Survival\gamedata\textures\materials\blocks". There you'll see four folders: albedo, emmissiveMaskAlpha, heigthSmoothnessSpecularity and normal. We'll focus on the most important textures.
Albedo

This is the basic look of the block, without reflections. It can be made or adjusted in software like Paint, Gimp and Photoshop. It's pretty straightforward.
Heigth / Smoothness / Specularity

This one is more complicated. It consists out of three separate greyscale maps. Instead of choosing the height/roughness/smoothness value with a slider that goes from 0 to 100, it's chosen in a greyscale map that goes from black to white.
Blocks in Colony Survival are simple objects with six flat sides. But when you look closely, they seem to have 3D details. This is done with the height map. We can use it to slightly adjust the height of the block without a big impact on performance. For example, the nails are slightly higher and the center of the crate is lower.
RGB images consist out of three channels: Red, Green and Blue. We put a different greyscale map in each channel to create one colored image: the "Heigth / Smoothness / Specularity" map. Software like Gimp or Photoshop can be used to inspect and adjust different color channels.
Normal

The specularity and smoothness maps are meant to simulate lighting effects on a microscopic level, but normal maps are used to simulate bumps and ridges on a bigger scale. Normal maps are made by special software that "reads" height maps and outputs blue-purple images like the one above.
The game's lighting system uses normal maps so that the lighting acts as if the bumps and ridges described in the normal map are actually there. It's a great way of making objects look detailed while they are actually pretty simple.
---
This might seem pretty complex on a first glance, but opening these textures, messing around with them, and checking the results in Colony Survival will quickly teach you everything you need to know. And if you need more help, join the Discord :) More and more people are starting to experiment with the textures and we're seeing awesome results.
For those interested in my Unity/programming experiments, here's my latest project.
Bedankt voor het lezen!
Reddit // Twitter // YouTube // Website // Discord
[ 2018-11-23 09:35:19 CET ] [Original Post]
Minimum Setup
- OS: Ubuntu 12.04+. SteamOS+; 64-bit
- Processor: Intel Pentium G620 (2.5 Ghz dual core) or equivalentMemory: 2 GB RAM
- Memory: 2 GB RAM
- Graphics: Intel HD Graphics 5000. 1280x720 display
- Storage: 300 MB available spaceAdditional Notes: Work in progress: new features may raise the bar. optimizations may lower the bar
Recommended Setup
- OS: Ubuntu 12.04+. SteamOS+; 64-bit
- Processor: Intel i5-2300 (2.8 GHz quad core) or equivalentMemory: 4 GB RAM
- Graphics: Nvidia GTX 750 or equivalent. 1920x1080 display. supporting openGL 4.2+Network: Broadband Internet connection
- Storage: 1 GB available spaceAdditional Notes: Work in progress: new features may raise the bar. optimizations may lower the bar
GAMEBILLET
[ 6408 ]
FANATICAL
[ 5917 ]
GAMERSGATE
[ 1967 ]
MacGameStore
[ 2356 ]
INDIEGALA
[ 960 ]
LOADED
[ 1040 ]
ENEBA
[ 32810 ]
Green Man Gaming Deals
[ 866 ]
FANATICAL BUNDLES
GMG BUNDLES
HUMBLE BUNDLES
INDIEGALA BUNDLES
by buying games/dlcs from affiliate links you are supporting tuxDB


