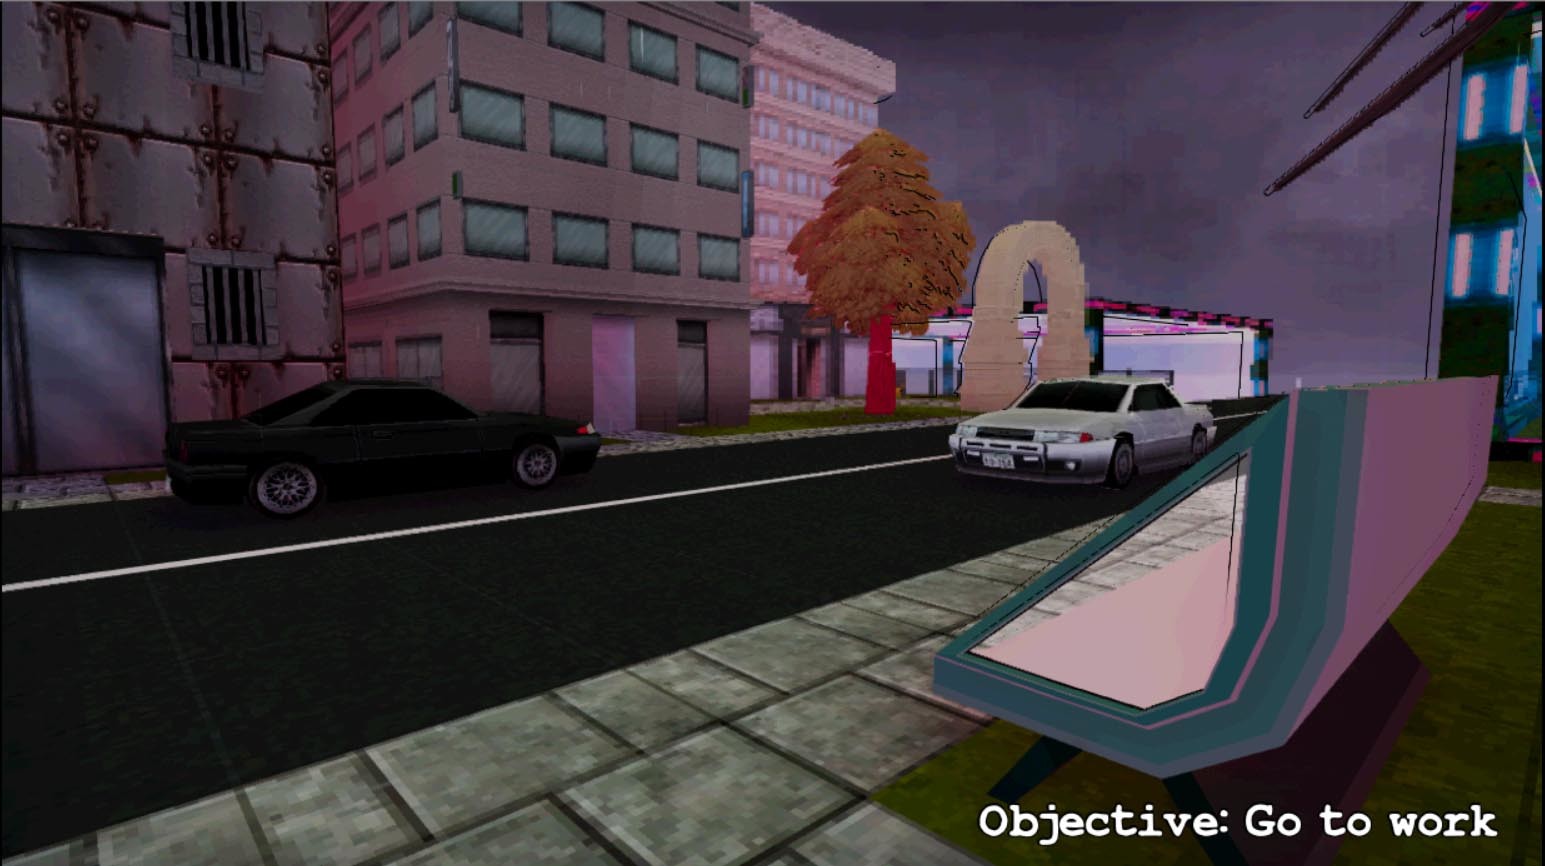
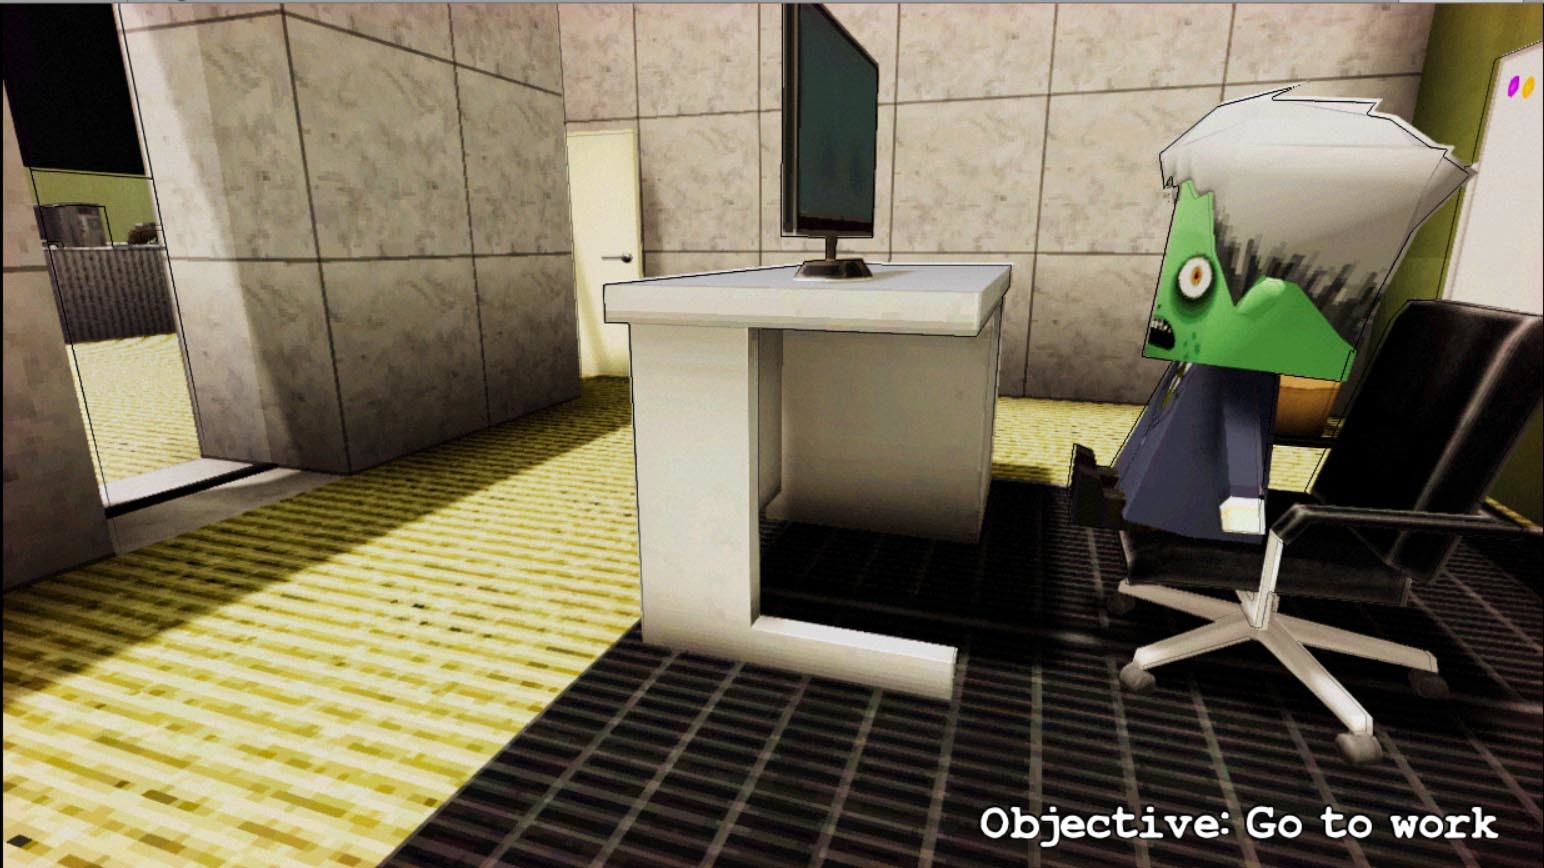
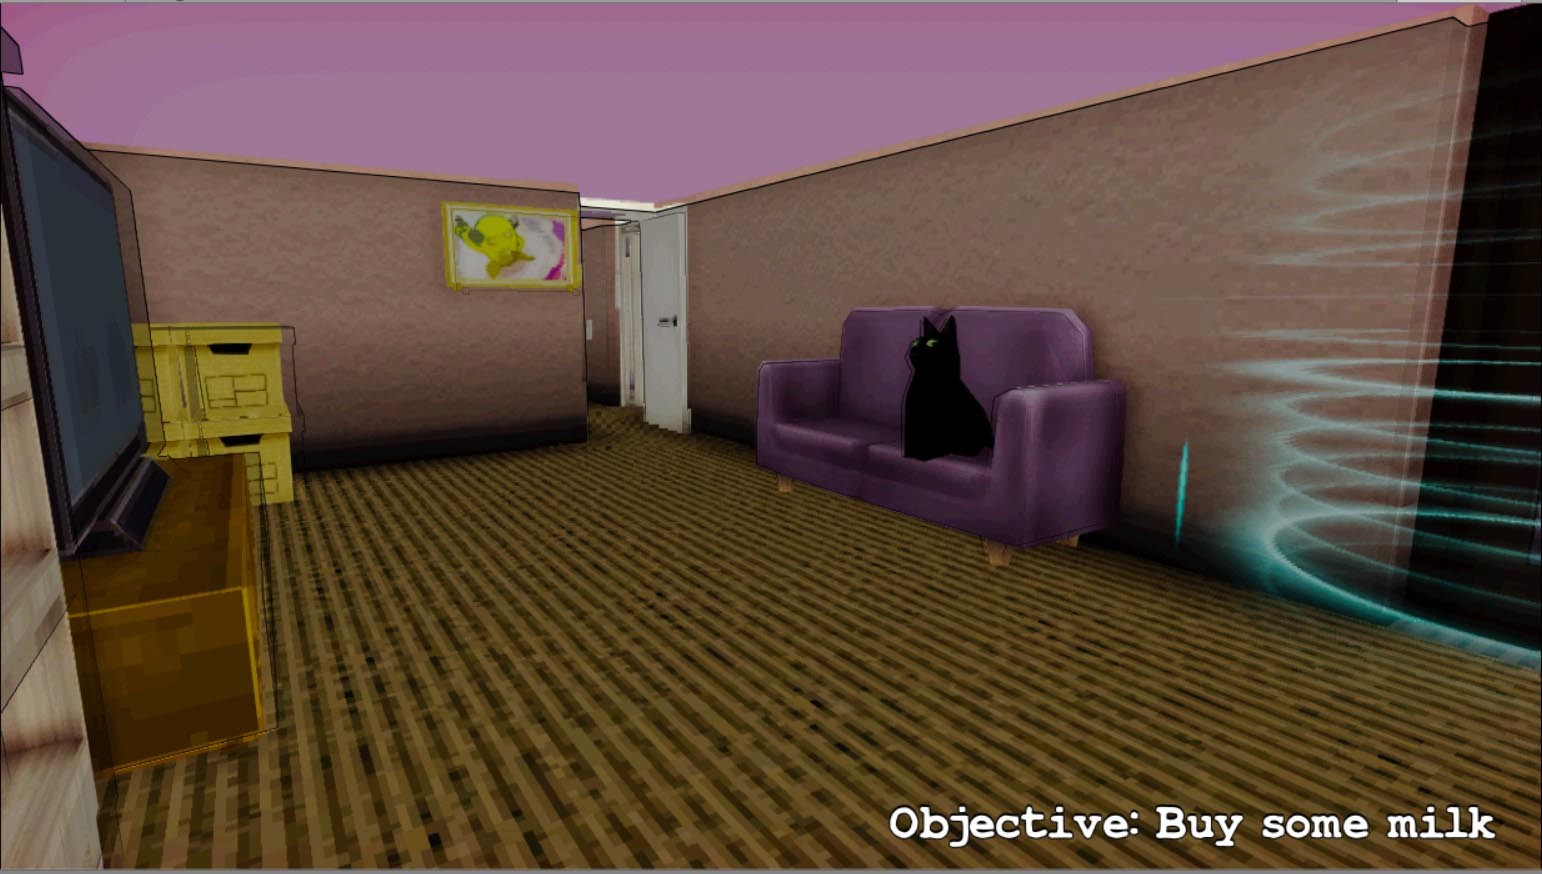
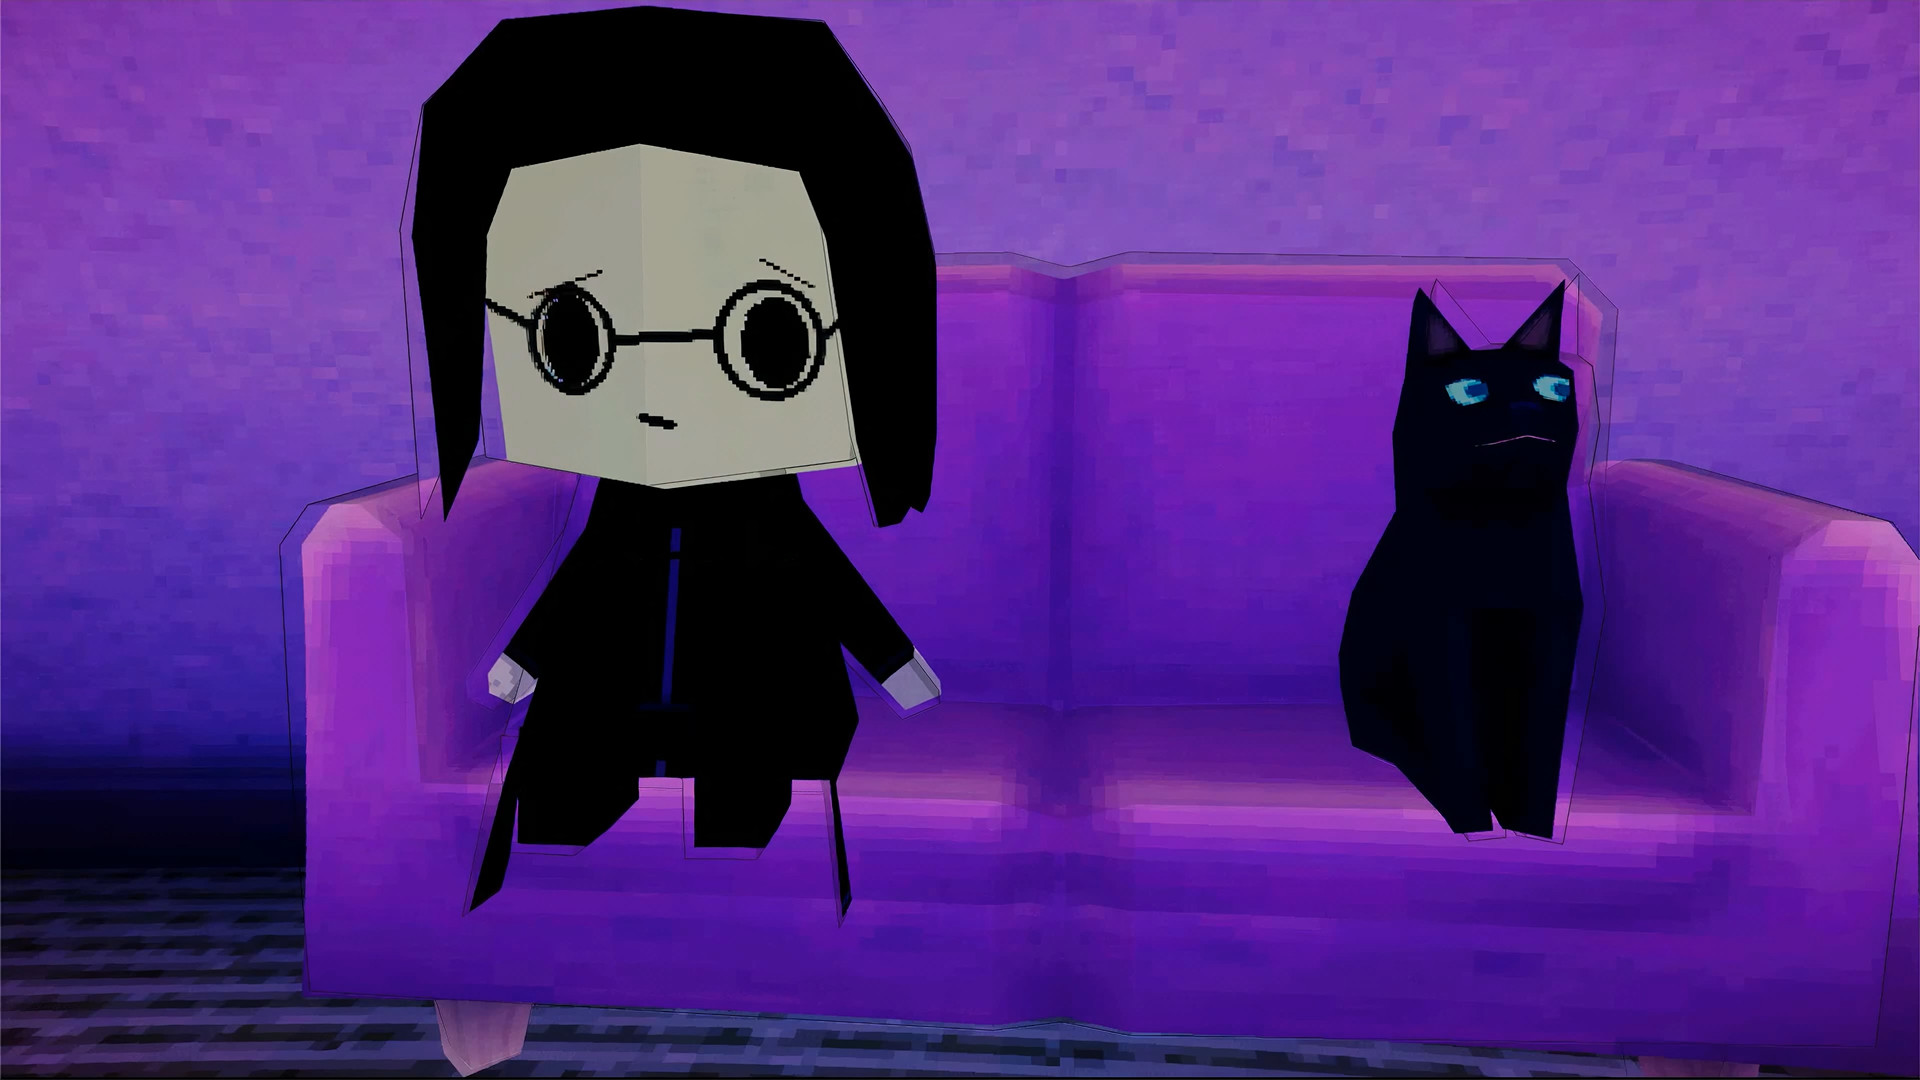
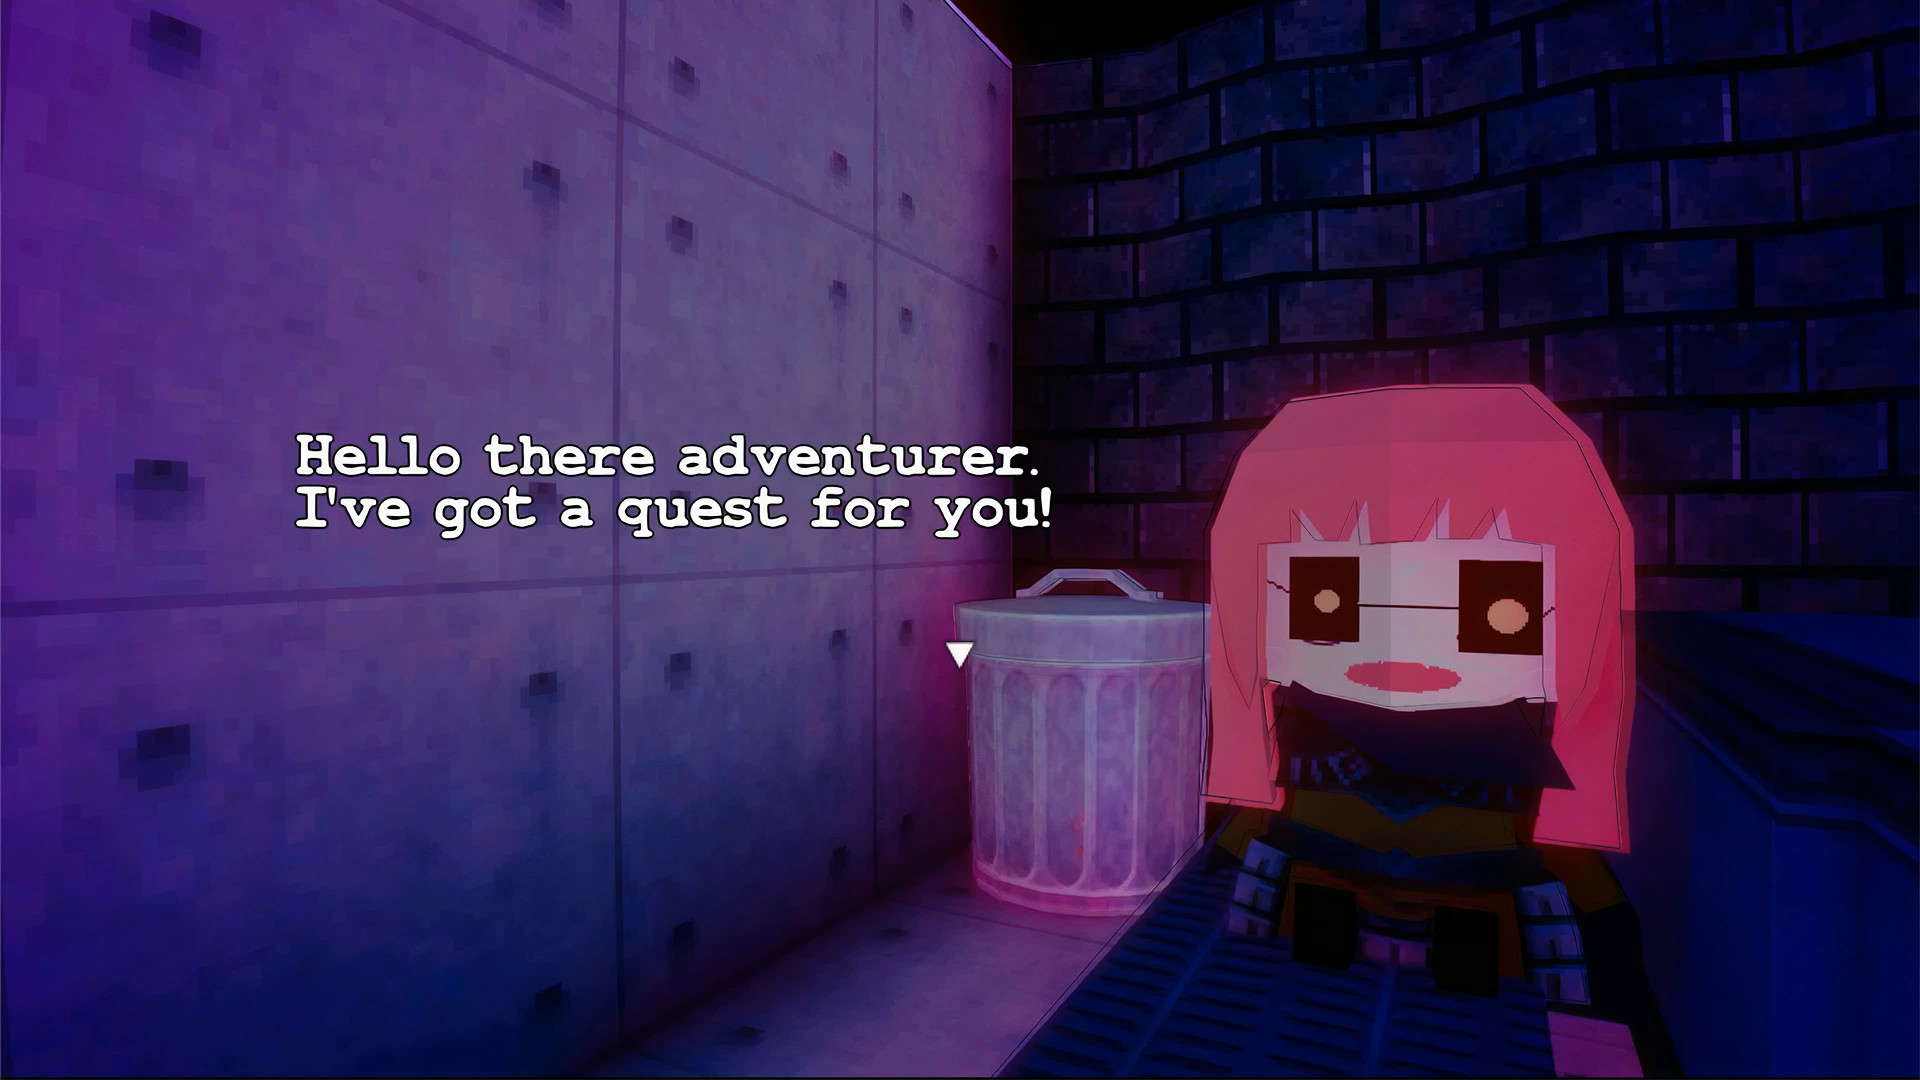
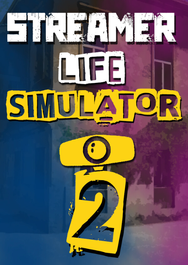
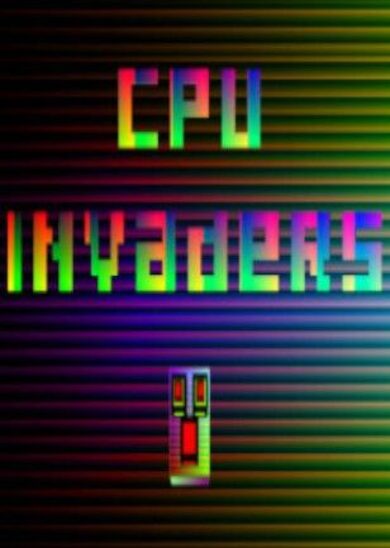
Experience a day in the subatomic life of Moira Leech. Get up, go to work, go home, go back to sleep.
Or.
Go off the the beaten track! Take charge! Stick your finger in an electrical socket!
A neutopian mysterium adventure game from Moloch Media.
- Meet and interact with the characters that live on your street.
- Or just ignore them.
- Go off on tangential subplots.
- Get in trouble.
- Listen to dynamic cassette chip music.
- Look at a high-fidelity fully 3D texture mapped world.
Welcome to another Smile Game Builder tutorial, showcasing some of the features and tricks I've found and worked on while developing "The Ocean Will Have Us All."
In this tutorial I'm going to show you how to get at the variables in a game exported from Smile Game Builder to Unity.
Step 1. We'll create a new project.
Step 2. Put in a new "advanced event."
Change the graphic to a character so we can see them.
Step 3. Let's set this event up to put a message in a string variable that we'll output in Unity and display another variable with a message from Unity.
Put in a "Change String Variable Box" event. Set it to variable number 254 and rename it to "MessageToUnity". Also rename string variable 255 to "MessageFromUnity".
Set it to "Substitute String" with "Hello Unity!"
Then create a "Display Message" event: "\$[MessageFromUnity]"
Step 4. Playtest the game. Talk to the character, a blank message box appears.
Step 5. Export the game to Unity.
Step 6. Open the exported project in Unity. Open it from the "entry.unity" file.
Step 7. Let's create a script for our unity hackin'. We'll call it "MyUnityHacks"
Create a gameobject and add the script.
Step 8. Open up "MyUnityHacks.cs"
We'll add some static variables (hackin'!) that we'll copy our variables to from within the Smile Game Builder code (more hackin').
Add these lines to the class:
public static string MessageFromUnity;
public static string MessageToUnity;
In void Start() add
MessageFromUnity = "Hello Smile Game Builder!"
in void Update() add
if(MessageToUnity != null)
{
Debug.Log(MessageToUnity);
}

Step 9. Open up "Assets\src\engine\ScriptRunner.cs"
Step 10. Look for "internal bool Update()" and add these lines
MyUnityHacks.MessageToUnity = owner.owner.data.system.StrVariables[254];
owner.owner.data.system.StrVariables[255]= MyUnityHacks.MessageFromUnity;

Now every frame MessageToUnity in MyUnityHacks will be updated with whatever is in string variable 254 [MessageToUnity] in your SGB game.
And every frame string variable 255 [MessageFromUnity] will be updated with whatever you've put in MessageFromUnity in the MyUnityHacks script.
All the integer variables from your game are stored in the array owner.owner.data.system.Variables[]
All the event switches are in owner.owner.data.system.Switches[]
Step 11. Run the project in Unity. Talk to the character. This time the message box should say "Hello Smile Game Builder!"
In the console in Unity you'll see the "Hello Unity!" message (repeated every frame.)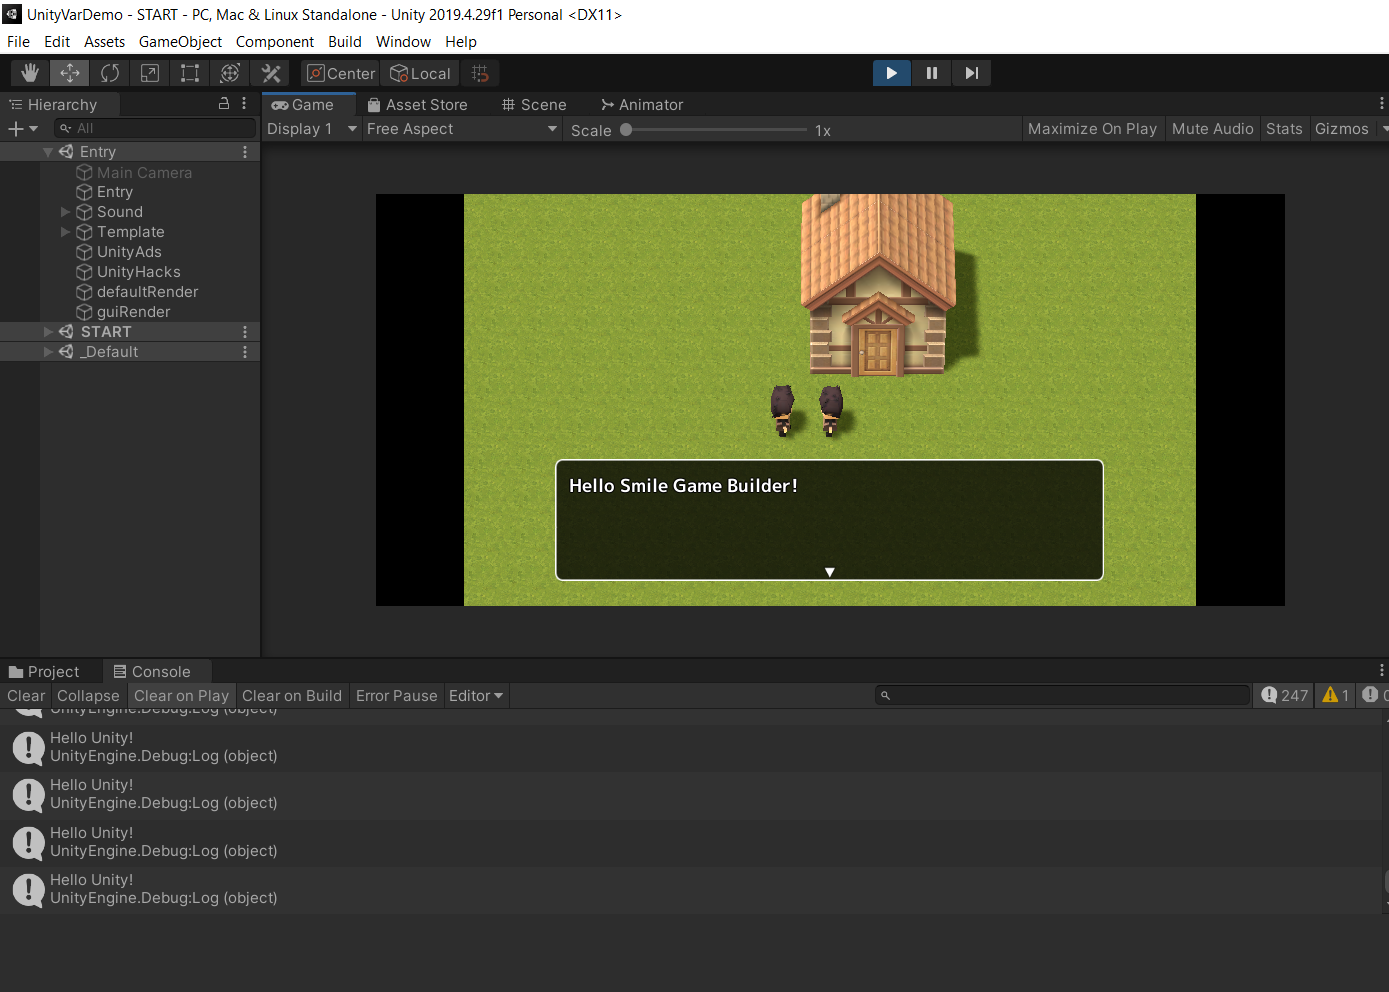
Step 12. Use your imagination! Extend your games in new and exciting ways in Unity! Do amazing things!
Hi, I'm going to do a few tutorials in Smile Game Builder showing some of the tricks I've used in The Ocean Will Have Us All.
If you have trouble seeing any of the images try right clicking and selecting "open image in new tab."
First up, here's how to make a simple mini map in SGB.
Step 1.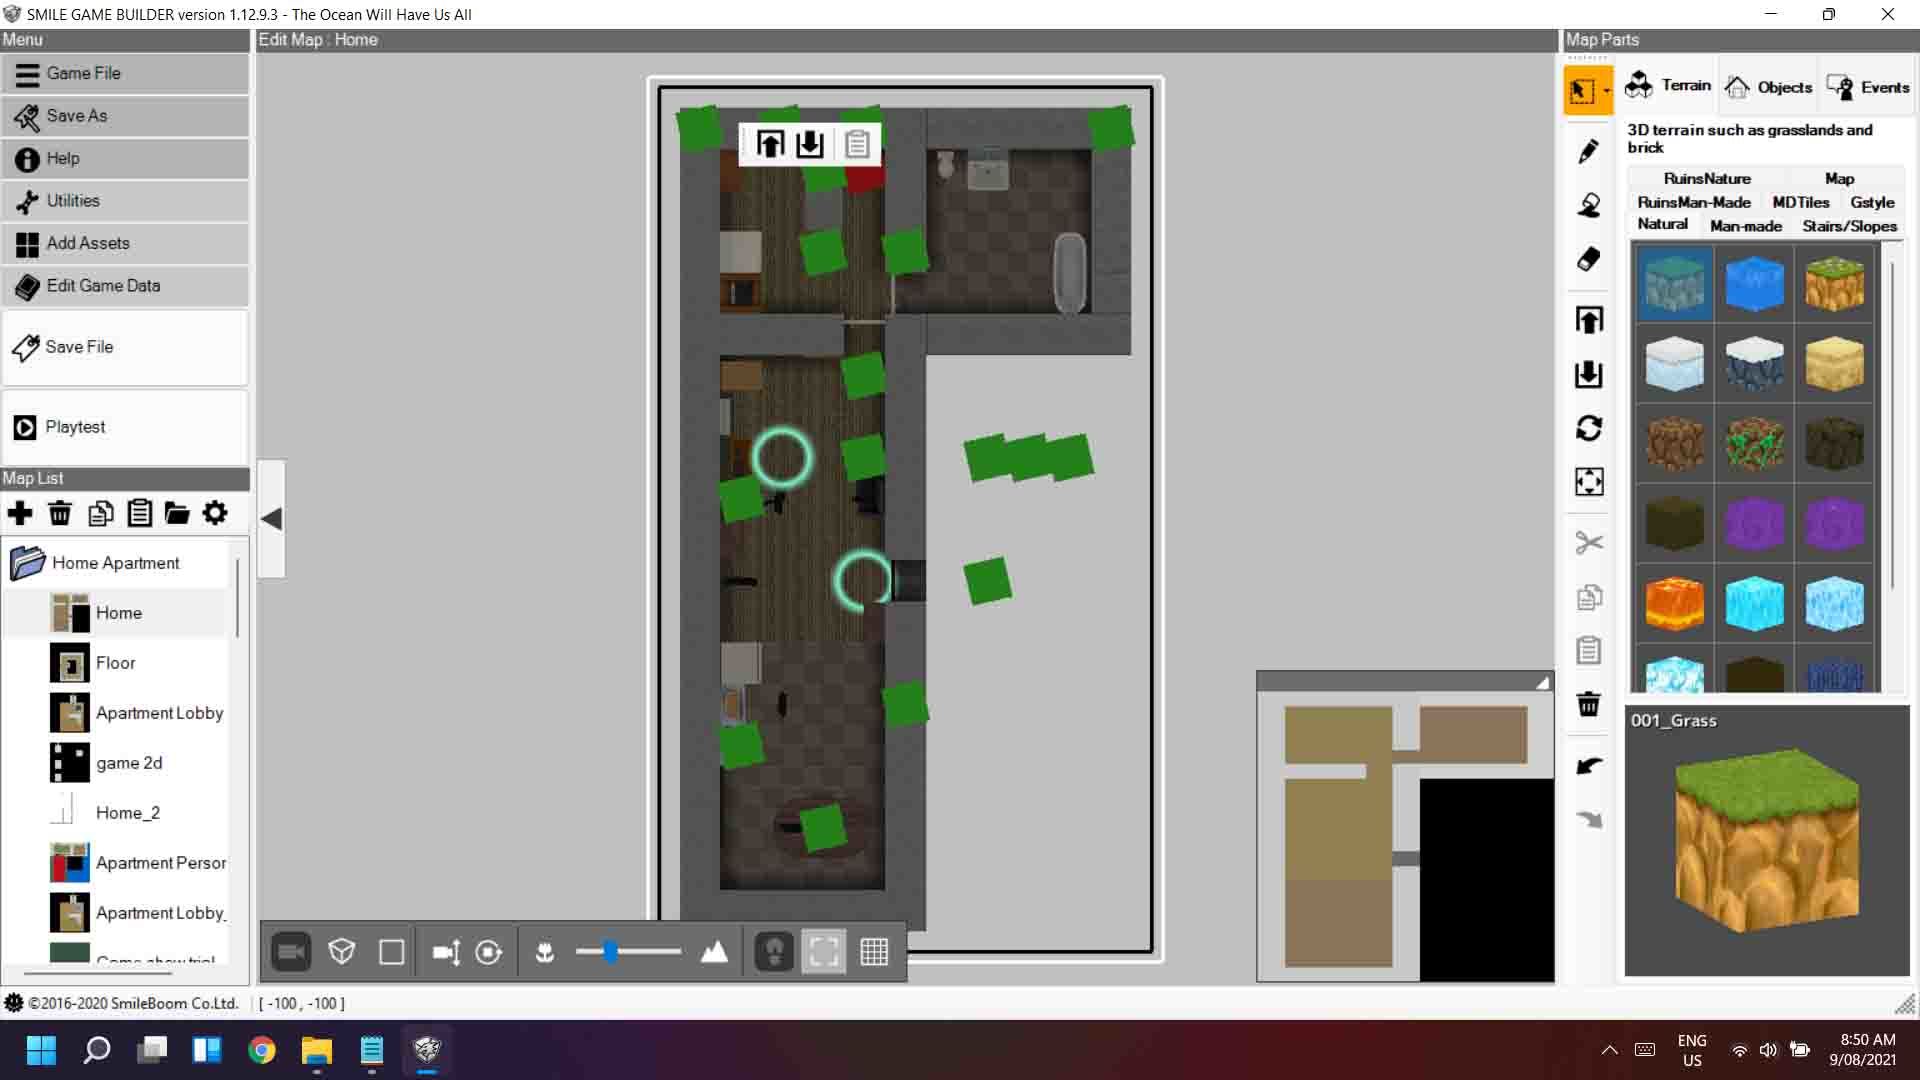
Load up the map you want to create a mini map for.
Oh look, we already have a little map there. That's handy. Let's use that.
Take a screenshot and crop it down to just the minimap.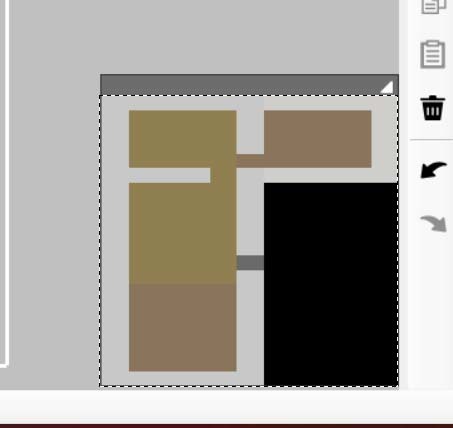
Step 2.
Resize your cropped image to match the size of your map. We want it at the scale of 1 block: 1 pixel.
So the map I'm using here is 11 by 20 blocks (you can find this in the map settings) so I resize the image to 11x20 pixels. Make sure to use "nearest neighbour" resizing.
The image is very small. We could zoom the image in SGB, however it will use a blurry bicubic resizing algorithm. I prefer sharp, clear pixels so let's resize it in our image editing software.
I've resized this one by 400%. Make sure to use "nearest neighbour."
I've then also converted it to greyscale (optional.)
Save your map image to a folder.
Step 3.
Create a one colour dot image. If you've resized your image to 400% create a 4x4 pixel image.
Save this into your folder with the map.
Step 4.
Import the images into SGB.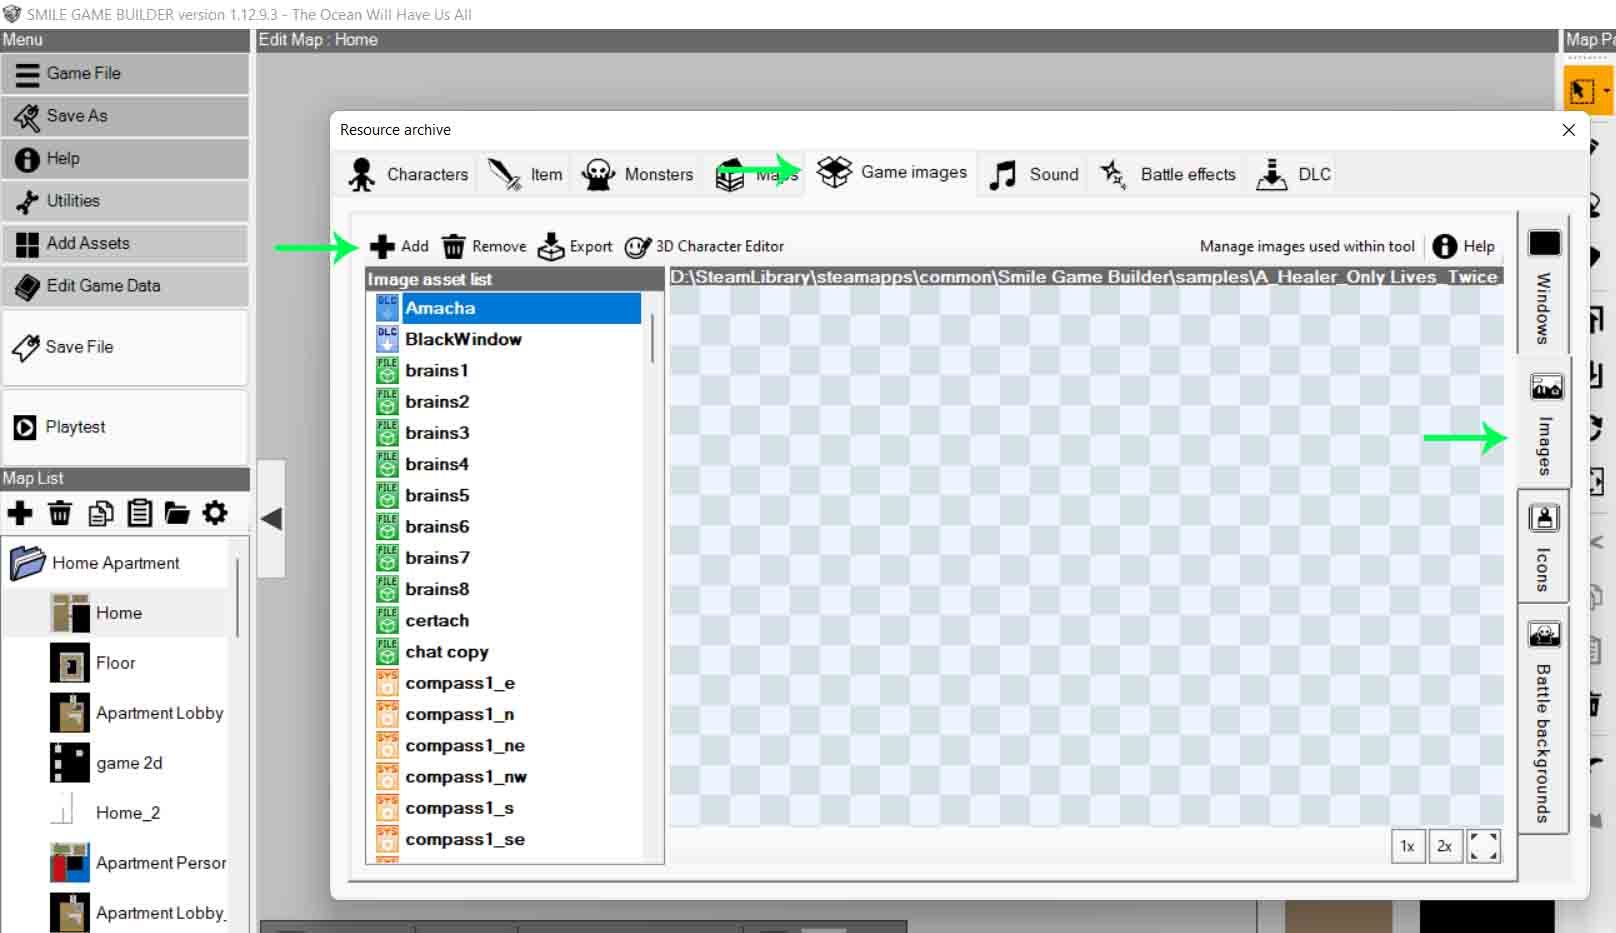
Add assets > Game images > Images. Click "Add."
Step 5.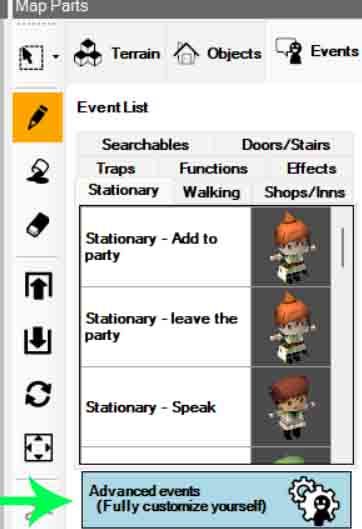
Create an "advanced event" on an empty block on your map.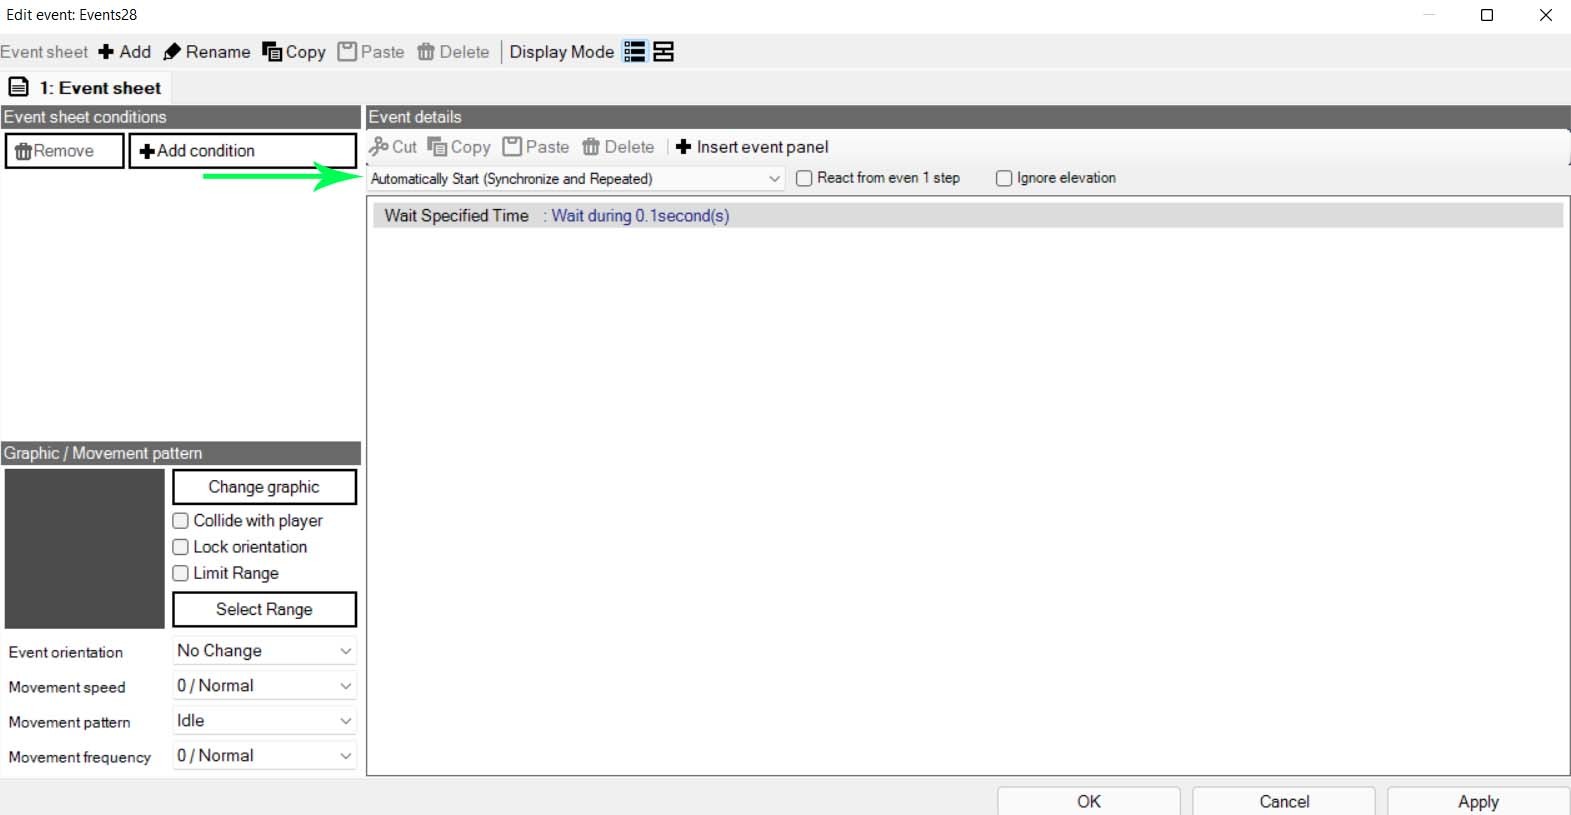
Set the event to "Automatically Start (Synchronize and Repeated.)
Add a wait event, 0.1 seconds.
Step 6.
Add a "Display Image" event. Choose your map image, press "Select..." and drag the image to your desired location on the screen.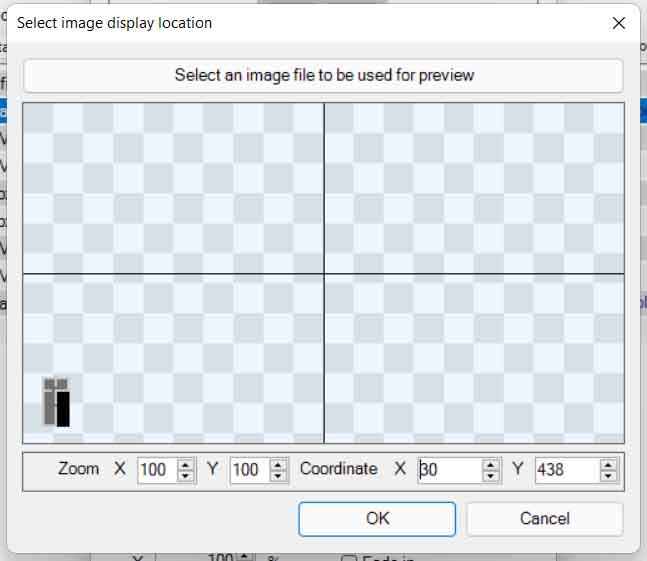
Step 7.
We now need to calculate where we will display the player dot on the screen.
Add an "Advanced Variable Box Op" event. We want to use a new variable and name it "PlayerX." Assign "Player Position", "X Coordinate."
Add another "Advanced Variable Box Op" event. This time use a new variable named "PlayerY" and assign "Player Position", "Y Coordinate."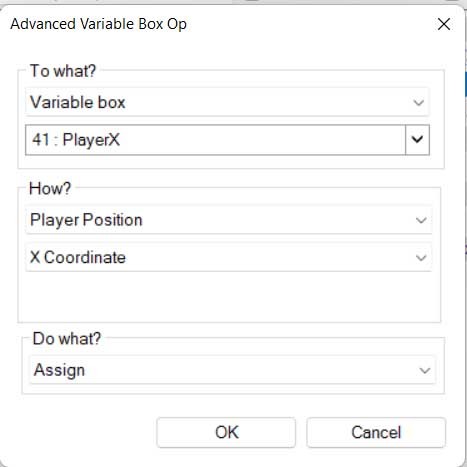
Step 8.
As I've resized my map by 400% we will need to multiply our coordinates by 4 times each.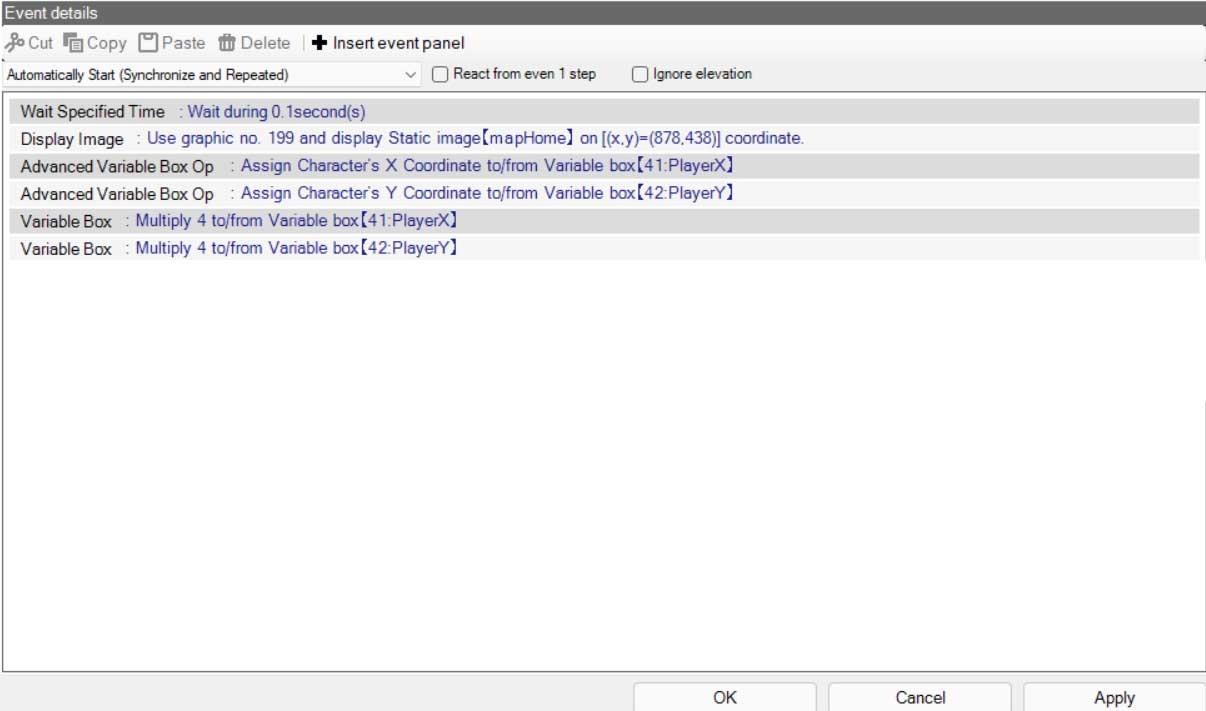
Create two "Variable Box" events for the PlayerX and PlayerY variables to multiplay them each by 4 times.
Step 9.
Create a "Variable Box" event. Look at the X coordinate you've used on the "Display Image" event for the map. Use that number and add it to the "PlayerX" variable.
Create another "Variable Box" event. This time add the value of the Y coordinate for the map image to the "PlayerY" variable.
Step 10.
And finally we display our player dot.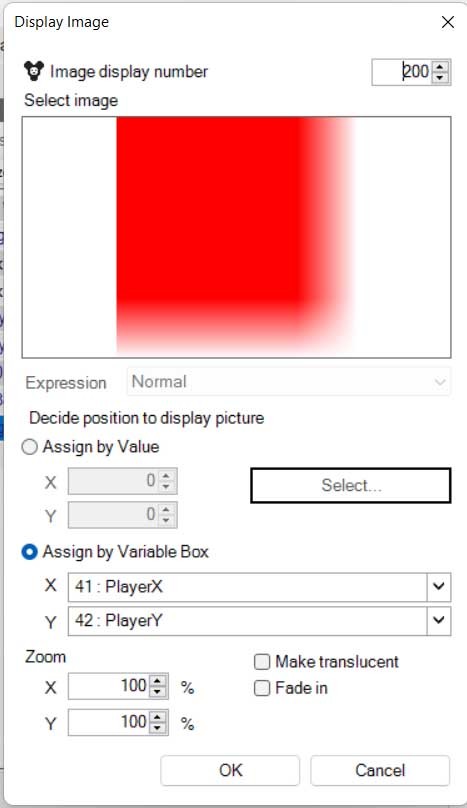
Add another "Display Image" event. Make sure to assign a different "Image display number." Select the "Assign by Variable Box" radio button. Set X to the "PlayerX" variable. Set Y to the "PlayerY" variable.
Step 11.
Test the game. You should have a minimap on the screen showing the players current position. Yay. Wow. Nice.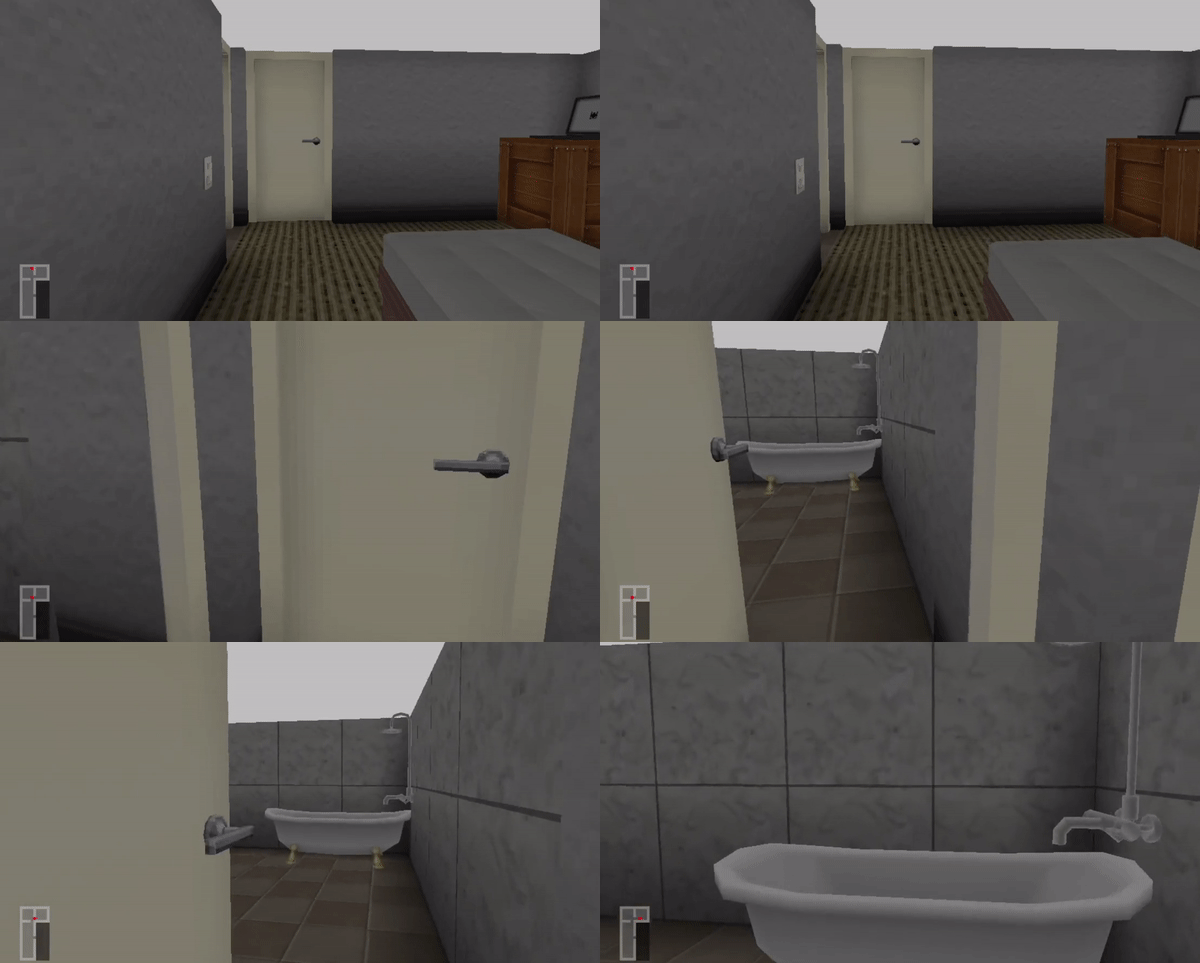
Minimum Setup
- OS: Ubuntu 16.04+
[ 6357 ]
[ 6590 ]
[ 3177 ]
[ 2532 ]
[ 1655 ]
[ 1040 ]
[ 32822 ]
[ 867 ]
[ 45625 ]
[ 6040 ]
[ 17228 ]
[ 819 ]
