
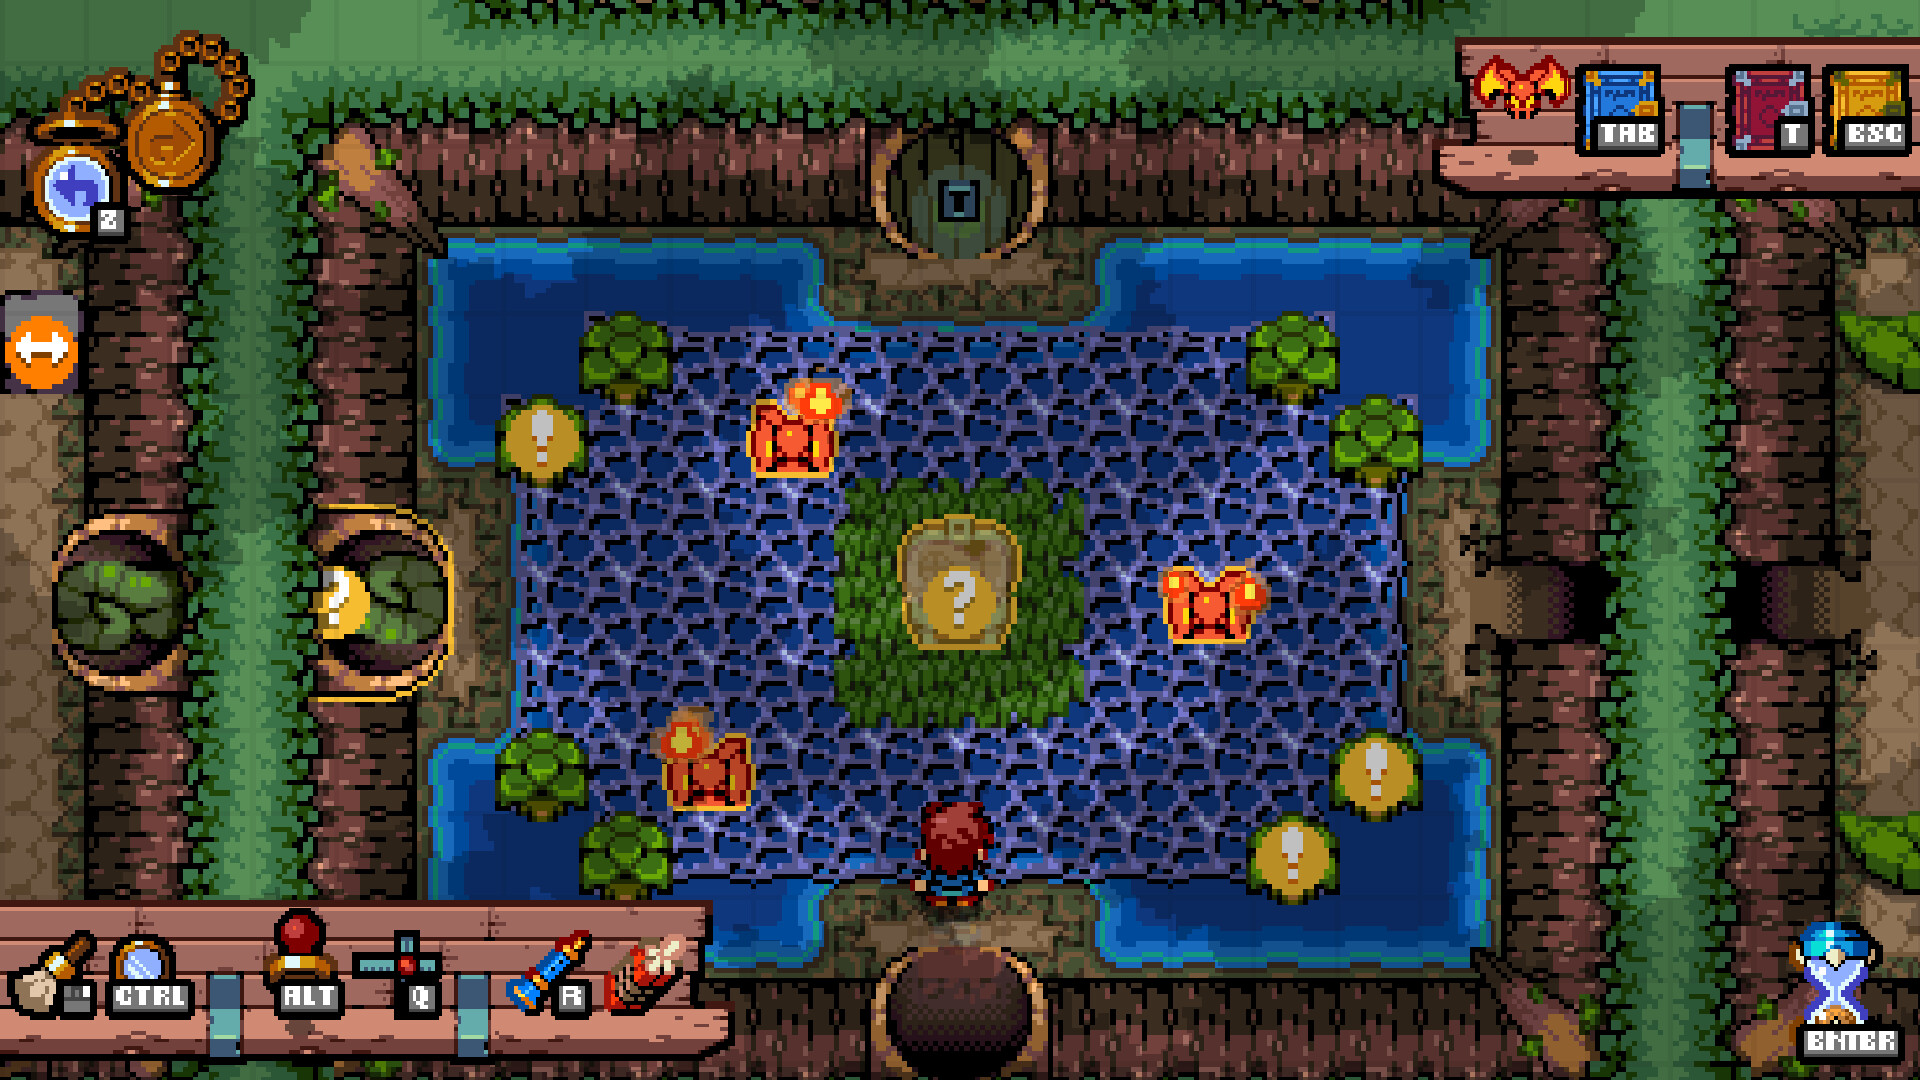
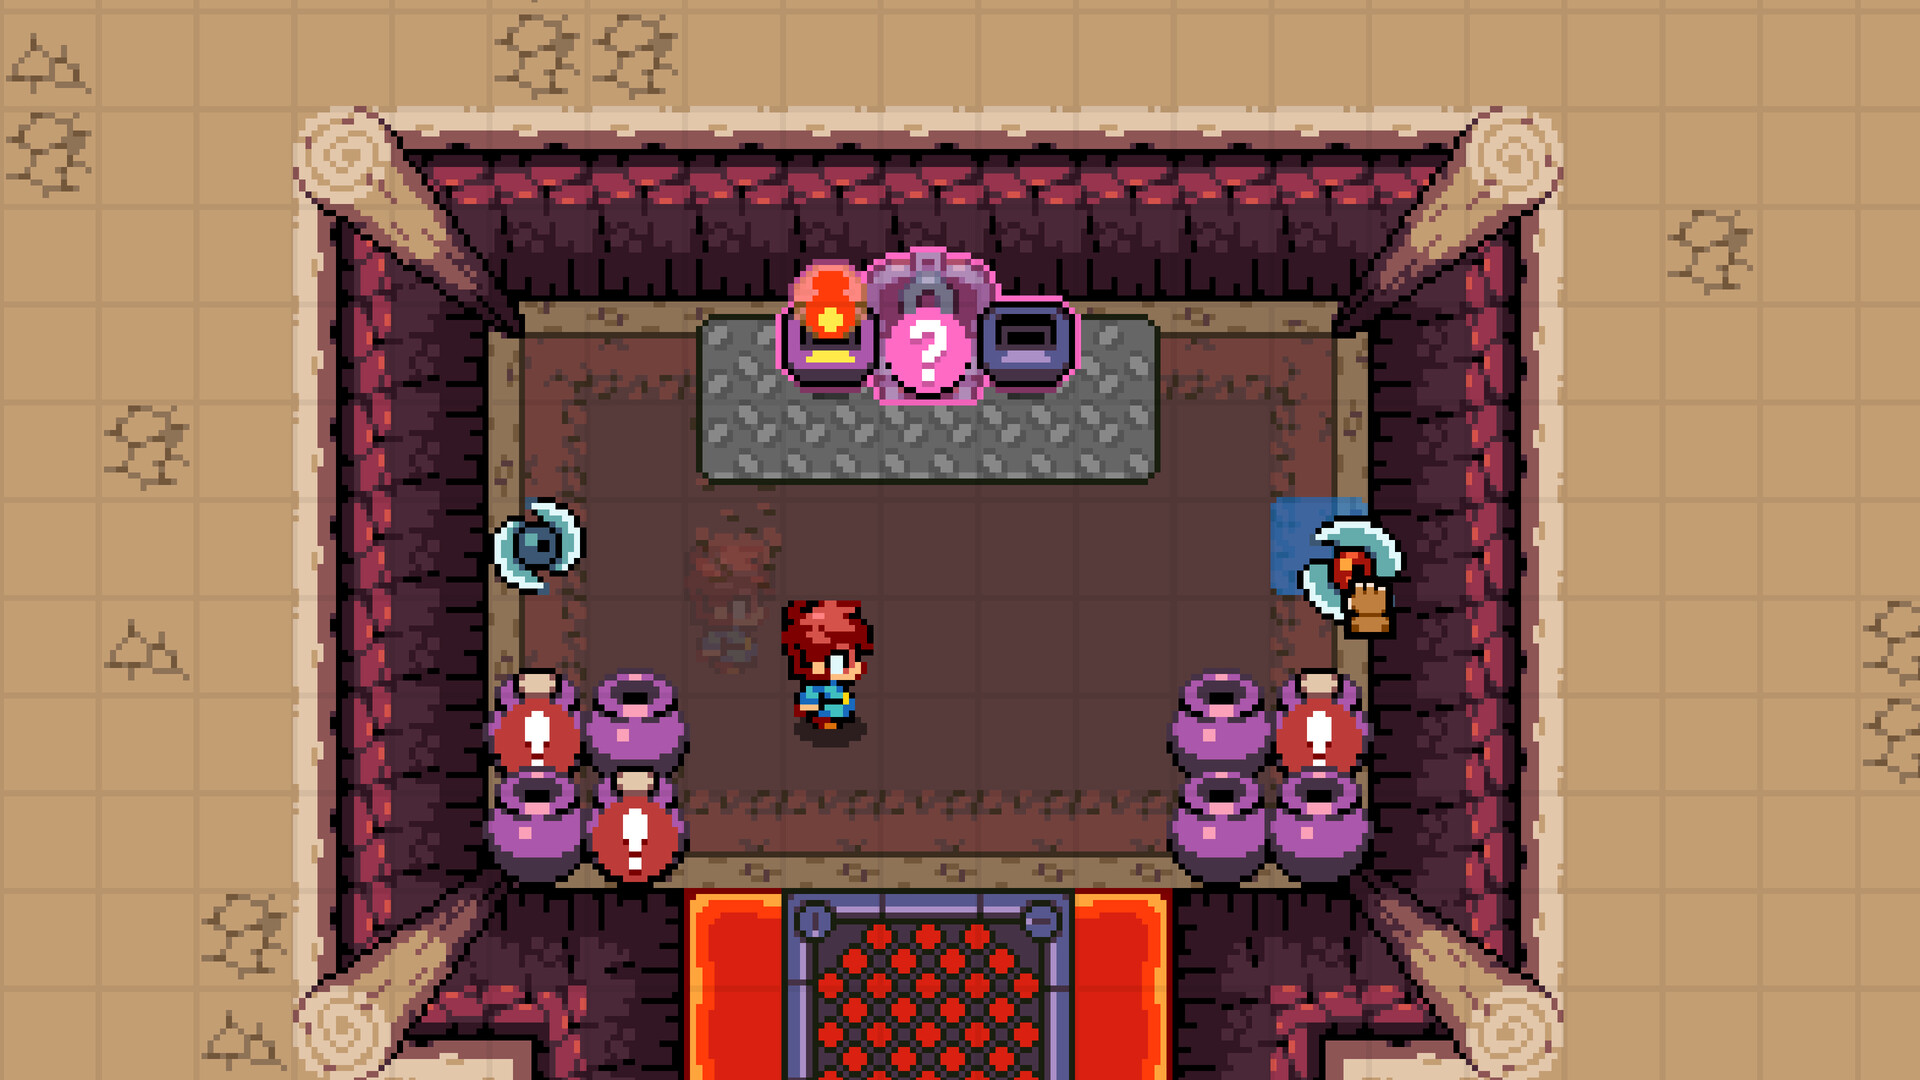
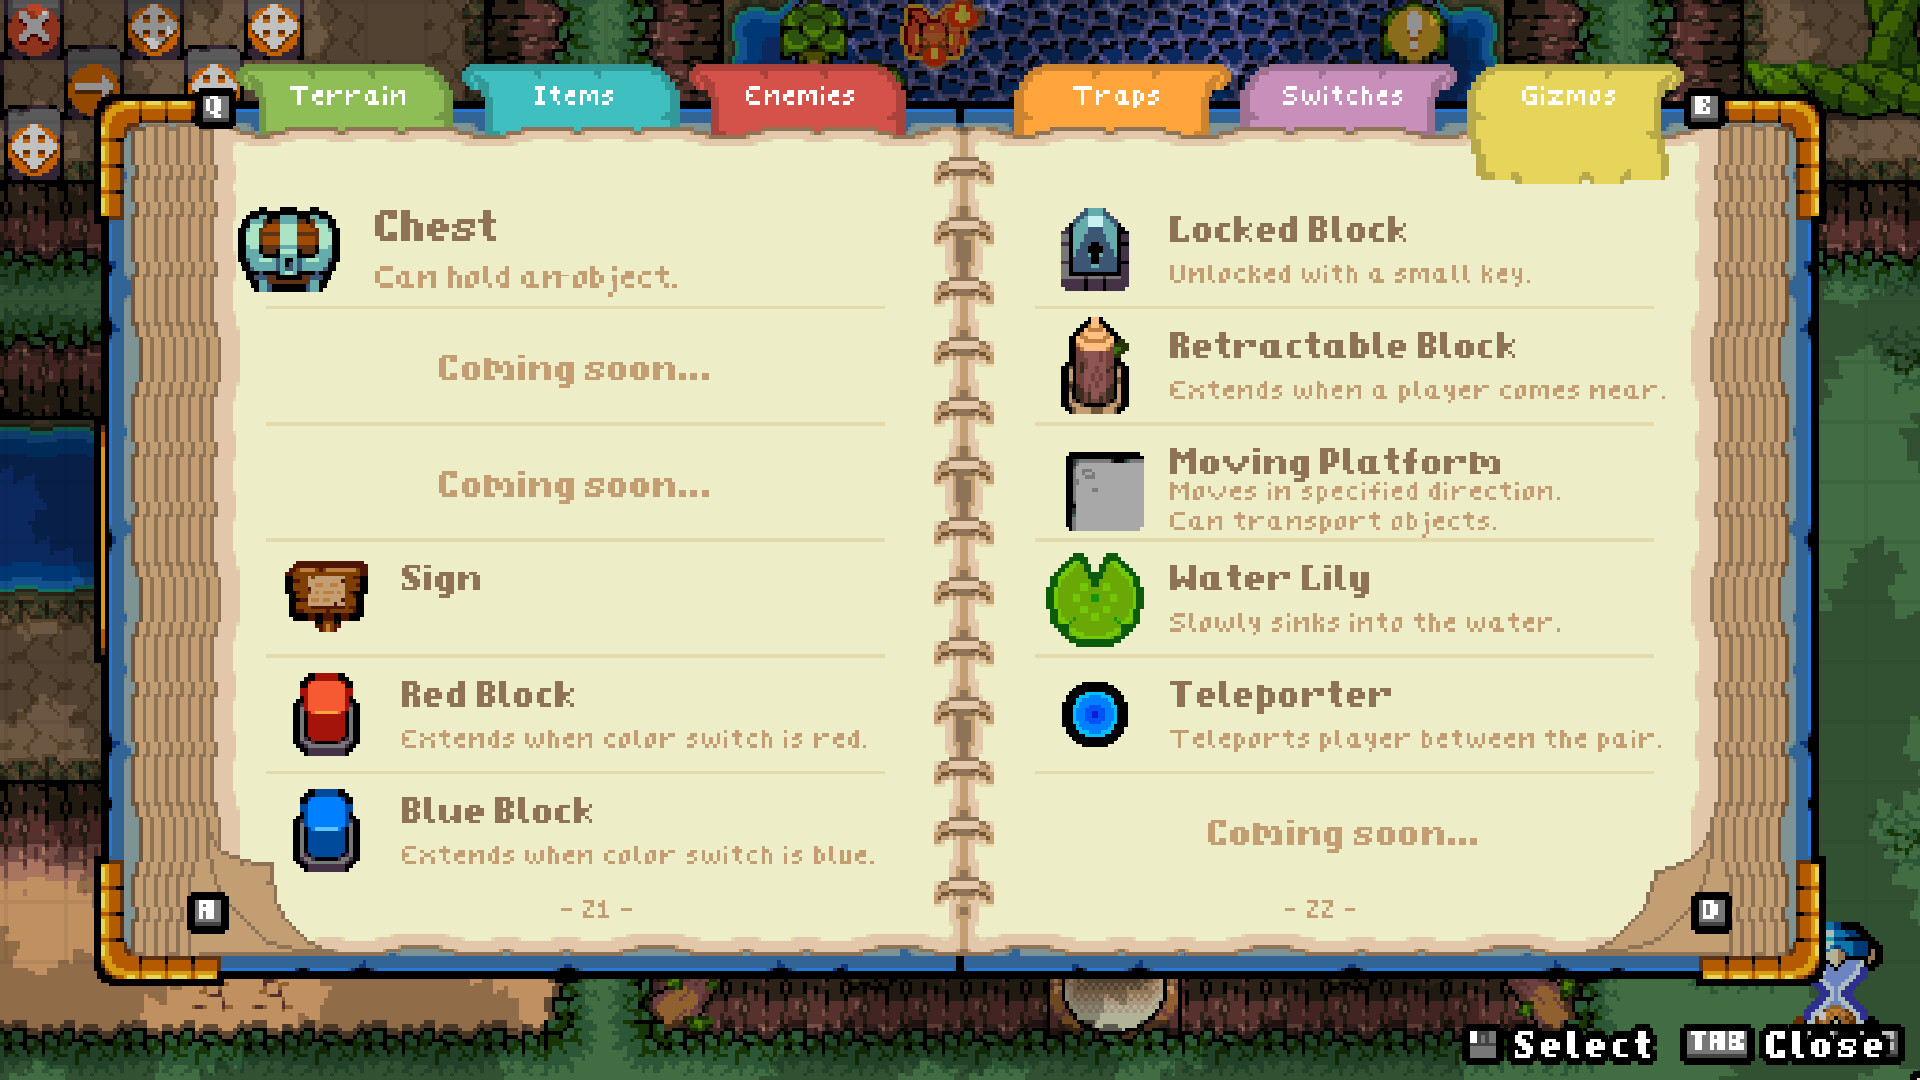
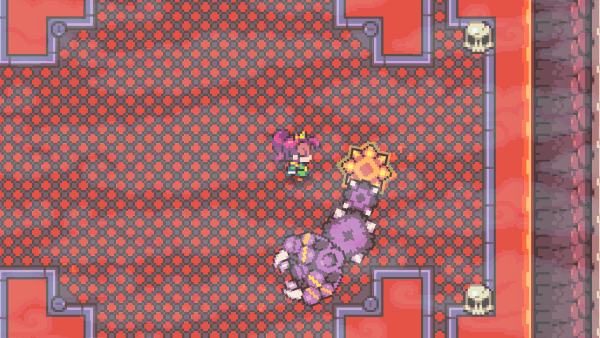
MAKE YOUR OWN DUNGEONS
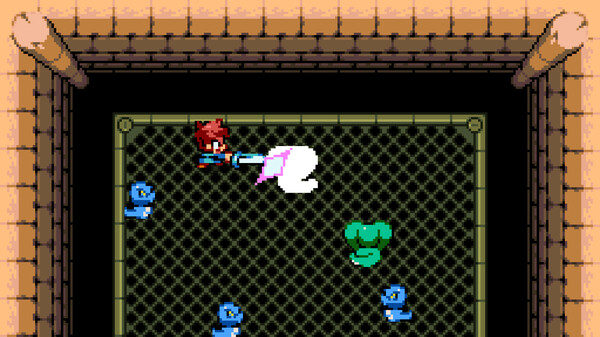
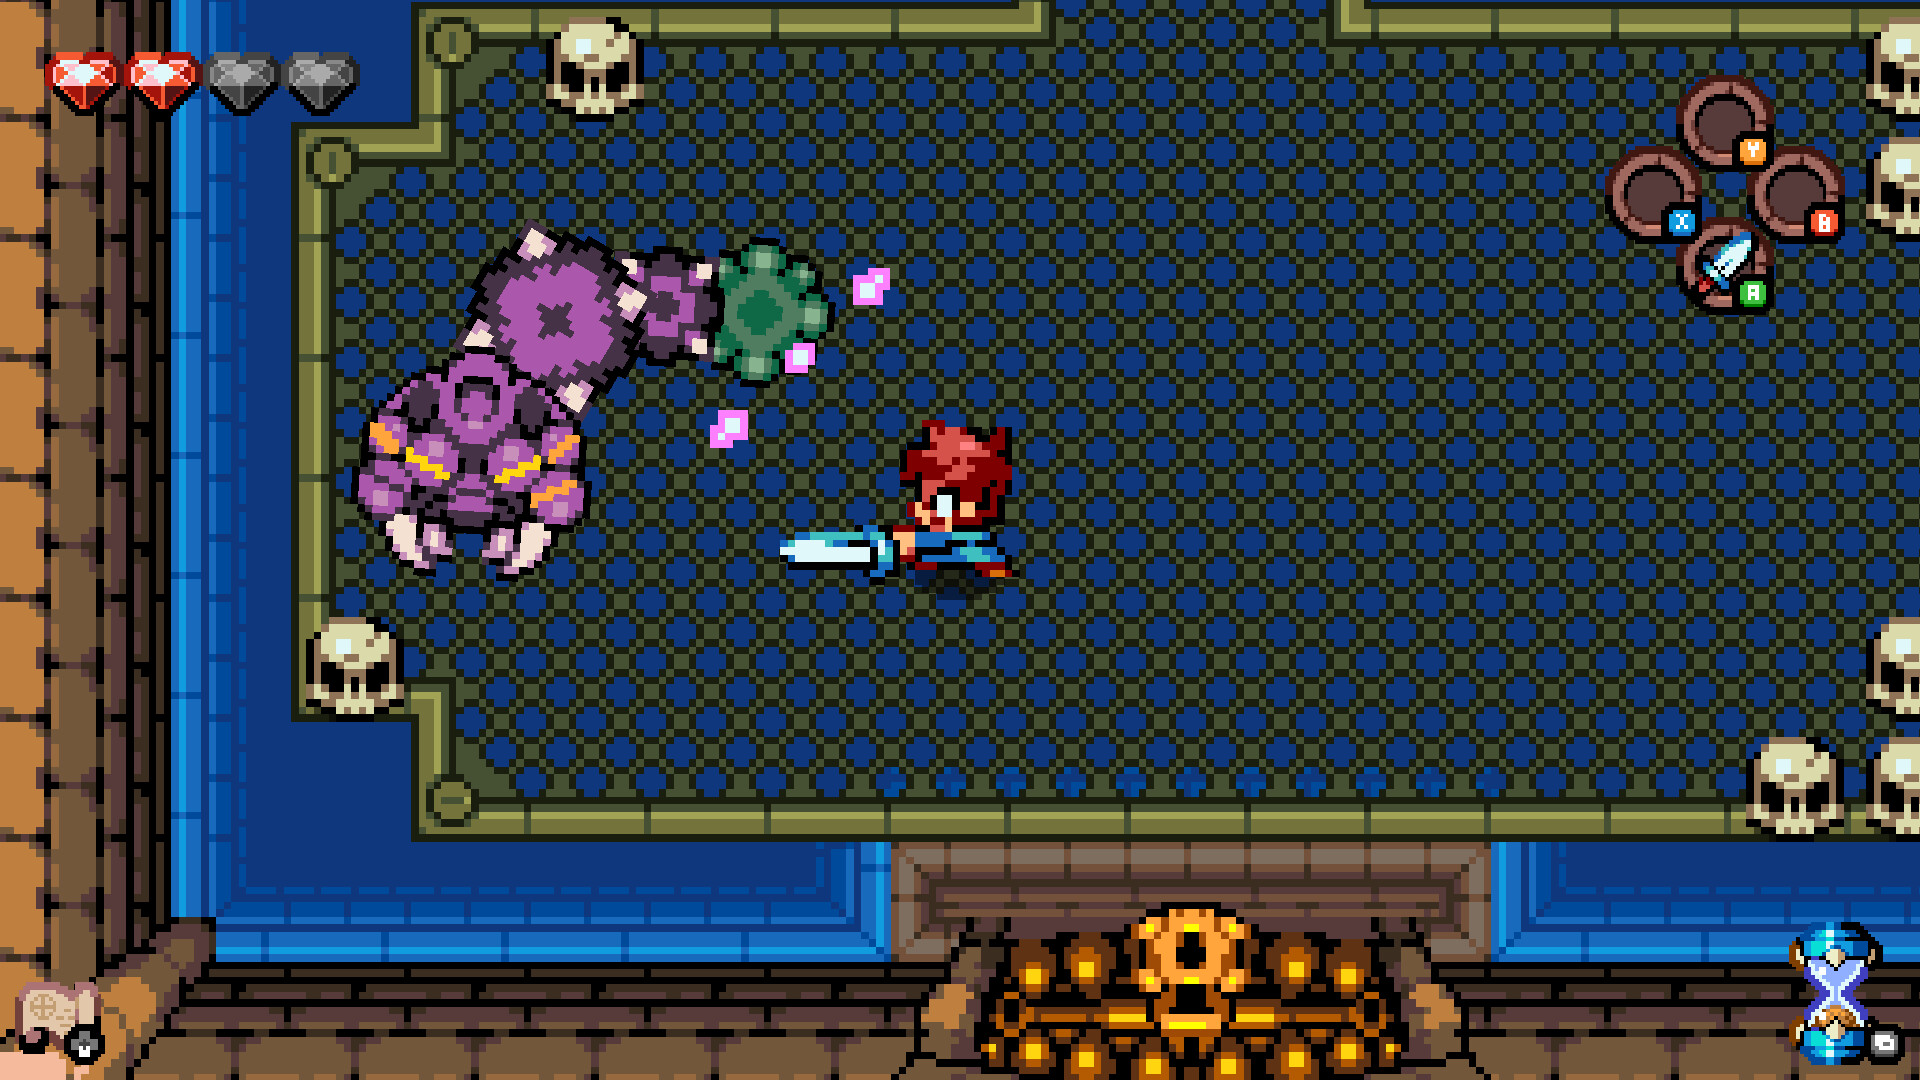
With dozens of parts, both classic and new, at your disposal, the possibilities are endless! There's enemies of all types too, from basic bad guy fodder to fearsome bosses. Combine different ones to create entirely new mechanics and complex scenarios!
CHOOSE YOUR THEME
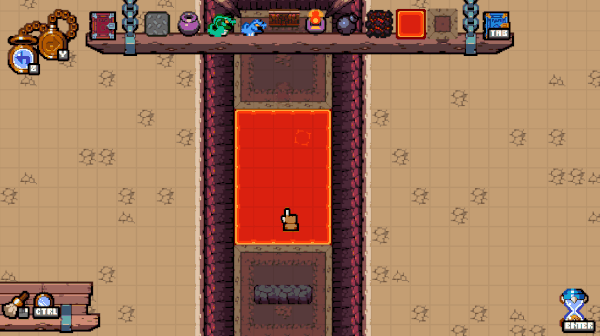
Cycle between unique dungeon themes with the click of a button to give your dungeon a fresh coat of paint. Set your dungeon in a sand temple, a fiery cavern or in a lush forest. All components of the dungeon swap on the fly -- you're never locked into just one.
A ROBUST EVENT SYSTEM
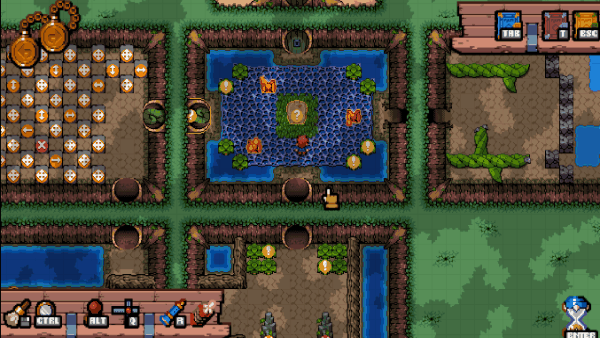
Link different dungeon components together with an intuitive drag-and-drop system to create events in your dungeon. Make keys and items appear when all enemies are slain, or rig a devious trap to an innocuous switch -- these are the most basic examples. Experiment and find out what else is possible!
IT’S DANGEROUS TO BUILD ALONE
Have some inventive friends? Round them up and work together to build and explore in local co-op with up to 3 friends.
SHARE YOUR CREATIONS

Built the perfect dungeon? Upload it for other players to test their mettle. Need a new challenge? Dive into another dungeon from the ever-growing list of community-uploaded creations.
Version 0.10.2 Is Modded Onto Early Access
A new special pet has been introduced, Nini!

How to get it is up to you to find out!
Nini has been added in honor of a very special person. I hope she will provide you with as much joy and love as she does to me,
Modding Quest Master is a very often requested feature, and I listened.
Starting today you can mod in your own pets.
I will be gradually expanding the capabilities of the modding tools over the coming weeks and months and gauge interest.
Let's get into how easy it is to create your own pet.
The first step is to locate the Mods folder. It's part of the installation directory, which you can find my right-clicking the game within the Steam interface.

You will notice a folder inside the Mods directory called ~Cojiro (Example Pet Mod).
This is a sample pet mod that I created, which simply creates a clone of the chicken pet and colors it blue.
To create your own pet, duplicate that folder and rename it to something you want.

Note
[code]The tilde ~ character in front of the name makes the game ignore the folder. So for your own pet, do not use the tilde ~.[/code]
You will see all necessary sprites inn the folder you just duplicated. Modify them however you want.
You will see a Cajiro.yaml file in that directory. This is what tells the game to produce the pet at runtime. It has a lot of documentation to get you started. If you wish to make changes to the animations of your pet or how it moves, feel free to modify it.

If you did everything right, Gabi will show all your modded pets at the end of the list.
Enjoy your new custom pet!

Welcome to this week's update! Most of the team is back again and we are ready to roll.
Note that this week's update is still a bit smaller in scope since our artists only came back this week.
Adventure Together With Nini
A new special pet has been introduced, Nini!
How to get it is up to you to find out!
Nini has been added in honor of a very special person. I hope she will provide you with as much joy and love as she does to me,
Mod In Your Own Pets
Modding Quest Master is a very often requested feature, and I listened.
Starting today you can mod in your own pets.
I will be gradually expanding the capabilities of the modding tools over the coming weeks and months and gauge interest.
Let's get into how easy it is to create your own pet.
1. Locate the Mods folder
The first step is to locate the Mods folder. It's part of the installation directory, which you can find my right-clicking the game within the Steam interface.
2. Duplicate the Example Pet Mod
You will notice a folder inside the Mods directory called ~Cojiro (Example Pet Mod).
This is a sample pet mod that I created, which simply creates a clone of the chicken pet and colors it blue.
To create your own pet, duplicate that folder and rename it to something you want.
Note
[code]The tilde ~ character in front of the name makes the game ignore the folder. So for your own pet, do not use the tilde ~.[/code]
3. Modify The Pet Spritework To Your Liking
You will see all necessary sprites inn the folder you just duplicated. Modify them however you want.
4. Optionally Adust The Pet Configuration
You will see a Cajiro.yaml file in that directory. This is what tells the game to produce the pet at runtime. It has a lot of documentation to get you started. If you wish to make changes to the animations of your pet or how it moves, feel free to modify it.
5. Run The Game And Give Gabi A Visit
If you did everything right, Gabi will show all your modded pets at the end of the list.
Enjoy your new custom pet!
[ 2025-01-11 03:21:34 CET ] [Original Post]
Minimum Setup
- OS: Ubuntu 20.04. Ubuntu 18.04. and CentOS 7
- Processor: x64 architecture with SSE2 instruction set support.Memory: 2048 MB RAM
- Memory: 2048 MB RAM
- Graphics: OpenGL 3.2+. Vulkan capable.
- Storage: 2048 MB available space
GAMEBILLET
[ 6432 ]
FANATICAL
[ 7153 ]
GAMERSGATE
[ 3653 ]
MacGameStore
[ 5363 ]
FANATICAL BUNDLES

Time left:
356110 days, 17 hours, 26 minutes

Time left:
356110 days, 17 hours, 26 minutes

Time left:
6 days, 1 hours, 26 minutes

Time left:
15 days, 1 hours, 26 minutes

Time left:
43 days, 1 hours, 26 minutes

Time left:
46 days, 1 hours, 26 minutes

Time left:
47 days, 1 hours, 26 minutes
HUMBLE BUNDLES
Time left:
7 days, 19 hours, 26 minutes
Time left:
8 days, 19 hours, 26 minutes
Time left:
15 days, 19 hours, 26 minutes
by buying games/dlcs from affiliate links you are supporting tuxDB


