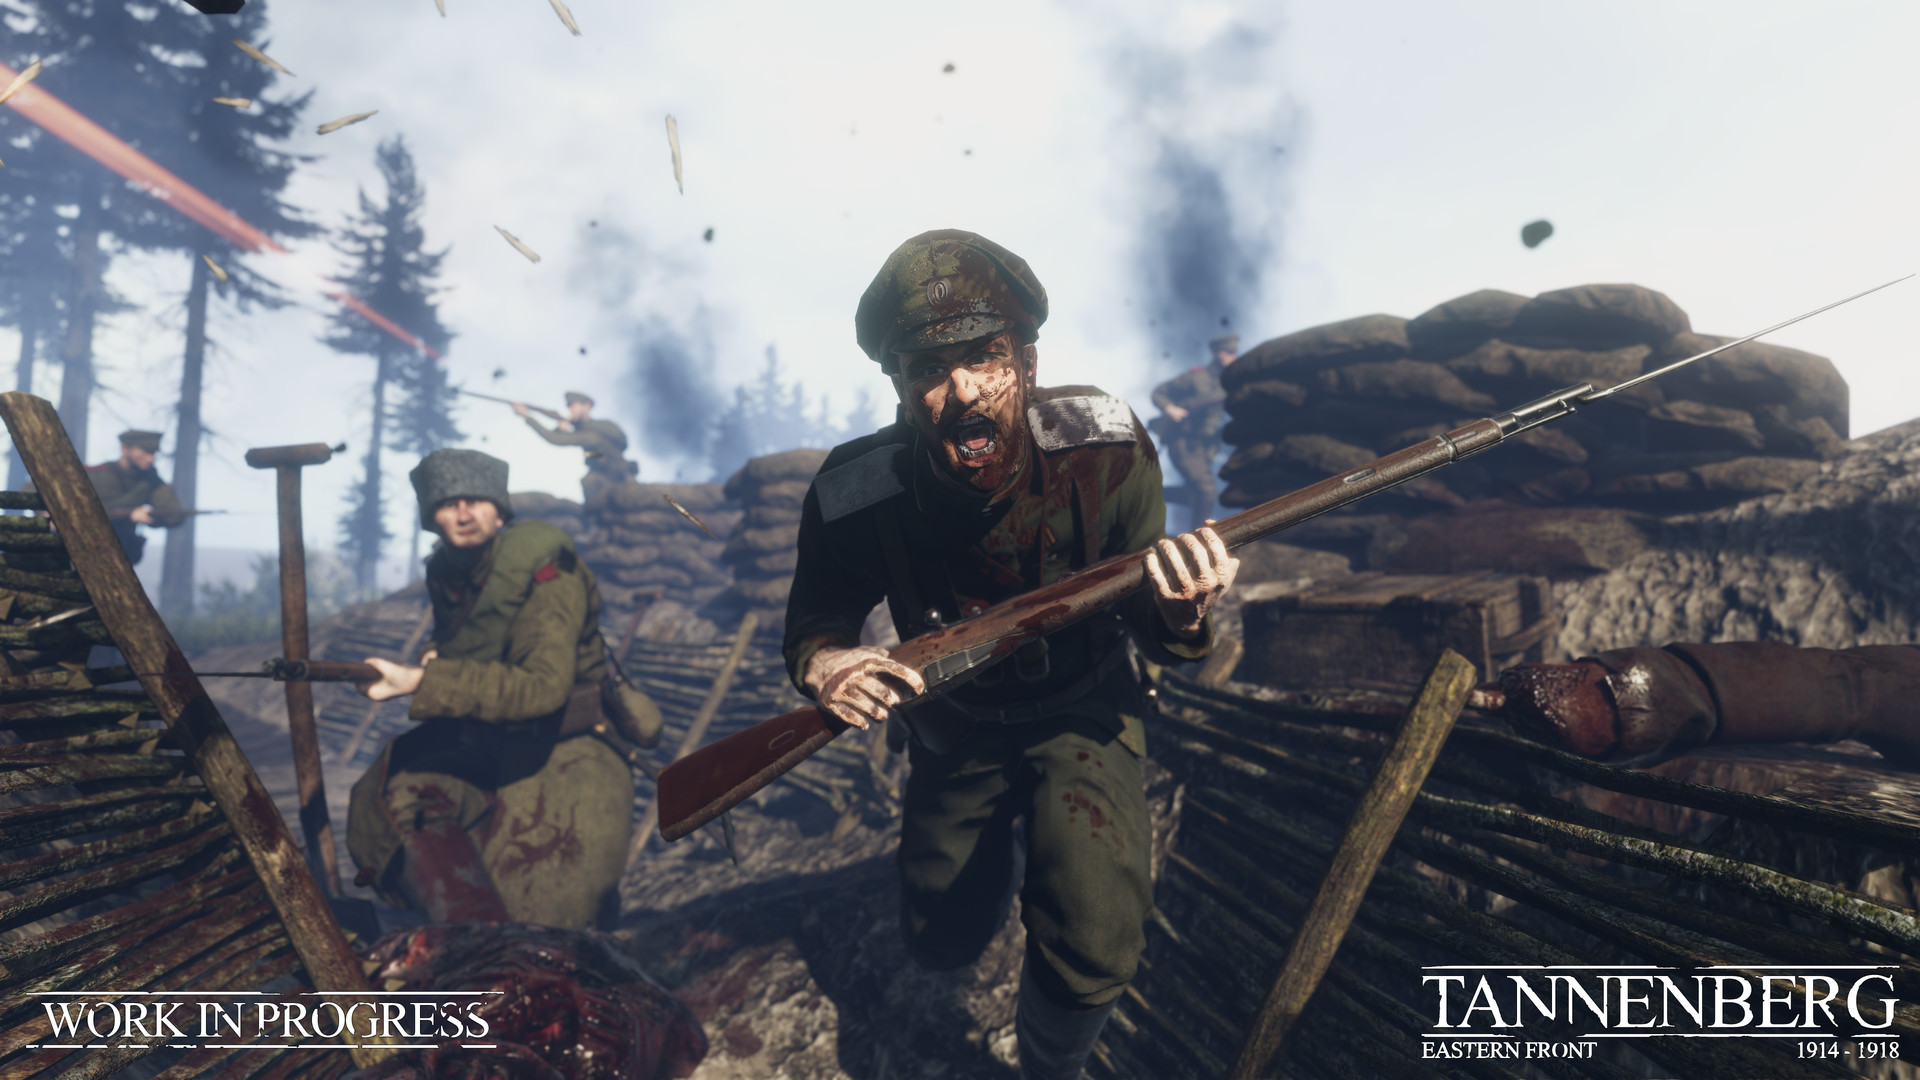
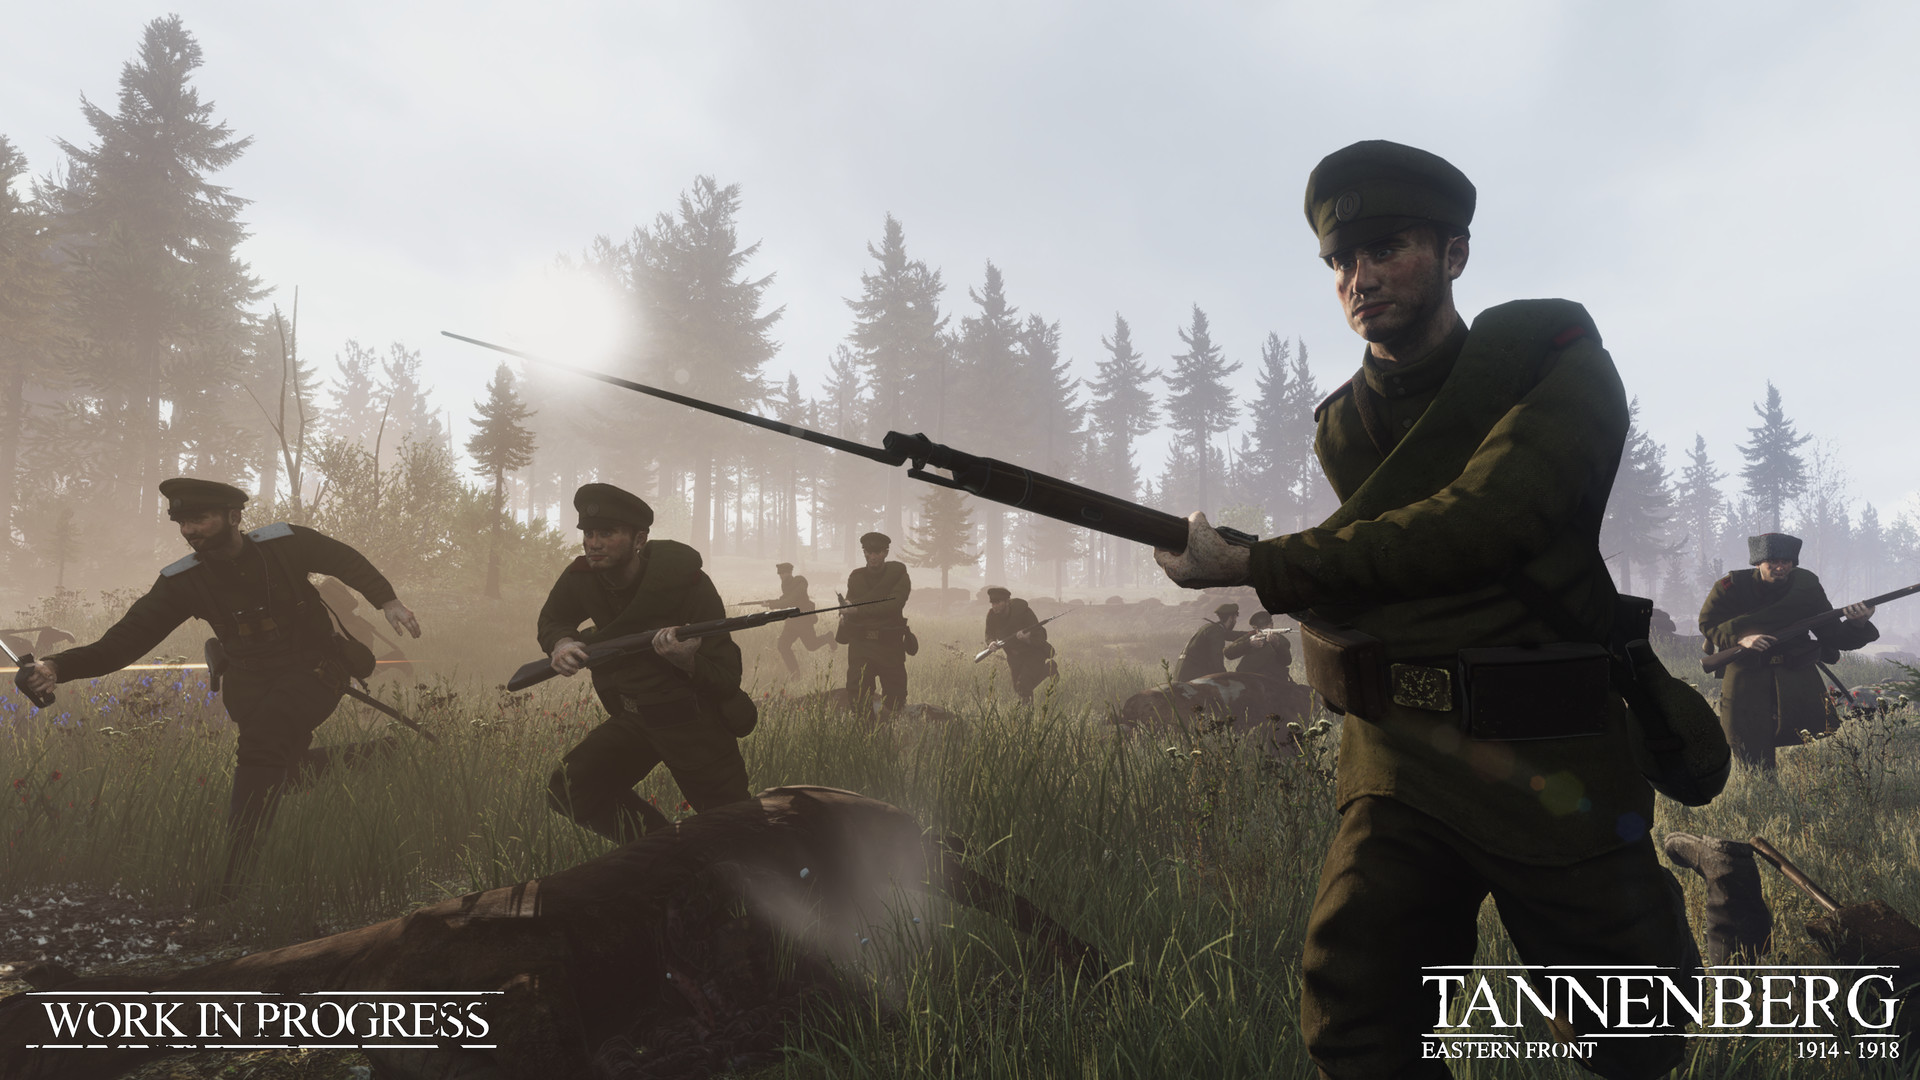
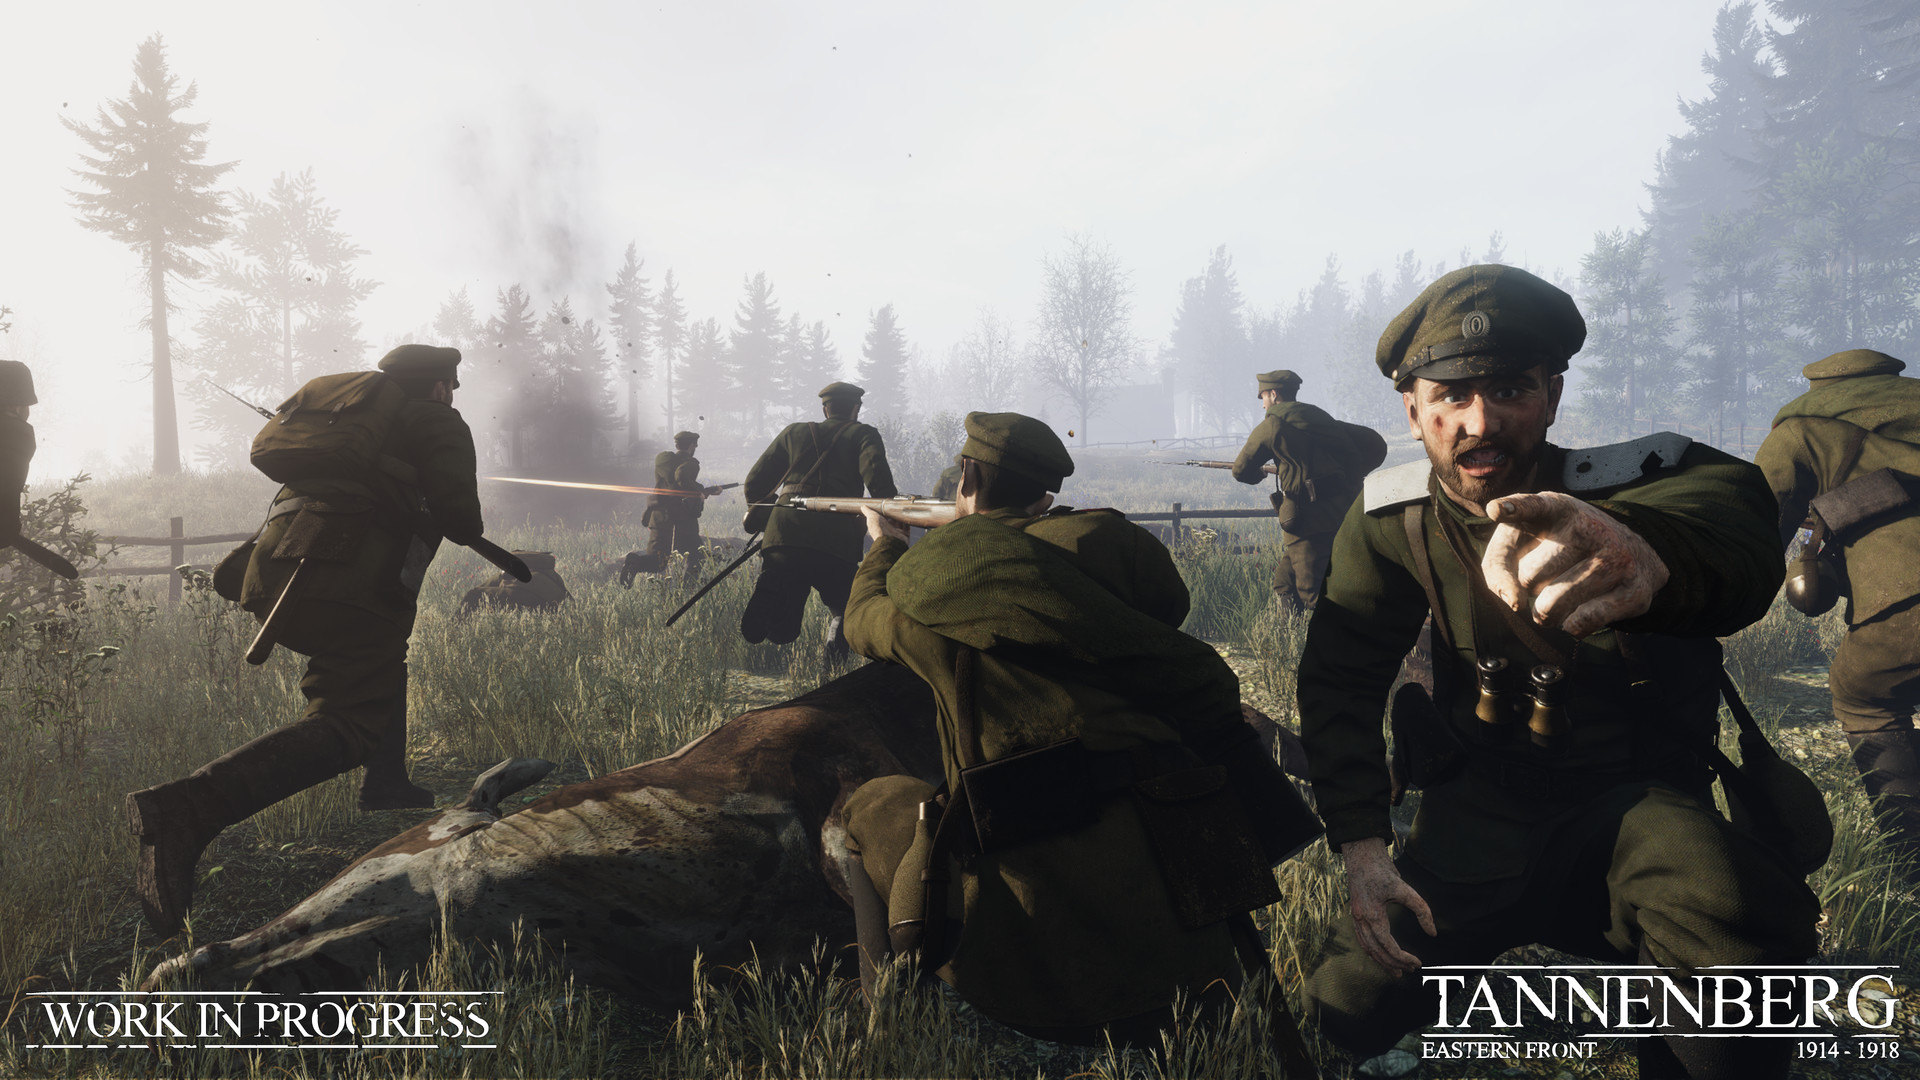
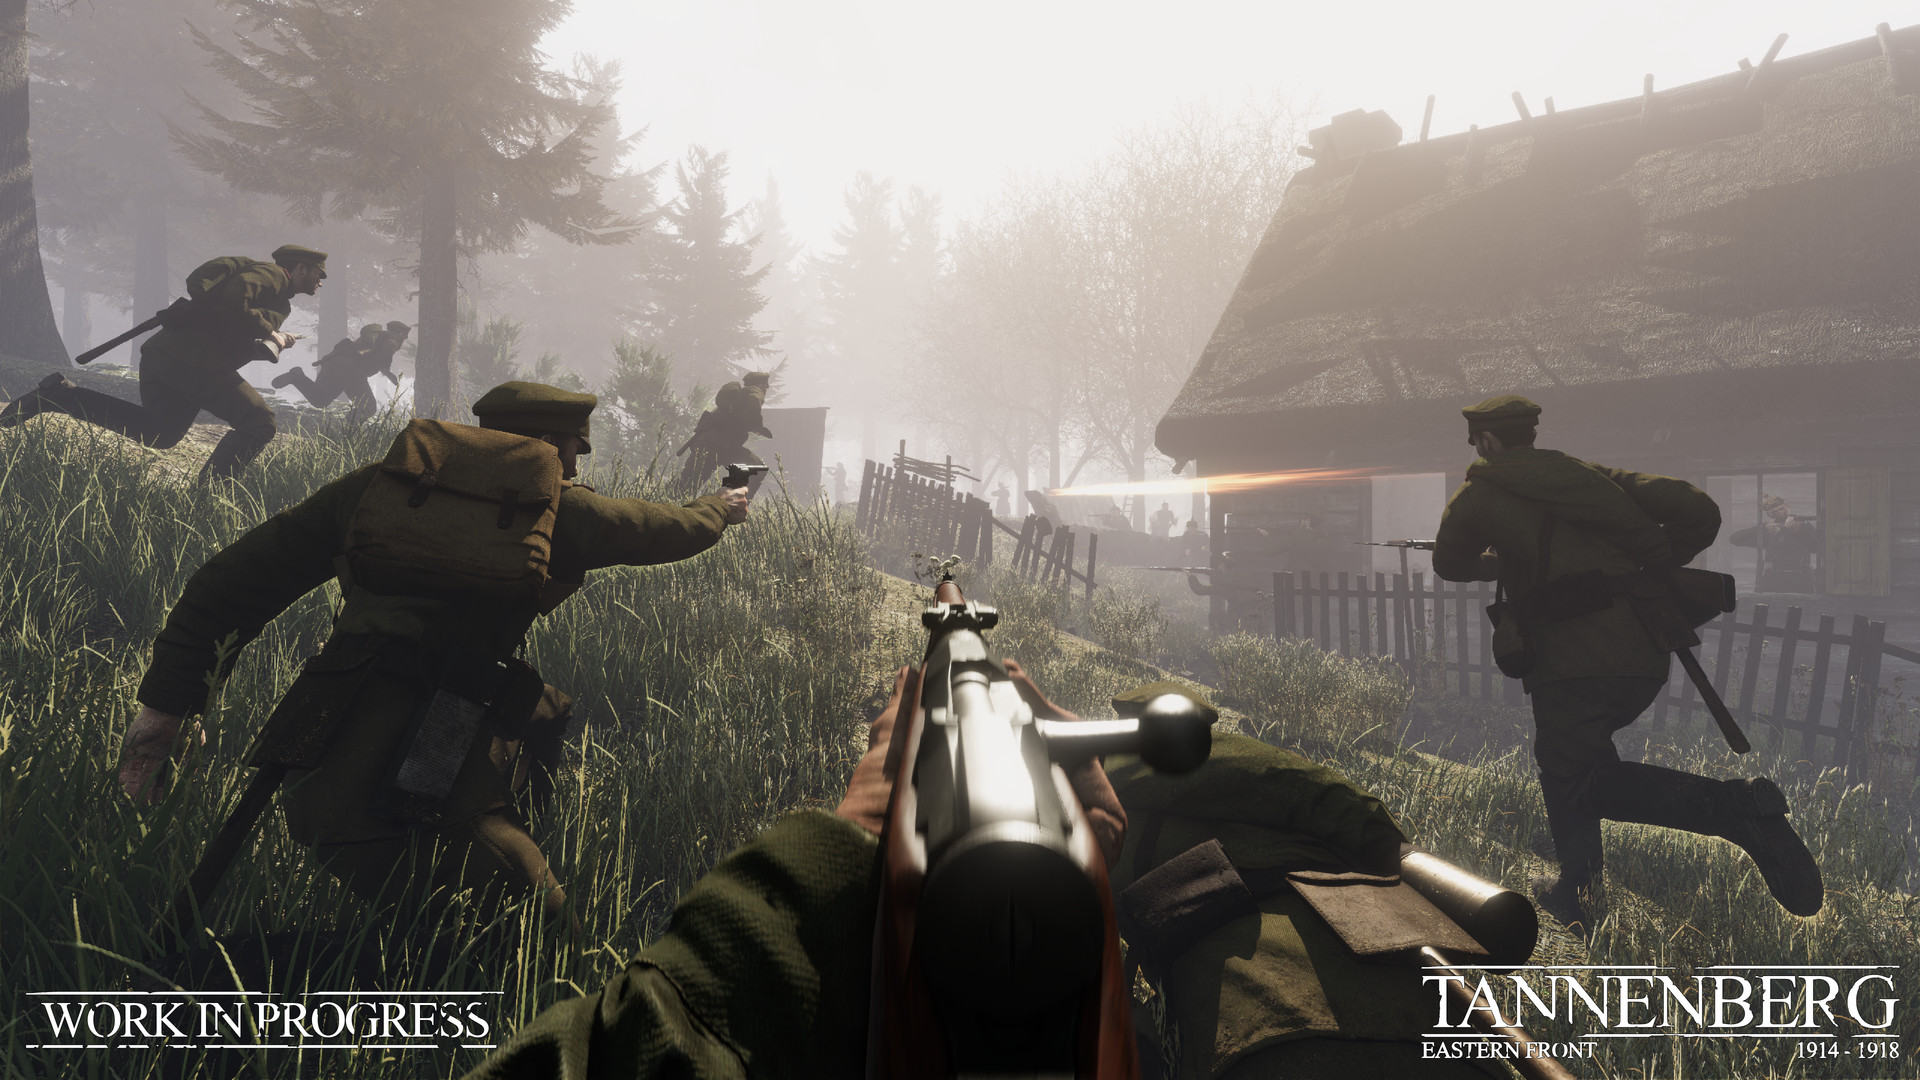
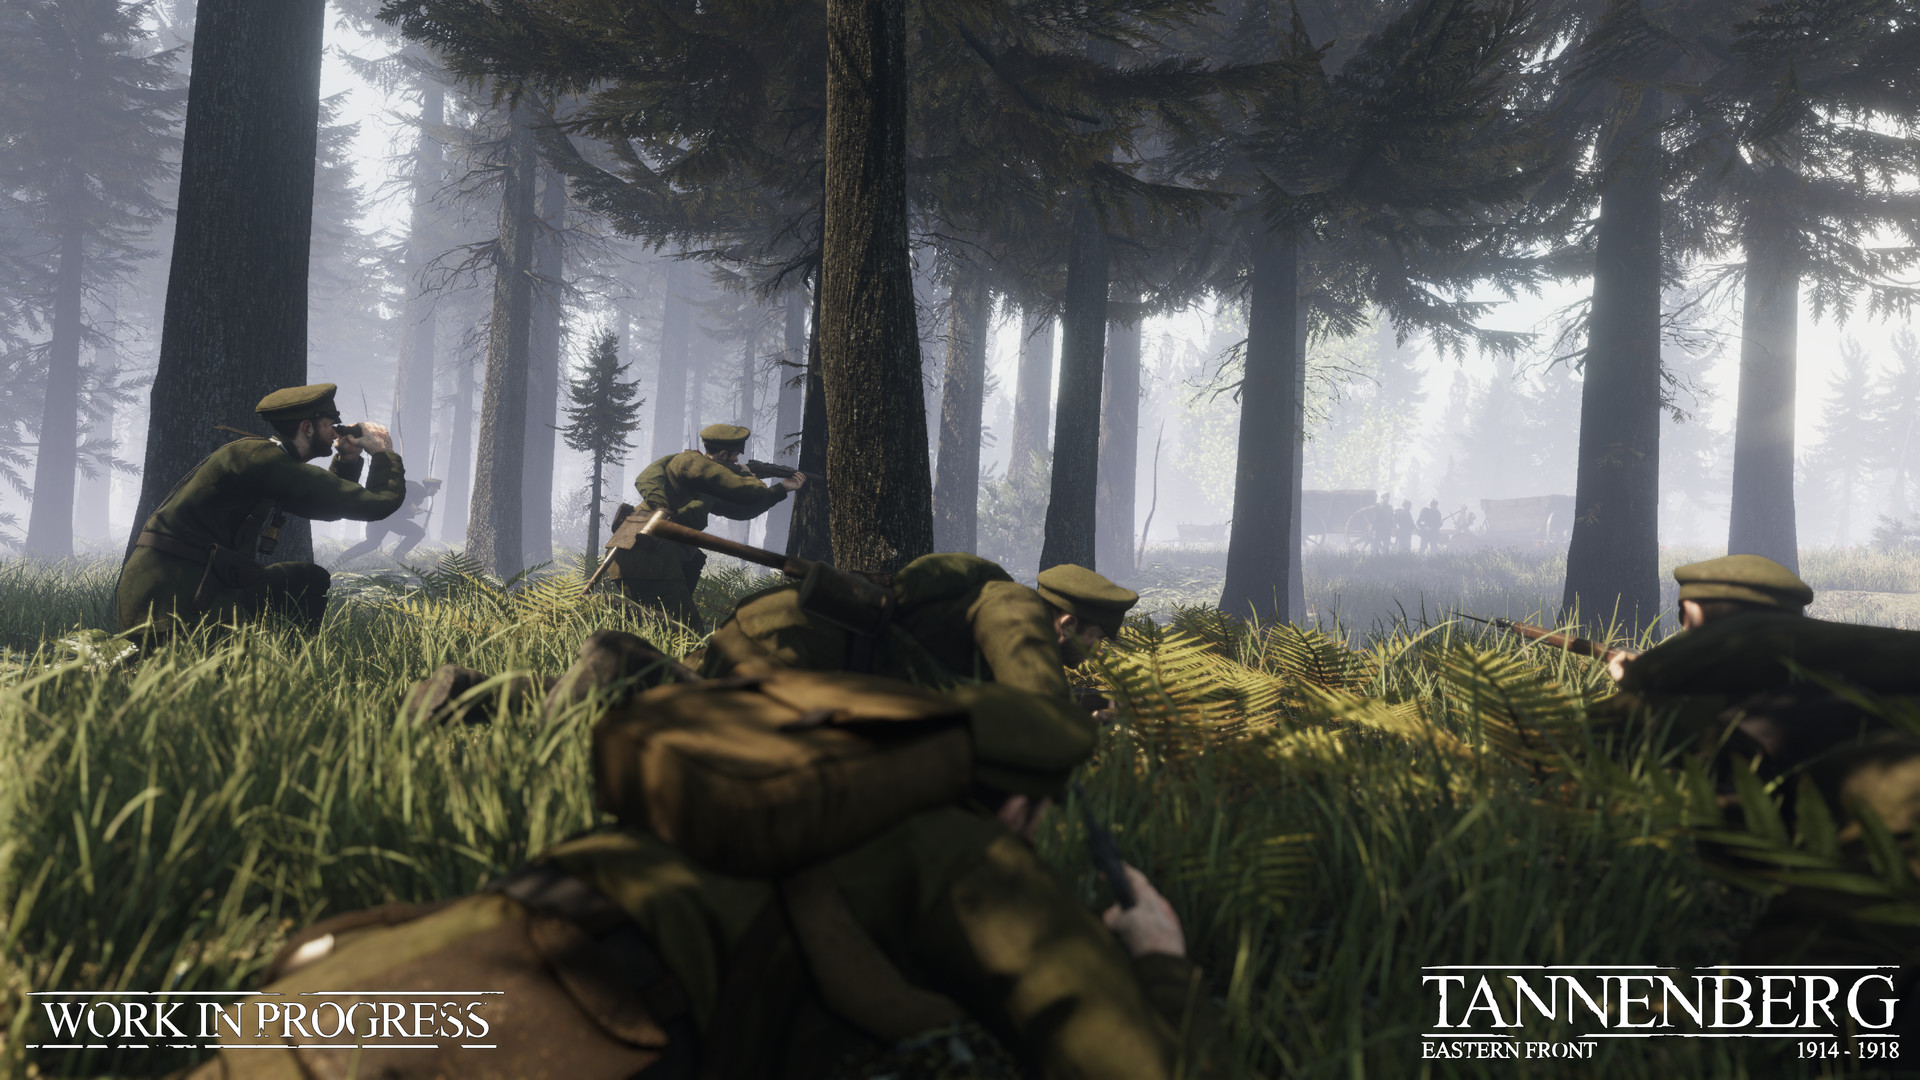
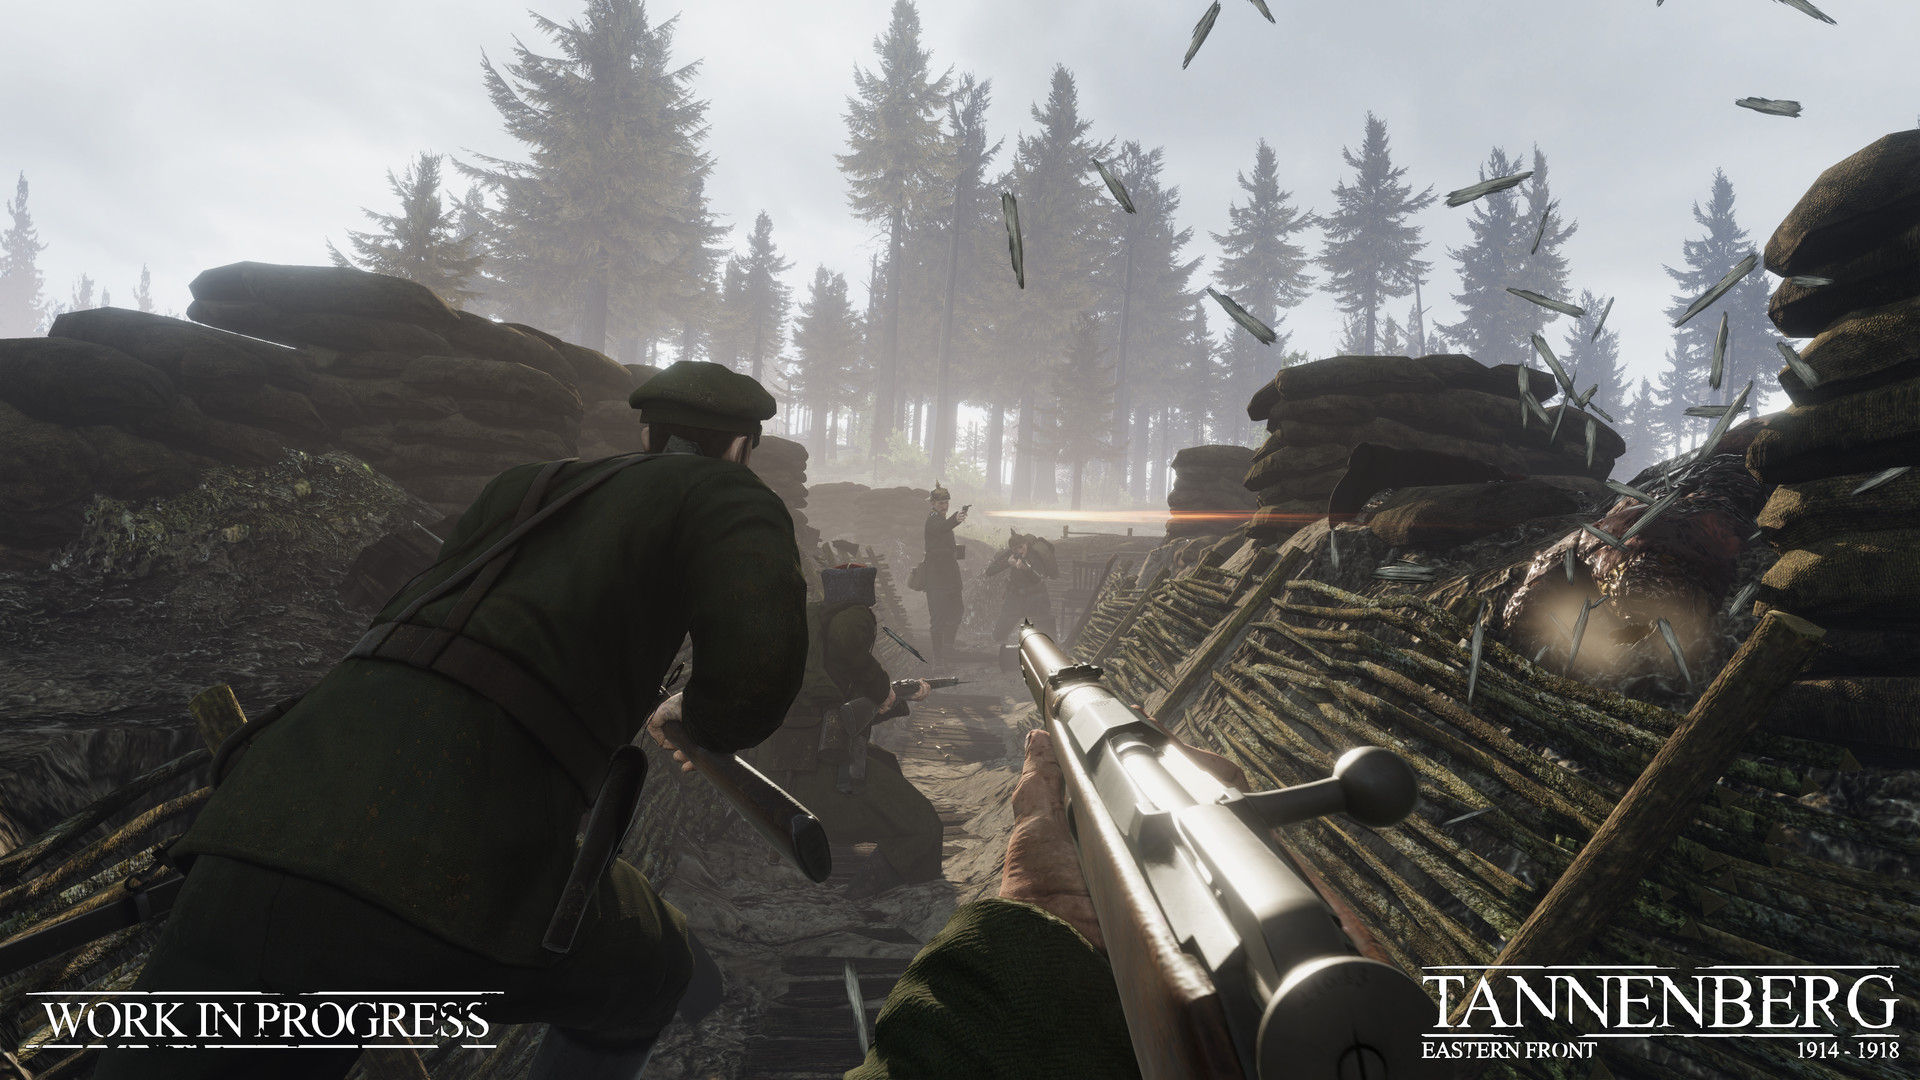
This historical game takes place across the lakes, forests, and snowy plains of the Eastern Front - it was inspired by the Battle of Tannenberg in 1914 where the Russian Second Army was dealt a heavy blow by the Germans. Tannenberg offers a range of game modes - including the exciting new mode reflecting the different nature of war on the Eastern Front - and a wealth of historical detail: realistic WW1 weaponry, authentic uniforms, horrendous gore, and maps based on real battlefields, this time in the forests, plains and mountains along the border between the Russian Empire and the Central Powers.
Tannenberg key features include:
- Realistic World War 1 gameplay
- Tactical squad-based FPS
- Warfare on the Eastern Front
- Majestic backdrops and map detail
- Variety of game modes for player counts of up to 64
It’s all-out war on the Eastern Front! From artillery barrages and poison gas to the deadly machinegun and humble rifle, there are many weapons to master. The battlefield is a dangerous place, and a little thought will help you stay alive – lead your shots, keep your eyes open, and be ready to engage in ferocious close combat at any moment.
Authentic Eastern Front Warfare
The development team is aiming to recreate the atmosphere of the Eastern Front with the same level of accuracy as in Verdun. Uniforms have been recreated to the tiniest detail, the weapons are modeled to exact references and the maps use realistic props and terrain layouts.
Follow us on Twitter and Facebook, or contact us via Discord.
Hello everyone!
Today were exploring another map coming to Gallipoli, and the map that probably comes to mind first when you think of Gallipoli: Anzac Cove.
Landing at Anzac Cove
Following the failure to force a naval passage through the Dardanelles Straits in March 1915, the Entente allies decided that they would need to change their strategy. If they were to achieve their goal of capturing Constantinople and knocking the Ottoman Empire out of the war, they needed to land infantry on the Gallipoli peninsula to capture or destroy the Ottoman fortresses that guarded the straits.
[img src=\"https://cdn.cloudflare.steamstatic.com/steamcommunity/public/images/clans/45744994/570a2ffeb353e2bbd889f3228ecc096df772d3b4.jpg\"][/img]
Landing at Anzac Cove, source: https://www.awm.gov.au/collection/C53771
In the early hours of the 25th April 1915 soldiers from the Australian and New Zealand Army Corps (ANZAC) approached the shore. They were aiming to land on Z Beach but had drifted a mile further north. Their plan was to take the beaches and then move on to capture various key ridges beyond. The Ottoman defenders detected their approach whilst the boats were still offshore and opened fire. The attack was on. Upon reaching the beach, the Australian soldiers fought uphill to capture their first objective: Plugges Plateau. However, the landscape beyond proved hugely difficult to traverse.
[img src=\"https://cdn.cloudflare.steamstatic.com/steamcommunity/public/images/clans/45744994/2a1a25731bf3dc06aa8a5802ad9f9a7191a323b6.jpg\"][/img]
Steep hills of Anzac Cove, source: https://www.awm.gov.au/collection/C1000859
The defending Ottomans were hard-pressed. Whilst awaiting reinforcements, the commanding officer, Mustafa Kemal (later Kemal Atatrk, founding father of modern day Turkye) issued his famous I order you to die command to his men as he launched counter attacks. The Anzacs struggled to hold out against determined Ottoman attempts to force them back to the beaches. Their commanders decided to abandon the plan of capturing further ridges and instead dig in at Russells Top and hold the little territory they had gained. They would not progress much further for the rest of the campaign.
\n[img src=\"https://cdn.cloudflare.steamstatic.com/steamcommunity/public/images/clans/45744994/c3cfefa331cbf18de606bb6a74d15a329ba7c2c8.jpg\"][/img]
Mustafa Kemal (Kemal Atatrk, fourth from the left), source: https://www.awm.gov.au/collection/C196601
Anzac Cove in Gallipoli
Steep hills, sharp ridges and enough shrubberies to make someone shout Ni! characterize Anzac Cove. Theres not much in terms of visual cover when youre running around, but you can make use of plant cover if you lay down in the right spots. As for the battle itself, well, it starts off with a grand entry of the British Empire by boat.
[img src=\"https://cdn.cloudflare.steamstatic.com/steamcommunity/public/images/clans/45744994/a0c13778483158b7ba4b54b410beebe3a55ac678.png\"][/img]
The battle starts with the British forces divided across multiple boats. Soldiers will then row you towards the beach. In the meantime, you can focus on providing covering fire with your weapon of choice. This continues until the first sector is captured, halfway up Plugges Plateau.
On the Ottoman side, youre sitting relatively comfortably at the objectives. While the British forces are splashing about, theyre a sitting duck with a complete lack of cover. These early stages of the battle are the best time for the Ottomans to really hack away at the attackers momentum. Be sure to bring some rifles!
The objectives themselves provide plenty of cover, but more worryingly perhaps, Krupp 75mm and HMG positions that can be used to send the attackers on a quick one-way trip to the bottom of the Aegean Sea.
[img src=\"https://cdn.cloudflare.steamstatic.com/steamcommunity/public/images/clans/45744994/5c43daf3c4591188324f512e7eab4a51b204be7a.png\"][/img]
Its an uphill battle for the British forces, both literally and figuratively. Once the first sector is captured however, theyll be able to use it as their forward base and continue over Plugges Plateau and head for the Sphinx.
[img src=\"https://cdn.cloudflare.steamstatic.com/steamcommunity/public/images/clans/45744994/9dae83adca14bf5f0a201c562ba432723a10a389.png\"][/img]
After running down the other side of Plugges Plateau, the climb back up begins. Along the ridge sits one of the two objectives, one that doesnt have much in the way of cover. Aside from some sandbags and the odd shrubbery, this steep objective is sure to get chaotic.
The other objective sits right on the shoulders of the Sphinx or Yuksek Tepe amongst the Ottomans, an eye-catching geographical outcrop and is likely easier to defend. Not only does it feature an underground cabin, some shooting nests, and plenty of foliage, its also one of the highest points on the map. You can spot people all the way back on Plugges Plateau, and even the beach in some places.
[img src=\"https://cdn.cloudflare.steamstatic.com/steamcommunity/public/images/clans/45744994/05f51cd8087bfbd0f9bb78cfcba34bab4553aad7.png\"][/img]
Running towards the third sector at Russells Top, the terrain evens out a bit. On the attackers left side, its only a slight incline. The right side sits lower, but leads to the same objective at the very end.
The final Headquarters is a series of trenches complete with tunnels, shooting nests and a nice view. Everything you need for a final Ottoman stand!
[img src=\"https://cdn.cloudflare.steamstatic.com/steamcommunity/public/images/clans/45744994/5acfdb94740929643279ff3ce9a4afba7bfffb45.png\"][/img]
The Arsenal
Lets have a look at two more weapons commonly used on the Ottoman Front! This time, two standard issue sidearms you wouldve seen during the Landing at Anzac Cove.
Webley Mk.VI
The Webley Revolvers are a series of top-break revolvers adopted in 1887, where it became the standard issue service revolver of the British Empire. It fires the .455 Webley cartridge, making it amongst the most powerful revolvers of its type.
Compared to its prior models, the Mark VI had its barrel extended from 100mm to 150mm for better effectiveness at range though its typical engagement range was quite short.
[img src=\"https://cdn.cloudflare.steamstatic.com/steamcommunity/public/images/clans/45744994/1e0d107a4cec5475ed5c7055e8c2a73fbe868552.png\"][/img]
FN M1903
The FN M1903 is a Browning-design semi-automatic pistol firing the 9mm Browning Long cartridge, comparable to the 9x19mm Parabellum of the German Luger. The design was popular for its ease of use, reliability and accuracy.
8,000 FN M1903 pistols were ordered by the Ottoman Empire for police use prior to WW1, but ended up in the hands of Officers and specialized units during the war. More were produced for the Ottomans after the FN factory was captured by the Germans.
It is one of many famous foreign-made semi-automatic pistols fielded by the Ottoman army.
[img src=\"https://cdn.cloudflare.steamstatic.com/steamcommunity/public/images/clans/45744994/cd7dcc72ac38bc999f6c5712a966c4f327b63069.png\"][/img]
[hr][/hr]Got all that? Great. If you havent already, be sure to check out the Ctesiphon blog as well to learn more about the battles in Mesopotamia and the ancient Arch of Ctesiphon. You can expect more information from us again soon, so be sure to add Gallipoli to your wishlist!
Minimum Setup
- OS: Ubuntu 18.04+ 64bit only. Other distros will probably work. but are not officially supported.
- Processor: Intel CPU Core i5-2500K 3.3GHz. AMD CPU Phenom II X4 940Memory: 4 GB RAM
- Memory: 4 GB RAM
- Graphics: Geforce GTX 960M / Radeon HD 7750 or higher. 2GB video card memoryNetwork: Broadband Internet connection
- Storage: 8 GB available spaceAdditional Notes: Multiplayer only. make sure you have a stable and fast internet connection.
Recommended Setup
- Graphics: 4GB video card memoryNetwork: Broadband Internet connection
[ 6381 ]
[ 5876 ]
[ 1265 ]
[ 2018 ]
[ 986 ]

