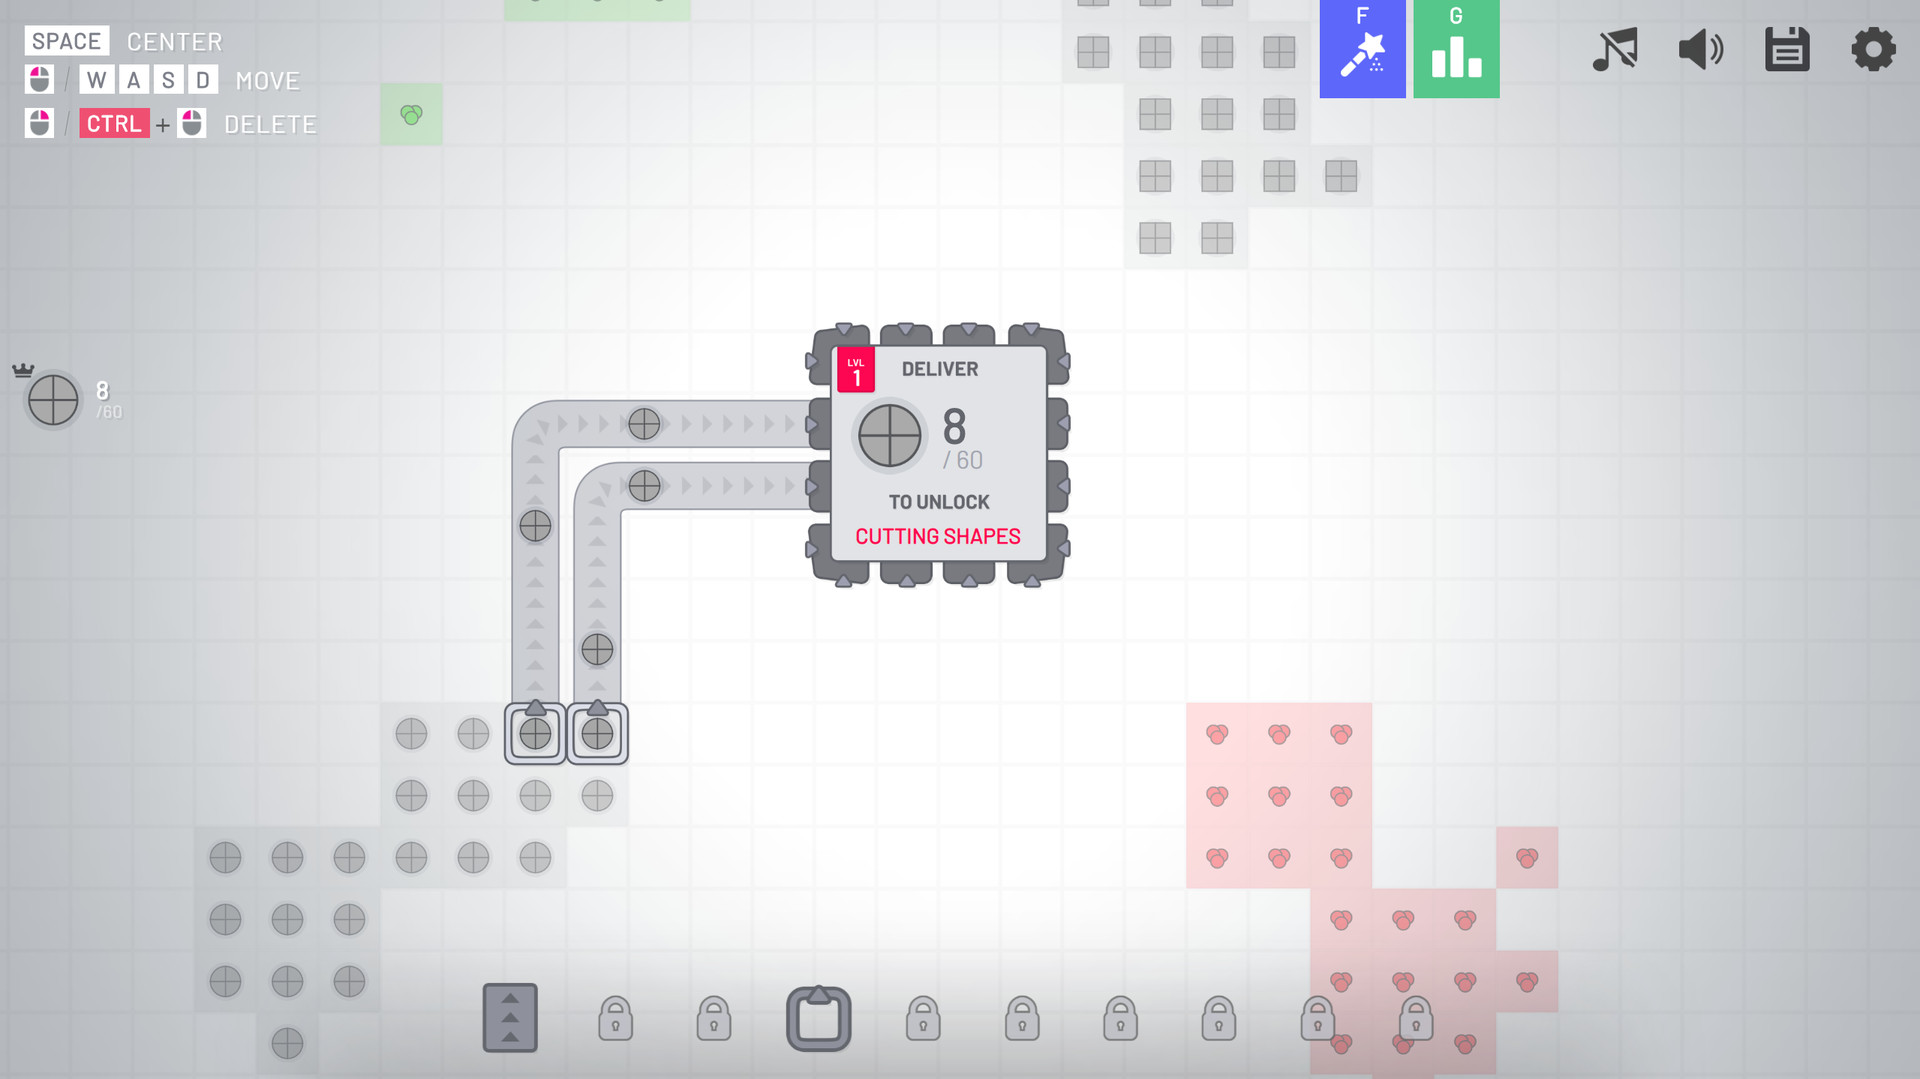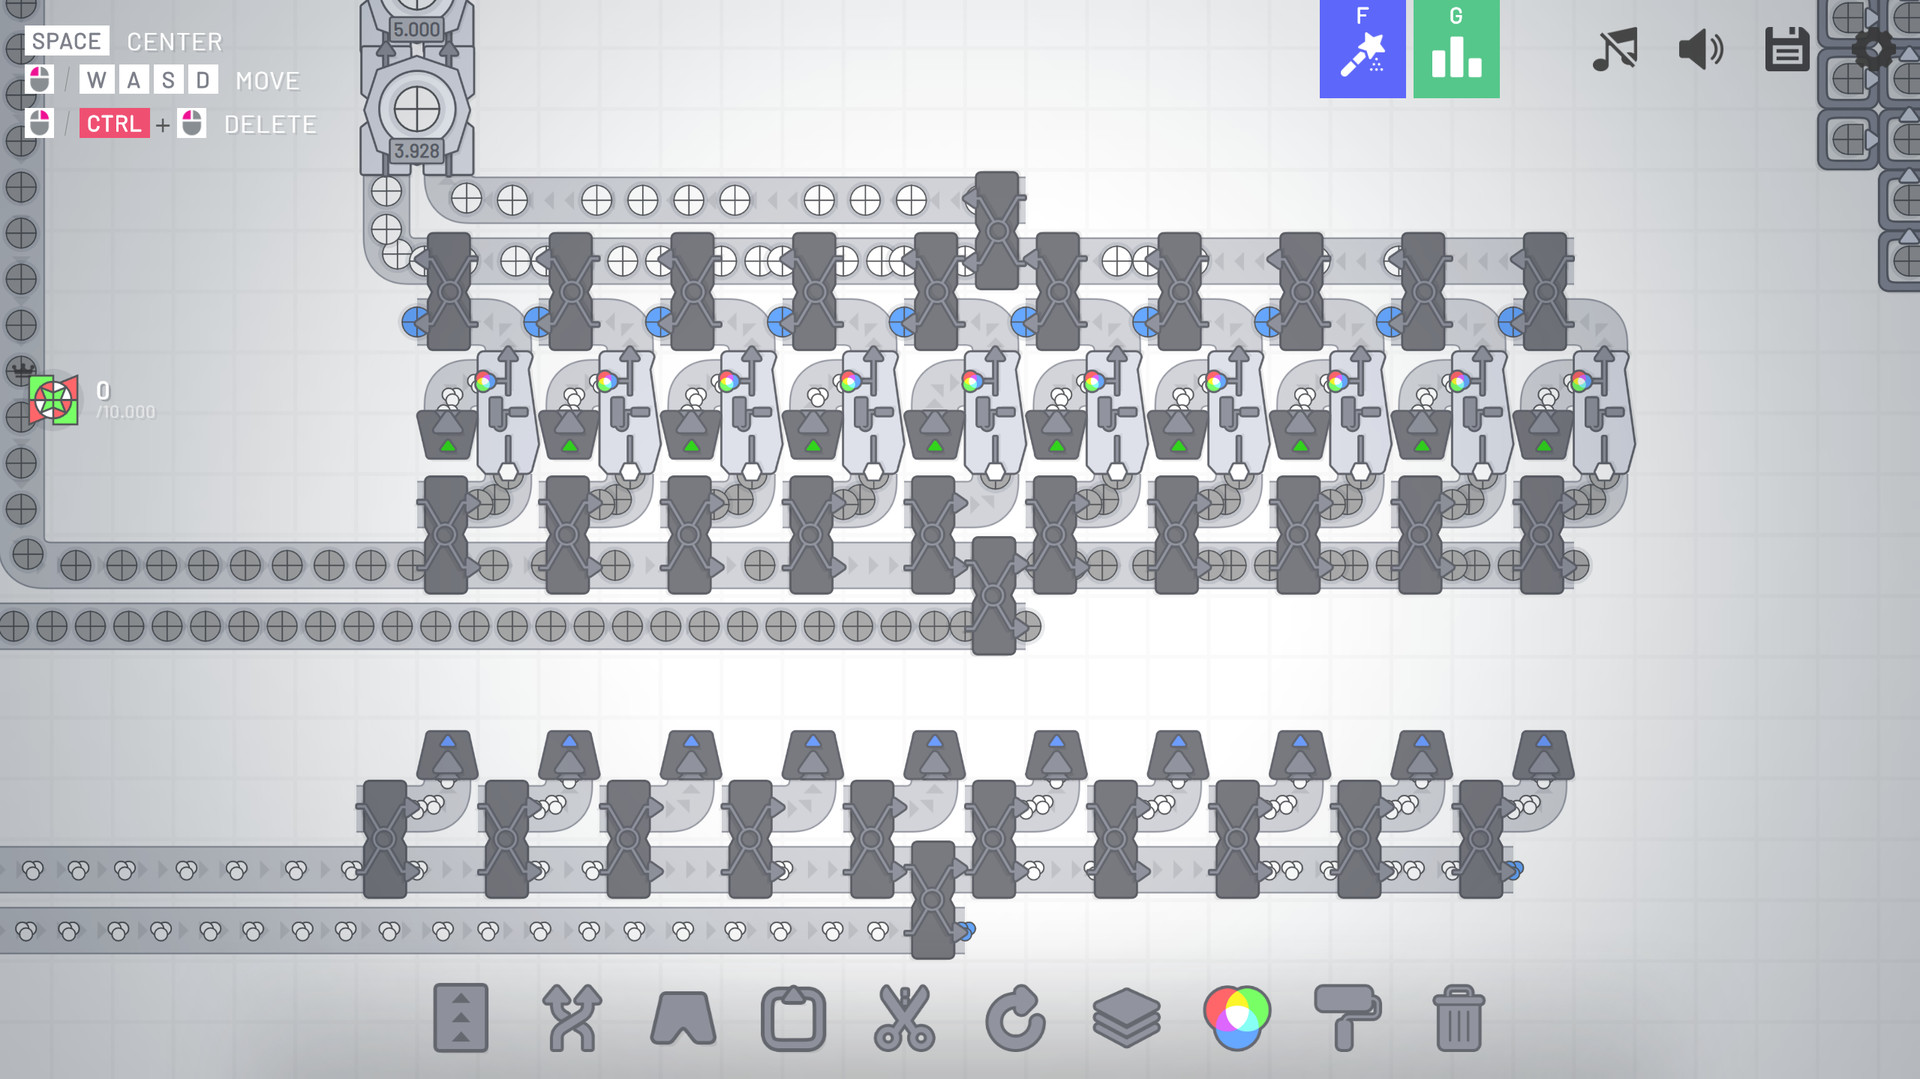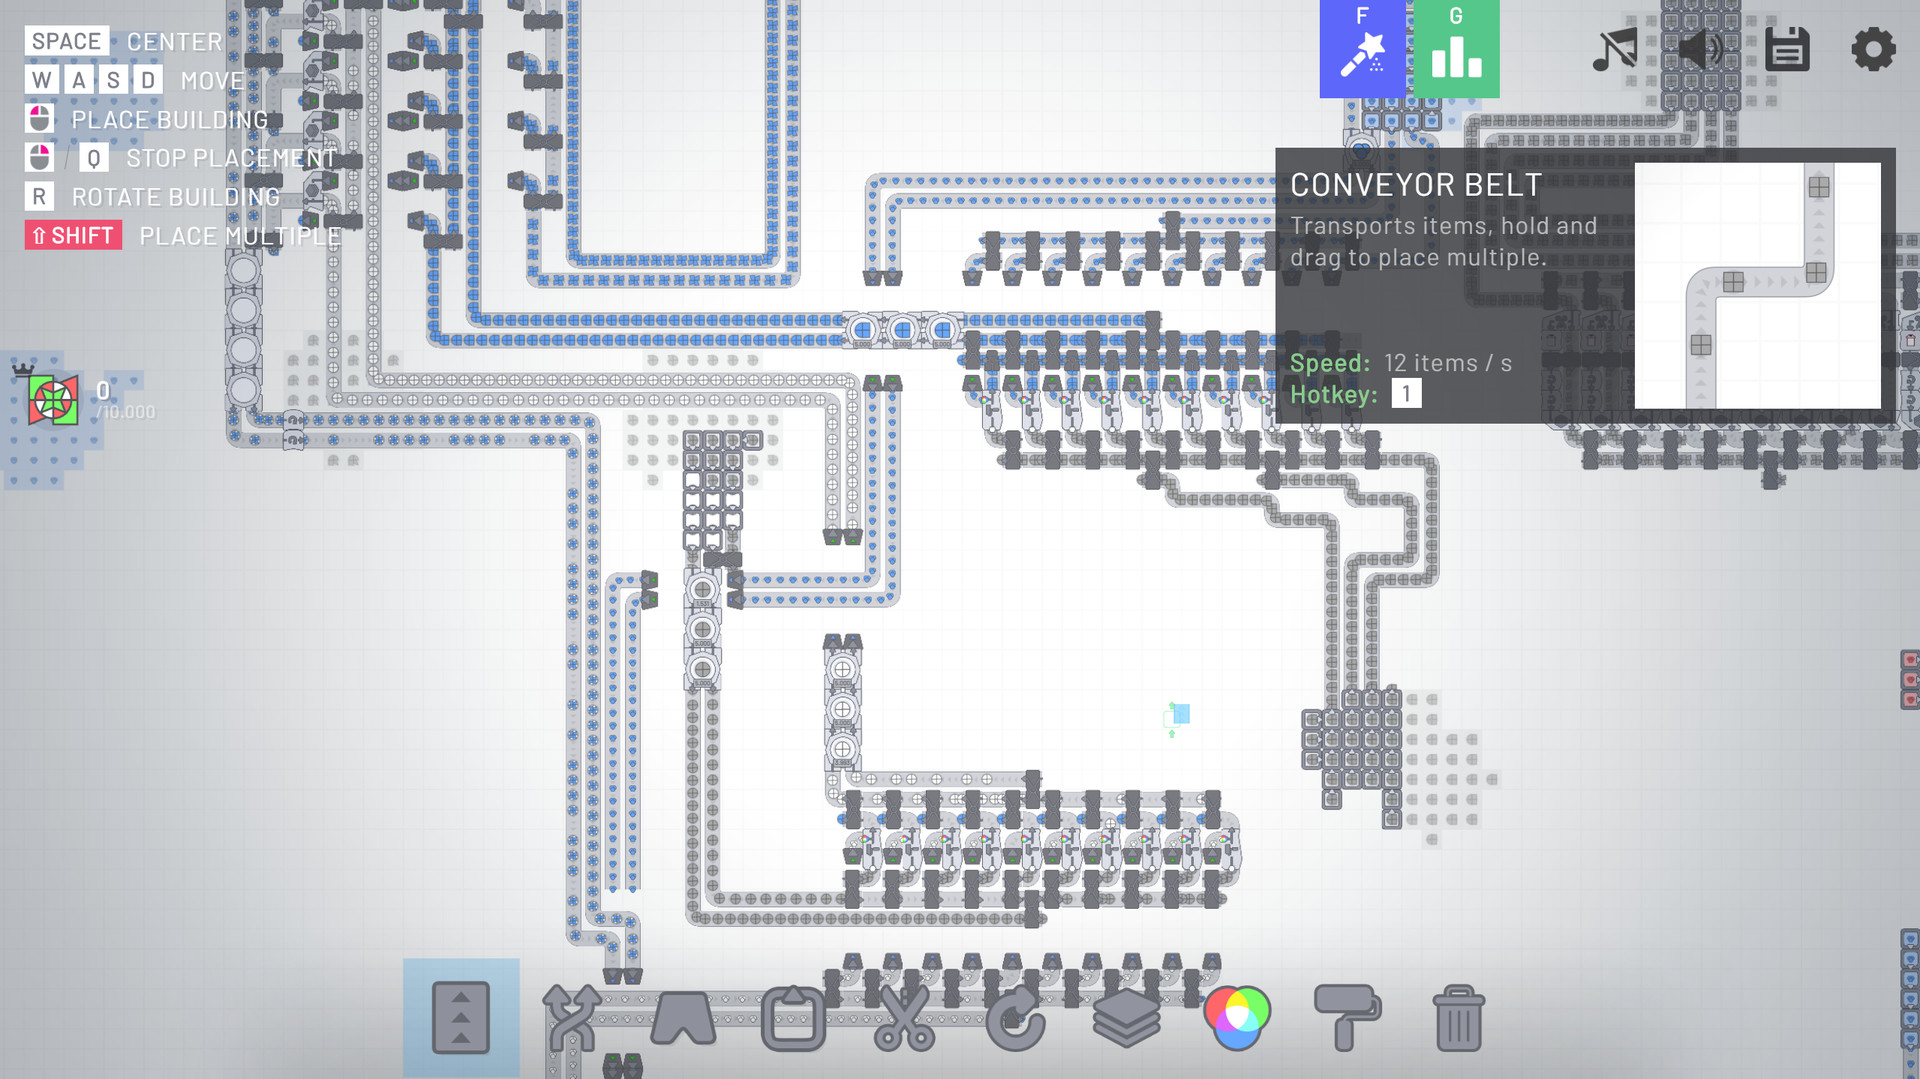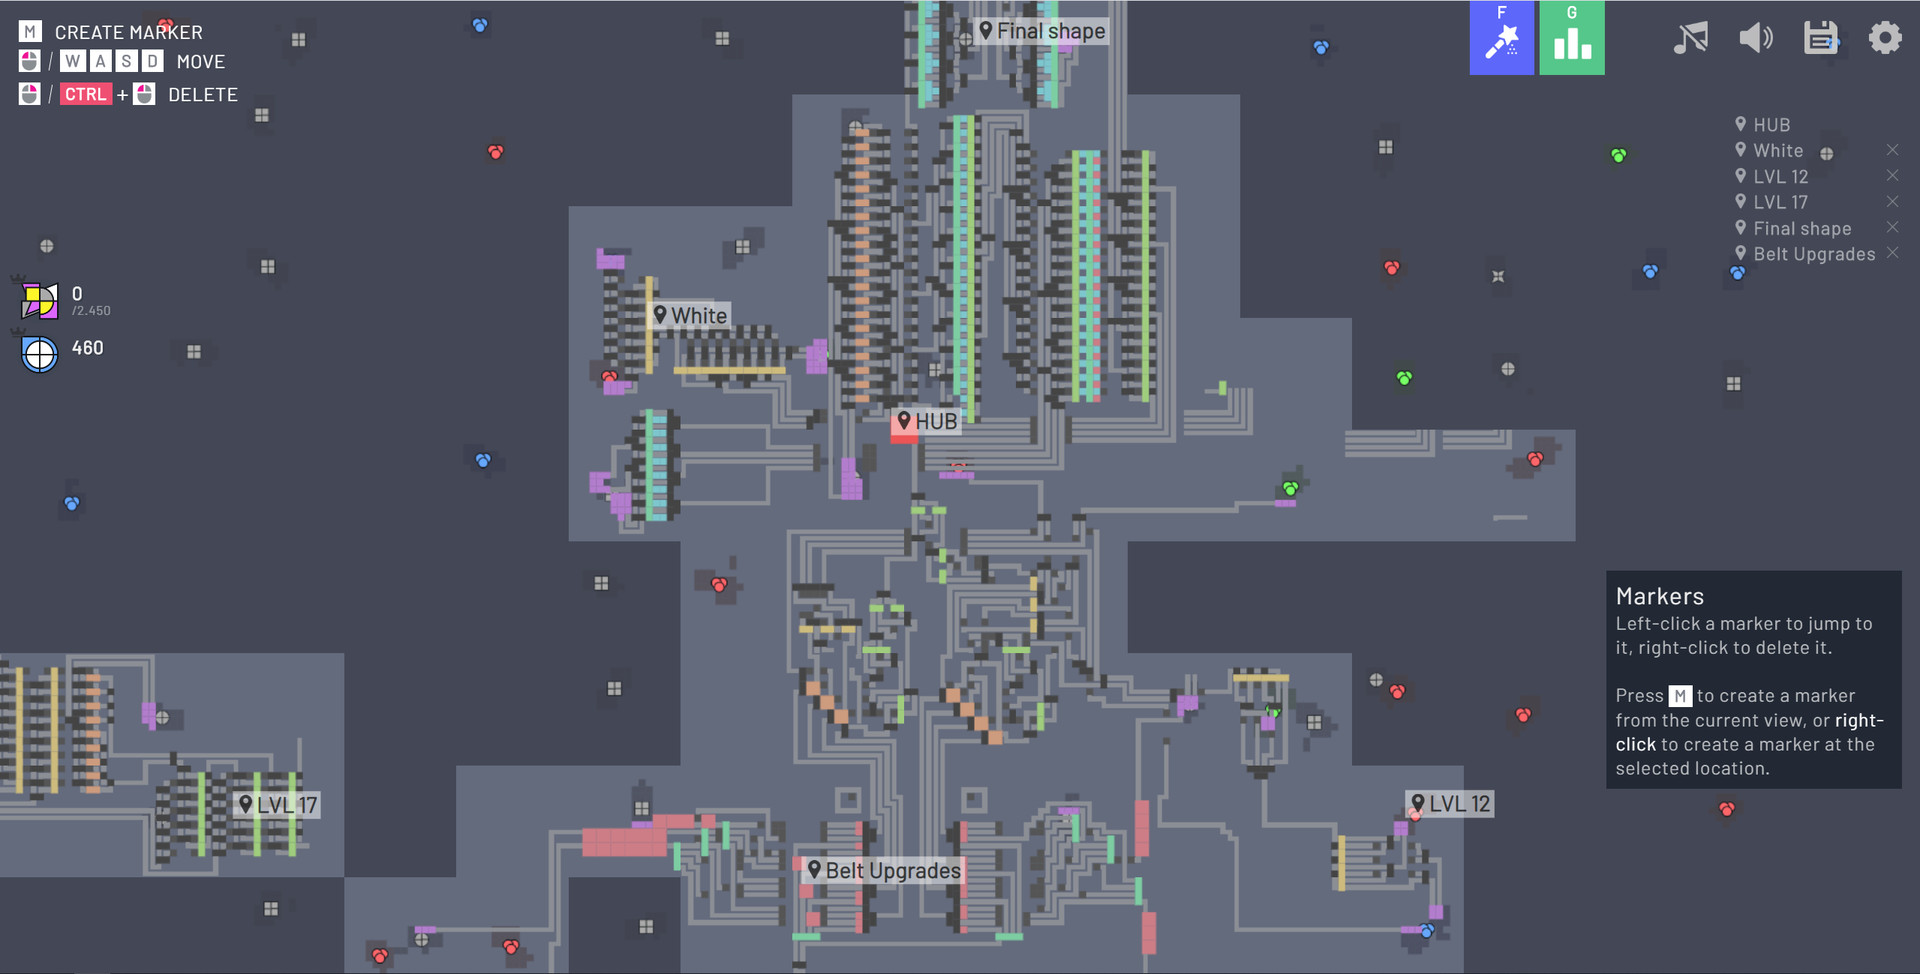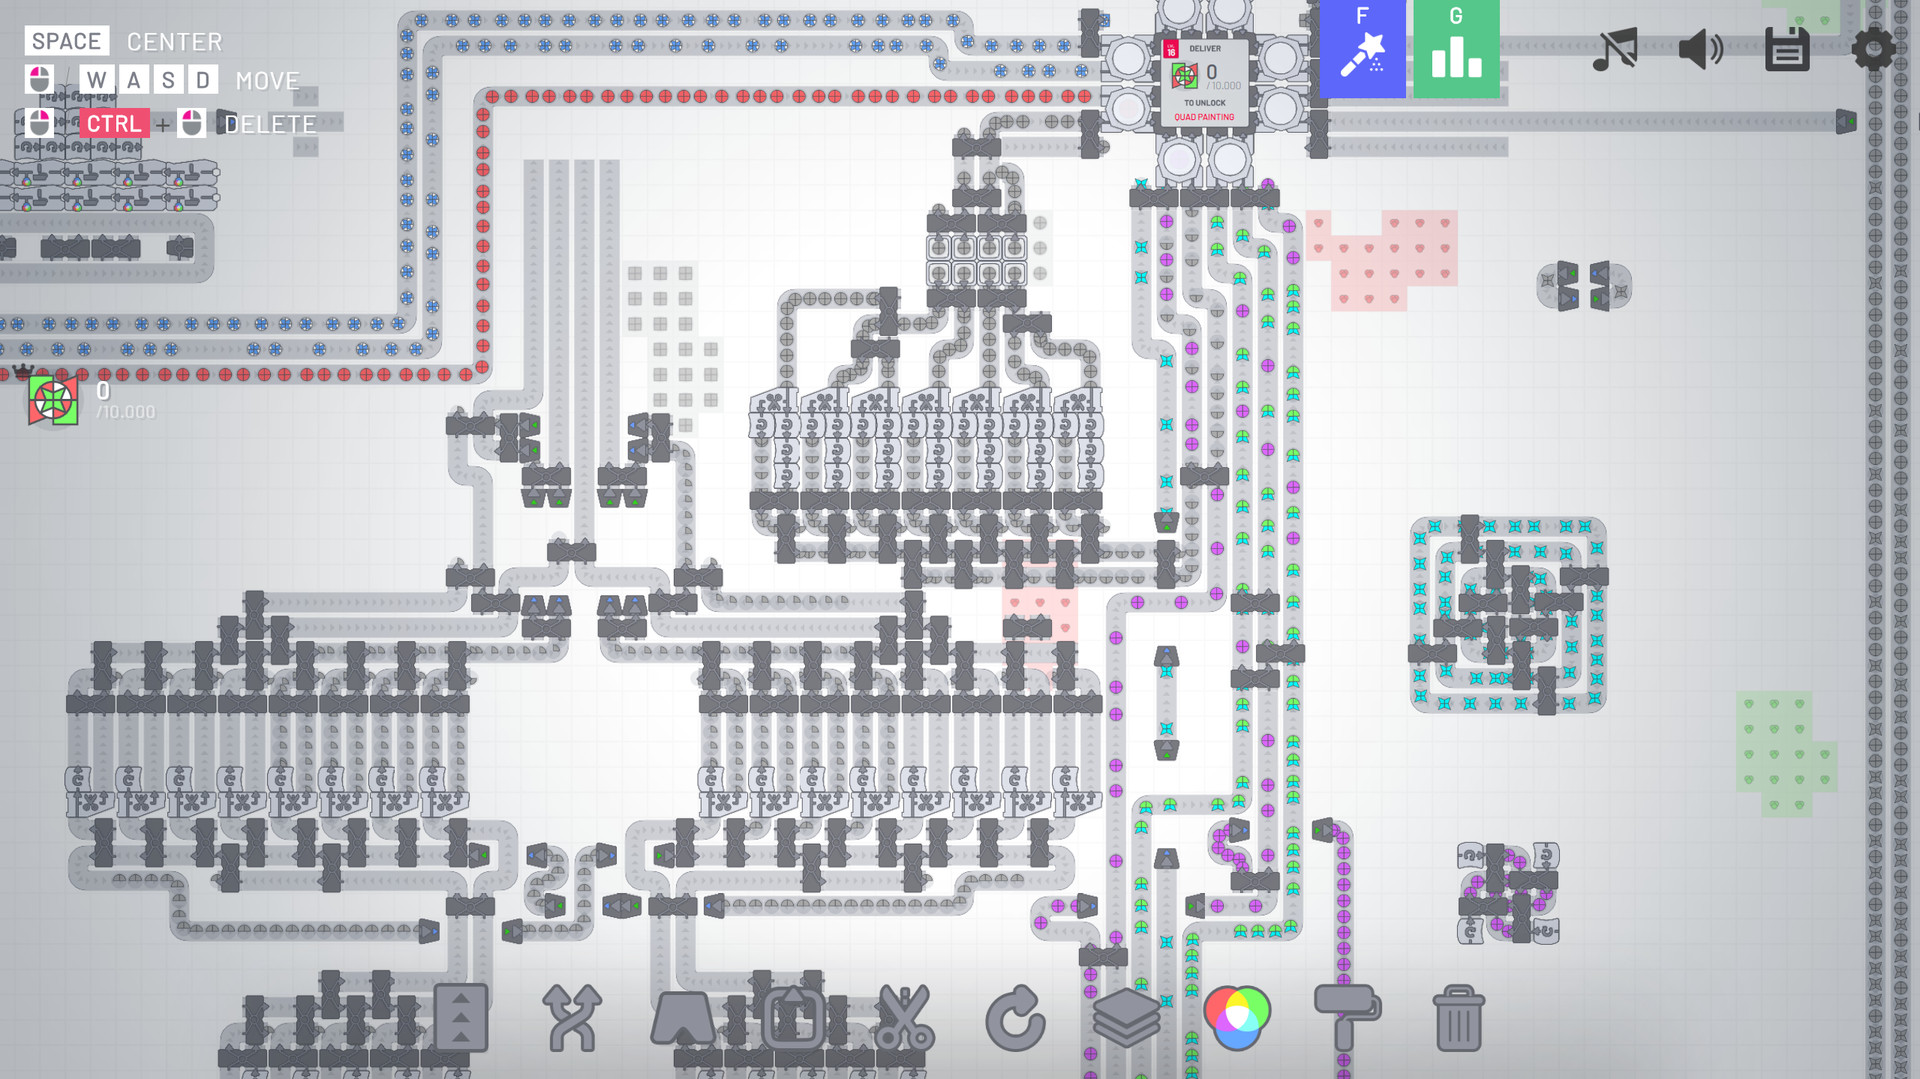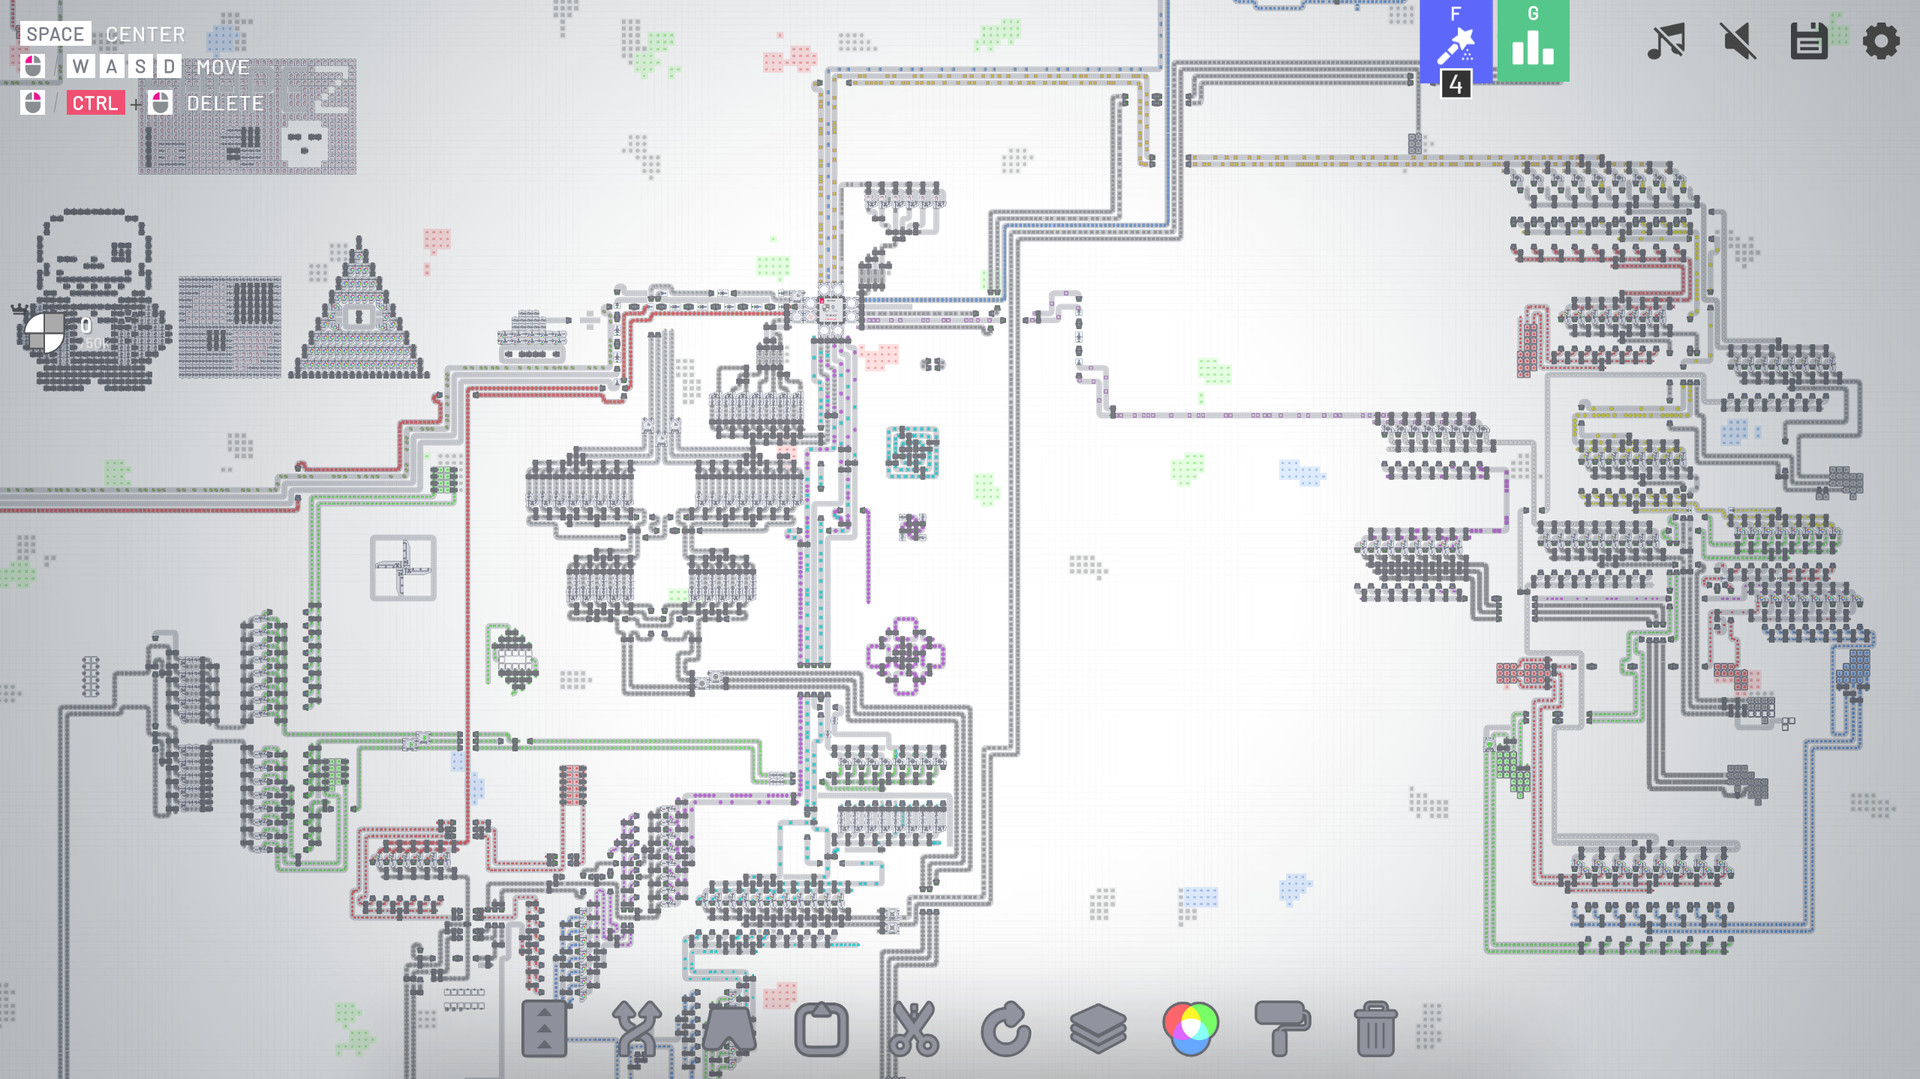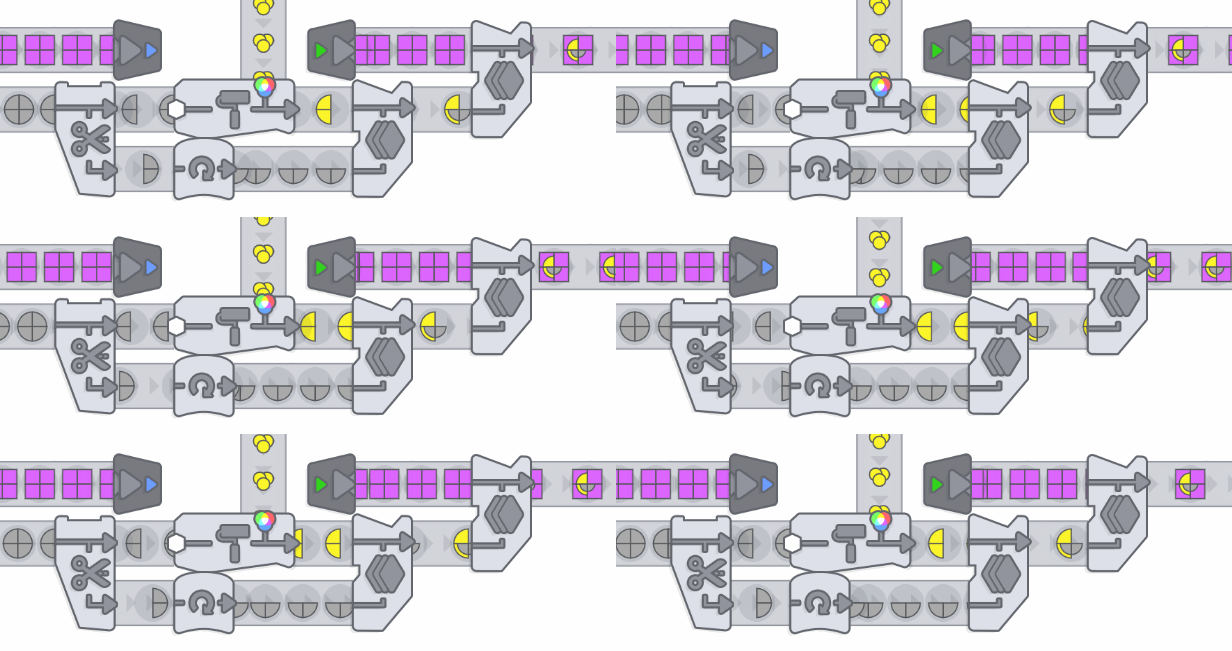
shapez.io is a game about building factories to automate the creation and combination of shapes. Deliver the requested, increasingly complex shapes to progress within the game and unlock upgrades to speed up your factory.
Since the demand raises you will have to scale up your factory to fit the needs - Don't forget about resources though, you will have to expand in the infinite map!
Since shapes can get boring soon you need to mix colors and paint your shapes with it - Combine red, green and blue color resources to produce different colors and paint shapes with it to satisfy the demand.
This game features 18 levels (Which should keep you busy for hours already!) but I'm constantly adding new content - There is a lot planned!
Standalone Advantages
- Waypoints
- Unlimited Savegames
- Dark Mode
- More settings
- Allow me to further develop shapez.io ❤️
- More features in the future!
This game is open source - Anybody can contribute! Besides of that, I listen a lot to the community! I try to read all suggestions and take as much feedback into account as possible.
- Story mode where buildings cost shapes
- More levels & buildings (standalone exclusive)
- Different maps, and maybe map obstacles
- Configurable map creation (Edit number and size of patches, seed, and more)
- More types of shapes
- More performance improvements (Although the game already runs pretty good!)
- Color blind mode
- And much more!
Devlog 019 - The one about Trains
Please note that the vast majority of train visuals are placeholder or early concepts. The mechanics and balancing explained in this blog are also subject to change, depending on community feedback. To read more about how we implement new content and the current state of the game, check out our previous devlog !
You can explore everything you see and read in this blog yourself in Alpha 19, available to Patreons.
Wed like to quickly preface the blog with our intentions for trains. Their purpose is to transport a large amount of shapes over large distances. While tunnels and space belts work fine to connect nearby platforms, trains will connect your distant platforms that mine that specific shape you really need, but spawned multiple sectors away.
Ultimately, our goal was to create a fun, long-distance transport option that fits well into the existing shapez world and the mechanics youre used to. It should be easy to get into but provide depth for optimization and versatility. For this reason weve omitted signals and other, more complex train mechanics in favor of a simpler line system that still offers a lot of depth for those willing to invest their time into optimization.
To get started, lets place a station! You can also choose to start with the track or a depot, but well start with a station as they come with a pre-build segment of track. The station building tells a locomotive where to stop. To load and unload the wagons you need to place Train Loaders and Train Unloaders, both of which are available for both shapes and fluids. Each (Un)Loader can service one wagon.
Once the stations are in place, its time to place tracks. You dont have to worry about the length of the line, as placing tracks is completely free. Connect the stations by track in any way you want, but do keep in mind that tracks are directional. Additionally, trains have to slow down when making a turn and speed up on long, straight sections. Youll want to minimize the amount of turns a train needs to make in order to maintain a high speed.

When your stations are connected, you wont have to worry about making a loop or a place where the train can turn around: tracks are double-sided. When a train reaches the end of a line, it will flip to the bottom side of the track and turn back to where it came from. This helps a lot with space management as you wont have to worry about frontal collisions or need to make two tracks to allow trains to travel back and forth. However, trains traveling along the bottom of a track cannot be serviced by stations and only travel in a straight line. If the line has junctions or switches, you may still need to complete a loop to get your train back to the start.

Now that youve connected an input station and an output station, its time to get a train running. To spawn a train, you need a train Depot. This depot is one chunk big and allows you to spawn a single locomotive that cannot carry any products by itself. To add capacity, youll need to attach a Wagon Extension to the Depot. You can choose between two types of cargo wagons: Shape Wagons and Fluid Wagons. Filler Wagons are also available to space out two cargo wagons, but cant be used to transport products. Youre free to mix and match the wagon types, theres no need to stick to just one. With these wagon extensions attached, any train spawned by the Depot will pull a single wagon for every extension. If youd like a second train, youll need to place a second train Depot with its own wagon extensions.

A train will automatically spawn from the depot and do its thing: it will follow the track and stop at every station it comes across. It will load shapes at Train Loaders, and unload shapes at Train Unloaders. This is the simplest use of trains: a single train moves along a line and does its thing. You can stop there, but theres a lot more possible.
If you were to give every single line its own track, youd need to reserve a lot of space for all the tracks youd need. Instead, you can work with colors! When placing a track or a Depot, you can currently pick between four colors: red, green, blue and white. The color determines which line which train will follow. For example, a train from a red Depot will always follow the red line in case of a switch.
The colors come into play once you merge two or more tracks of different colors into a single track. If you have a green line and you merge a red line onto the same track, the track will become both green and red in the direction of the track. This means that both red trains and green trains can travel along this line! If you were to split the green line off this track, youd get your separated red and green tracks back.

A track can support all four colors simultaneously, giving any piece of track an effective limit of four different lines. If you require more lines, youll need to make a parallel track that travels in the same direction or separate your train network into smaller subnetworks. When traveling along the bottom of a track, trains will no longer follow their line and only go straight at switches.


However, the second way is a lot more fun: just make a Train Launcher! Just like with conveyor belts, you can place a launcher that will launch the train into the air and across any other tracks and onto the catcher. Unlike the conveyor belt equivalent, you can change the strength of the launcher to determine how far the train will fly.

Before you ask: Yes, the Train Launcher also works on trains at the bottom side of the track.

So after all this, you may wonder why youd use trains instead of tunnels or space belts. Aside from being way cooler, its a matter of cost, speed and throughput.
[hr][/hr][table noborder=1 equalcells=1]
[th]Object[/th]
[th]Chunk cost each[/th]
[th]Amount[/th]
[th]Chunk cost sum[/th]
Locomotive 10 1 10
Wagon 5 3 15
Station 1 2 2
Platform 2 6 12
Chunk cost total [u]39[/u]
39 chunks may sound like a lot, but the best part is that tracks are completely free! This means that no matter the distance, be it 5 chunks or 500, the cost remains the same. Additionally, locomotives dont require fuel and theres no maintenance fee either. If you compare this to our other mass-transport options like Space Belts and Space Tunnels, both of which have an effective per-chunk cost of 1, trains become increasingly more chunk-efficient the longer the distance traveled. The cheapest possible setup for a functioning train is one locomotive with one wagon running between two stations, which would cost you 21 chunks.
A wagon can only pick up one package per layer. If you only use the bottom layer of the station, the wagon can only pick up one package: it does not automatically place a second package on top of the first one. Additionally, Loaders and Unloaders can store up to two full packages per layer. To make full use of both the wagons and the (Un)Loaders, youll want to split the load across all three layers.
When it comes to speed, trains are considerably faster than the alternatives. If you were to move shapes across a distance of 300 chunks using space belts, youd be looking at almost an hour of travel time! A train however, will cross that distance in under 30 seconds. Trains slow down for turns and take some time to get back up to speed, so every corner will considerably increase the travel time of a train. Adding wagons to a train does not affect the speed or acceleration.
To summarize the balance, space belts and tunnels are ideal for short-distance connections between platforms. Trains are what youll want to use for medium and long distances. Theyre incredibly versatile and you can add or remove trains and wagons as needed. However, it takes time to set them up and poor planning and/or using too many trains can create bottlenecks when collision avoidance enters the fray more on that next.
This also means that congestion would be possible if you have a lot of trains on the same line or have a very busy crossing. Avoid conflict points, build station bypass tracks and use the line colors to the best of your ability to avoid gridlocking your entire transport system.
We have some more ideas, but they require more testing before we can say with certainty they'll make it into the game. Names pending.
Can't wait to try trains and want get involved in the process? Consider supporting us on Patreon to get access to the bi-weekly Alpha builds as they release! Your feedback is essential to us while we're working very hard to get shapez 2 ready for Early Access.
That's all we have on trains for now! We hope to soon be able to show you what trains will actually look like, but we first need some more time to get all the features in. Thank you for your time and we hope to see you again in two weeks.
~ Tobias & the shapez 2 team

Hello everyone!
It's finally time to talk about possibly the most anticipated feature of shapez 2: Trains! We'll keep the intro short, but please remember to wishlist shapez 2! There's a high chance you already have (in which case, thank you very much!), but every single wishlist helps out!
https://store.steampowered.com/app/2162800/shapez_2/
Disclaimer
Please note that the vast majority of train visuals are placeholder or early concepts. The mechanics and balancing explained in this blog are also subject to change, depending on community feedback. To read more about how we implement new content and the current state of the game, check out our previous devlog !
You can explore everything you see and read in this blog yourself in Alpha 19, available to Patreons.
Our goal for trains
Wed like to quickly preface the blog with our intentions for trains. Their purpose is to transport a large amount of shapes over large distances. While tunnels and space belts work fine to connect nearby platforms, trains will connect your distant platforms that mine that specific shape you really need, but spawned multiple sectors away.
Ultimately, our goal was to create a fun, long-distance transport option that fits well into the existing shapez world and the mechanics youre used to. It should be easy to get into but provide depth for optimization and versatility. For this reason weve omitted signals and other, more complex train mechanics in favor of a simpler line system that still offers a lot of depth for those willing to invest their time into optimization.
The basics
To get started, lets place a station! You can also choose to start with the track or a depot, but well start with a station as they come with a pre-build segment of track. The station building tells a locomotive where to stop. To load and unload the wagons you need to place Train Loaders and Train Unloaders, both of which are available for both shapes and fluids. Each (Un)Loader can service one wagon.
Once the stations are in place, its time to place tracks. You dont have to worry about the length of the line, as placing tracks is completely free. Connect the stations by track in any way you want, but do keep in mind that tracks are directional. Additionally, trains have to slow down when making a turn and speed up on long, straight sections. Youll want to minimize the amount of turns a train needs to make in order to maintain a high speed.

When your stations are connected, you wont have to worry about making a loop or a place where the train can turn around: tracks are double-sided. When a train reaches the end of a line, it will flip to the bottom side of the track and turn back to where it came from. This helps a lot with space management as you wont have to worry about frontal collisions or need to make two tracks to allow trains to travel back and forth. However, trains traveling along the bottom of a track cannot be serviced by stations and only travel in a straight line. If the line has junctions or switches, you may still need to complete a loop to get your train back to the start.

Now that youve connected an input station and an output station, its time to get a train running. To spawn a train, you need a train Depot. This depot is one chunk big and allows you to spawn a single locomotive that cannot carry any products by itself. To add capacity, youll need to attach a Wagon Extension to the Depot. You can choose between two types of cargo wagons: Shape Wagons and Fluid Wagons. Filler Wagons are also available to space out two cargo wagons, but cant be used to transport products. Youre free to mix and match the wagon types, theres no need to stick to just one. With these wagon extensions attached, any train spawned by the Depot will pull a single wagon for every extension. If youd like a second train, youll need to place a second train Depot with its own wagon extensions.

A train will automatically spawn from the depot and do its thing: it will follow the track and stop at every station it comes across. It will load shapes at Train Loaders, and unload shapes at Train Unloaders. This is the simplest use of trains: a single train moves along a line and does its thing. You can stop there, but theres a lot more possible.
Lines
If you were to give every single line its own track, youd need to reserve a lot of space for all the tracks youd need. Instead, you can work with colors! When placing a track or a Depot, you can currently pick between four colors: red, green, blue and white. The color determines which line which train will follow. For example, a train from a red Depot will always follow the red line in case of a switch.
The colors come into play once you merge two or more tracks of different colors into a single track. If you have a green line and you merge a red line onto the same track, the track will become both green and red in the direction of the track. This means that both red trains and green trains can travel along this line! If you were to split the green line off this track, youd get your separated red and green tracks back.

A track can support all four colors simultaneously, giving any piece of track an effective limit of four different lines. If you require more lines, youll need to make a parallel track that travels in the same direction or separate your train network into smaller subnetworks. When traveling along the bottom of a track, trains will no longer follow their line and only go straight at switches.

Crossings
If you need to cross tracks, there are two ways to do it. The first one is to simply create a crossing by placing a second track across an existing track to create a crossing. At a crossing, lines and trains can only go straight. If you want to give trains the option to merge into the other track as well, you need to manually build a switch.
However, the second way is a lot more fun: just make a Train Launcher! Just like with conveyor belts, you can place a launcher that will launch the train into the air and across any other tracks and onto the catcher. Unlike the conveyor belt equivalent, you can change the strength of the launcher to determine how far the train will fly.

Before you ask: Yes, the Train Launcher also works on trains at the bottom side of the track.

Balancing
So after all this, you may wonder why youd use trains instead of tunnels or space belts. Aside from being way cooler, its a matter of cost, speed and throughput.
Costs
Below, you see a table with the costs of running a train. For this example, we run a single train with three wagons between two stations with capacity for all wagons.[hr][/hr][table noborder=1 equalcells=1]
[th]Object[/th]
[th]Chunk cost each[/th]
[th]Amount[/th]
[th]Chunk cost sum[/th]
39 chunks may sound like a lot, but the best part is that tracks are completely free! This means that no matter the distance, be it 5 chunks or 500, the cost remains the same. Additionally, locomotives dont require fuel and theres no maintenance fee either. If you compare this to our other mass-transport options like Space Belts and Space Tunnels, both of which have an effective per-chunk cost of 1, trains become increasingly more chunk-efficient the longer the distance traveled. The cheapest possible setup for a functioning train is one locomotive with one wagon running between two stations, which would cost you 21 chunks.
Throughput
Shapes and fluids are loaded on a train in packages. A single wagon has capacity for three packages one for each building layer with each package having a capacity of 960 shapes or 9,600 L of fluids. This gives every wagon a maximum capacity of 2,880 shapes or 28,800 L of fluid when using all three layers. Trains will only pick up packages that are completely filled, giving a wagon a minimum required load of 960 shapes or 9,600 L as well.A wagon can only pick up one package per layer. If you only use the bottom layer of the station, the wagon can only pick up one package: it does not automatically place a second package on top of the first one. Additionally, Loaders and Unloaders can store up to two full packages per layer. To make full use of both the wagons and the (Un)Loaders, youll want to split the load across all three layers.
When it comes to speed, trains are considerably faster than the alternatives. If you were to move shapes across a distance of 300 chunks using space belts, youd be looking at almost an hour of travel time! A train however, will cross that distance in under 30 seconds. Trains slow down for turns and take some time to get back up to speed, so every corner will considerably increase the travel time of a train. Adding wagons to a train does not affect the speed or acceleration.
To summarize the balance, space belts and tunnels are ideal for short-distance connections between platforms. Trains are what youll want to use for medium and long distances. Theyre incredibly versatile and you can add or remove trains and wagons as needed. However, it takes time to set them up and poor planning and/or using too many trains can create bottlenecks when collision avoidance enters the fray more on that next.
Future possibilities
Collision avoidance
In the latest Alpha build (Alpha 19 at the time of writing), trains still just phase through each other. However, were currently experimenting with a collision avoidance system. How it will work exactly is still to be determined, but a train should brake when another train gets in its way. Once the path is clear, it should continue its journey.This also means that congestion would be possible if you have a lot of trains on the same line or have a very busy crossing. Avoid conflict points, build station bypass tracks and use the line colors to the best of your ability to avoid gridlocking your entire transport system.
Colorblind features
Since were working with colors, were planning to use the same color pattern shaders we showed in the last devlog for the line colors as well. How exactly this will look depends on what the final train and track visuals end up looking like.We have some more ideas, but they require more testing before we can say with certainty they'll make it into the game. Names pending.
- Side swapper track: Special track segment that will flip the track and allows trains to swap to the other side while continuing in the same direction, without slowing down.
- Locomotive recoloring platform: Change a locomotives line color and reroute them on the fly with a special platform.
- Vortex train launch: Launch trains directly into the Vortex to deliver a large amount of shapes at once.
Can't wait to try trains and want get involved in the process? Consider supporting us on Patreon to get access to the bi-weekly Alpha builds as they release! Your feedback is essential to us while we're working very hard to get shapez 2 ready for Early Access.
That's all we have on trains for now! We hope to soon be able to show you what trains will actually look like, but we first need some more time to get all the features in. Thank you for your time and we hope to see you again in two weeks.
~ Tobias & the shapez 2 team

Join the community:
X / Twitter YouTube Discord Reddit TikTok Patreon[ 2024-04-18 15:02:29 CET ] [Original Post]
GAMEBILLET
[ 6338 ]
FANATICAL
[ 5763 ]
GAMERSGATE
[ 1933 ]
MacGameStore
[ 2282 ]
FANATICAL BUNDLES
HUMBLE BUNDLES
by buying games/dlcs from affiliate links you are supporting tuxDB

