
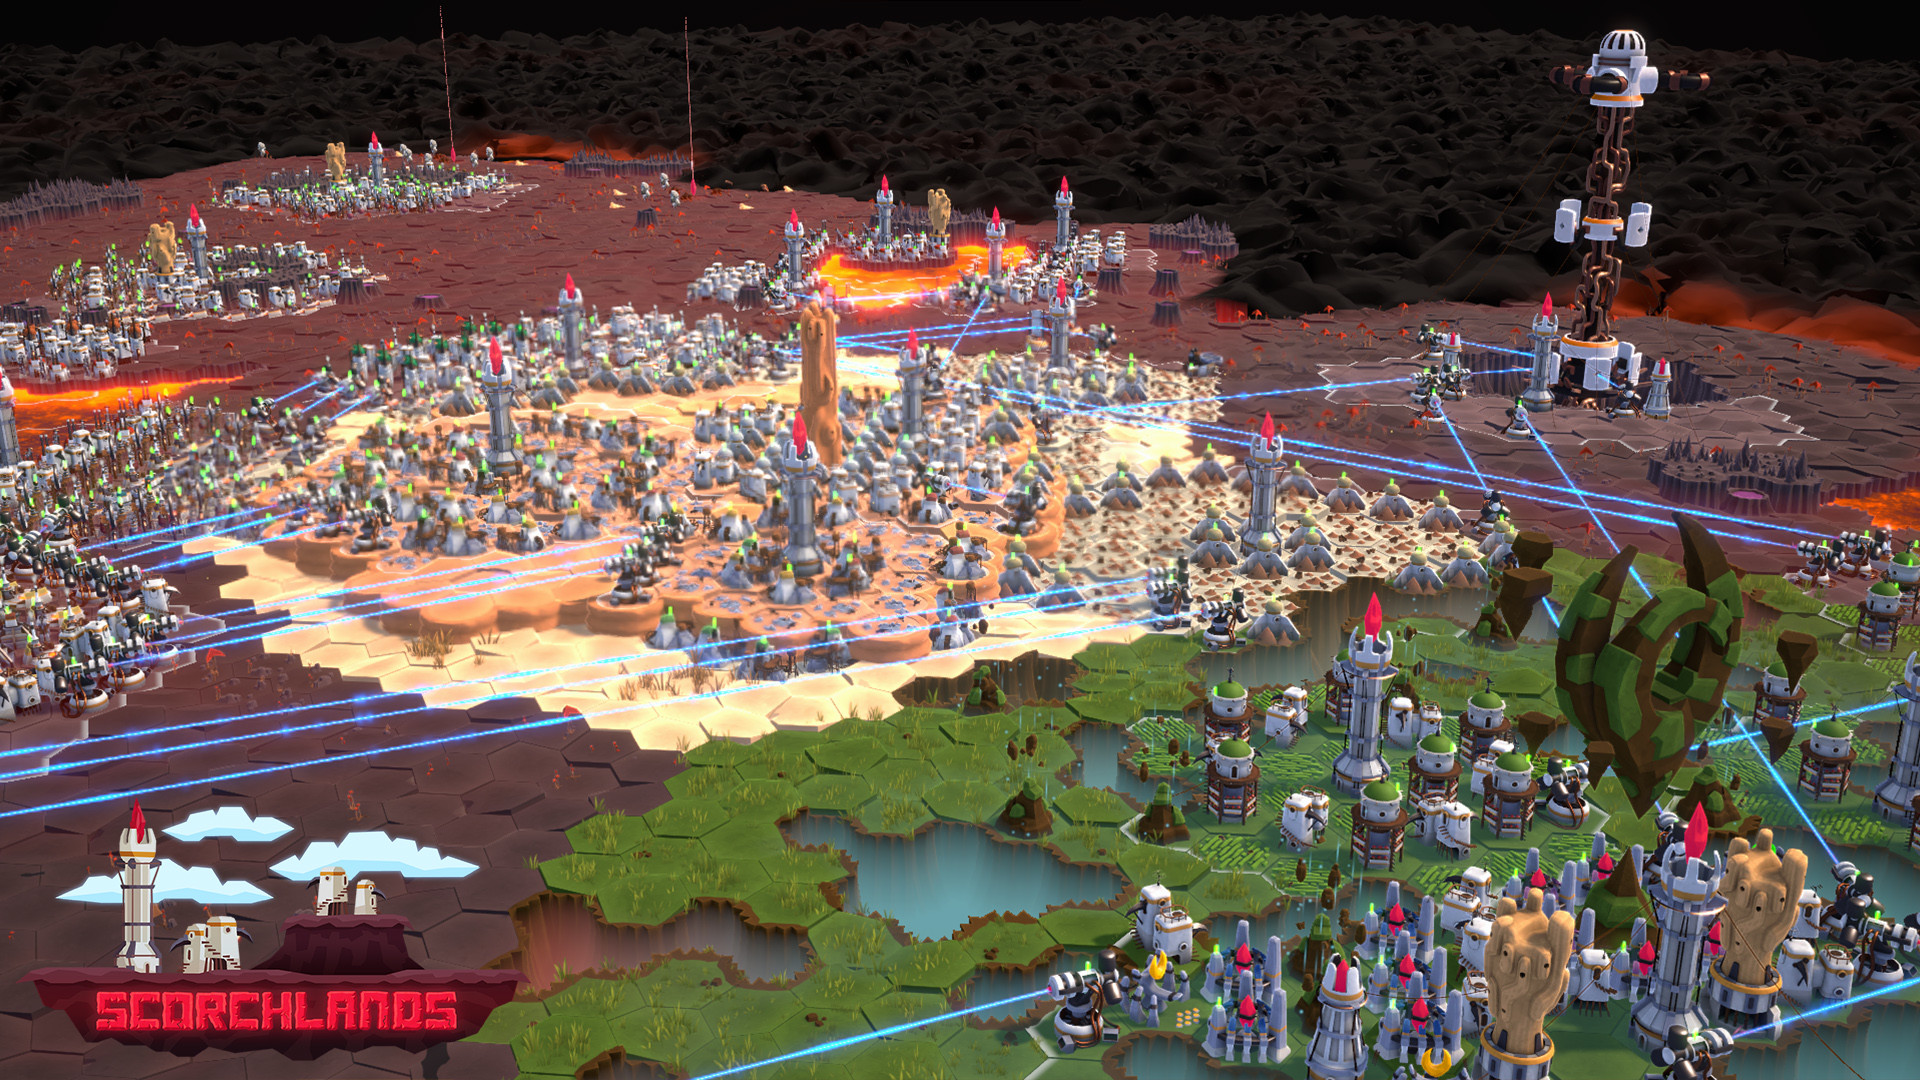

Perform powerful rituals to reshape the world, and work on new technologies to save the decaying world. Create new biomes and empower existing ones with the use of magic. Discover unique resource veins and use them to expand your creative range.

Start with one colony, create more, and see them expand. Unlock unique environments and dozens of technologies that will bring new aspects to the gameplay. Experiment with building placement, and manage laser-based logistic networks to connect everyone and everything.

There’s no pressure, no time limit, no enemy nipping at your heels. The game instantly reacts to your decisions. The pacing depends on you and you alone.
- Experience a relaxing city-builder in a world of magic technologies.
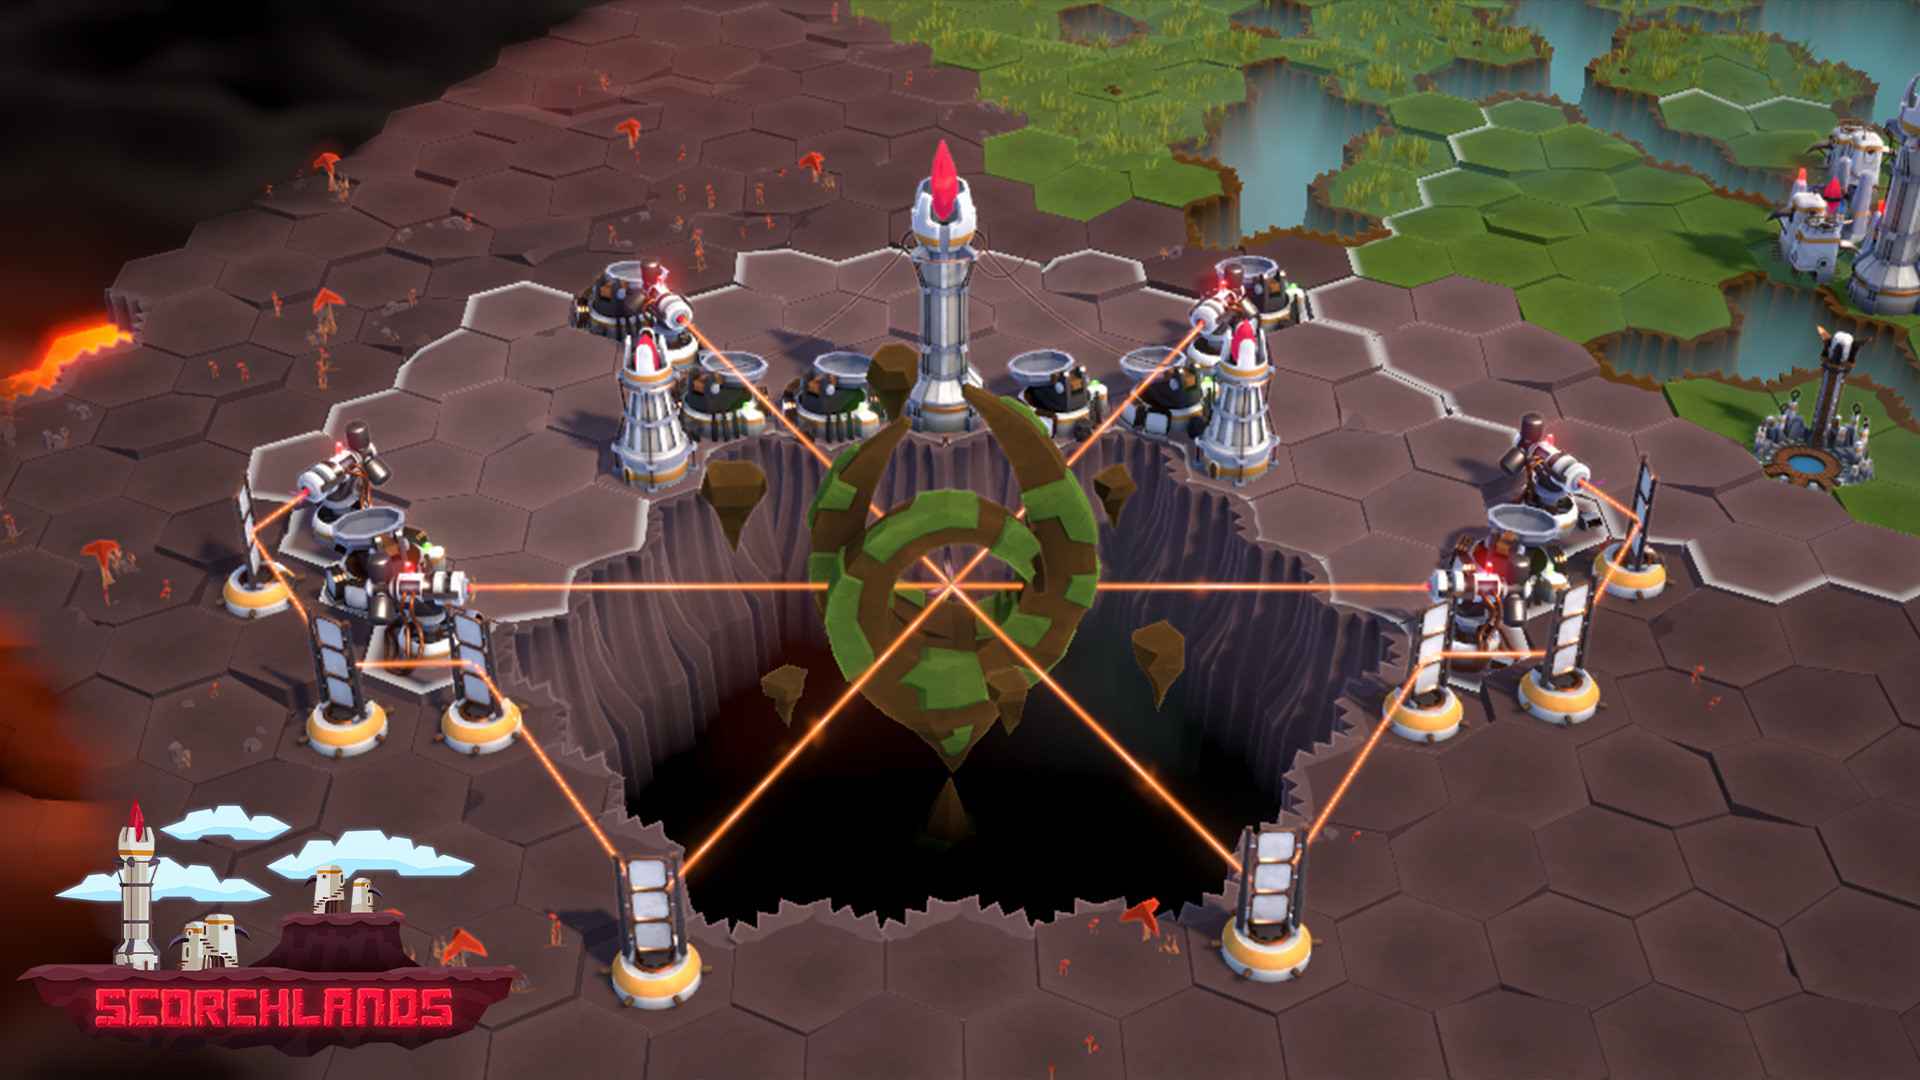
- Terraform the world around you with powerful rituals.
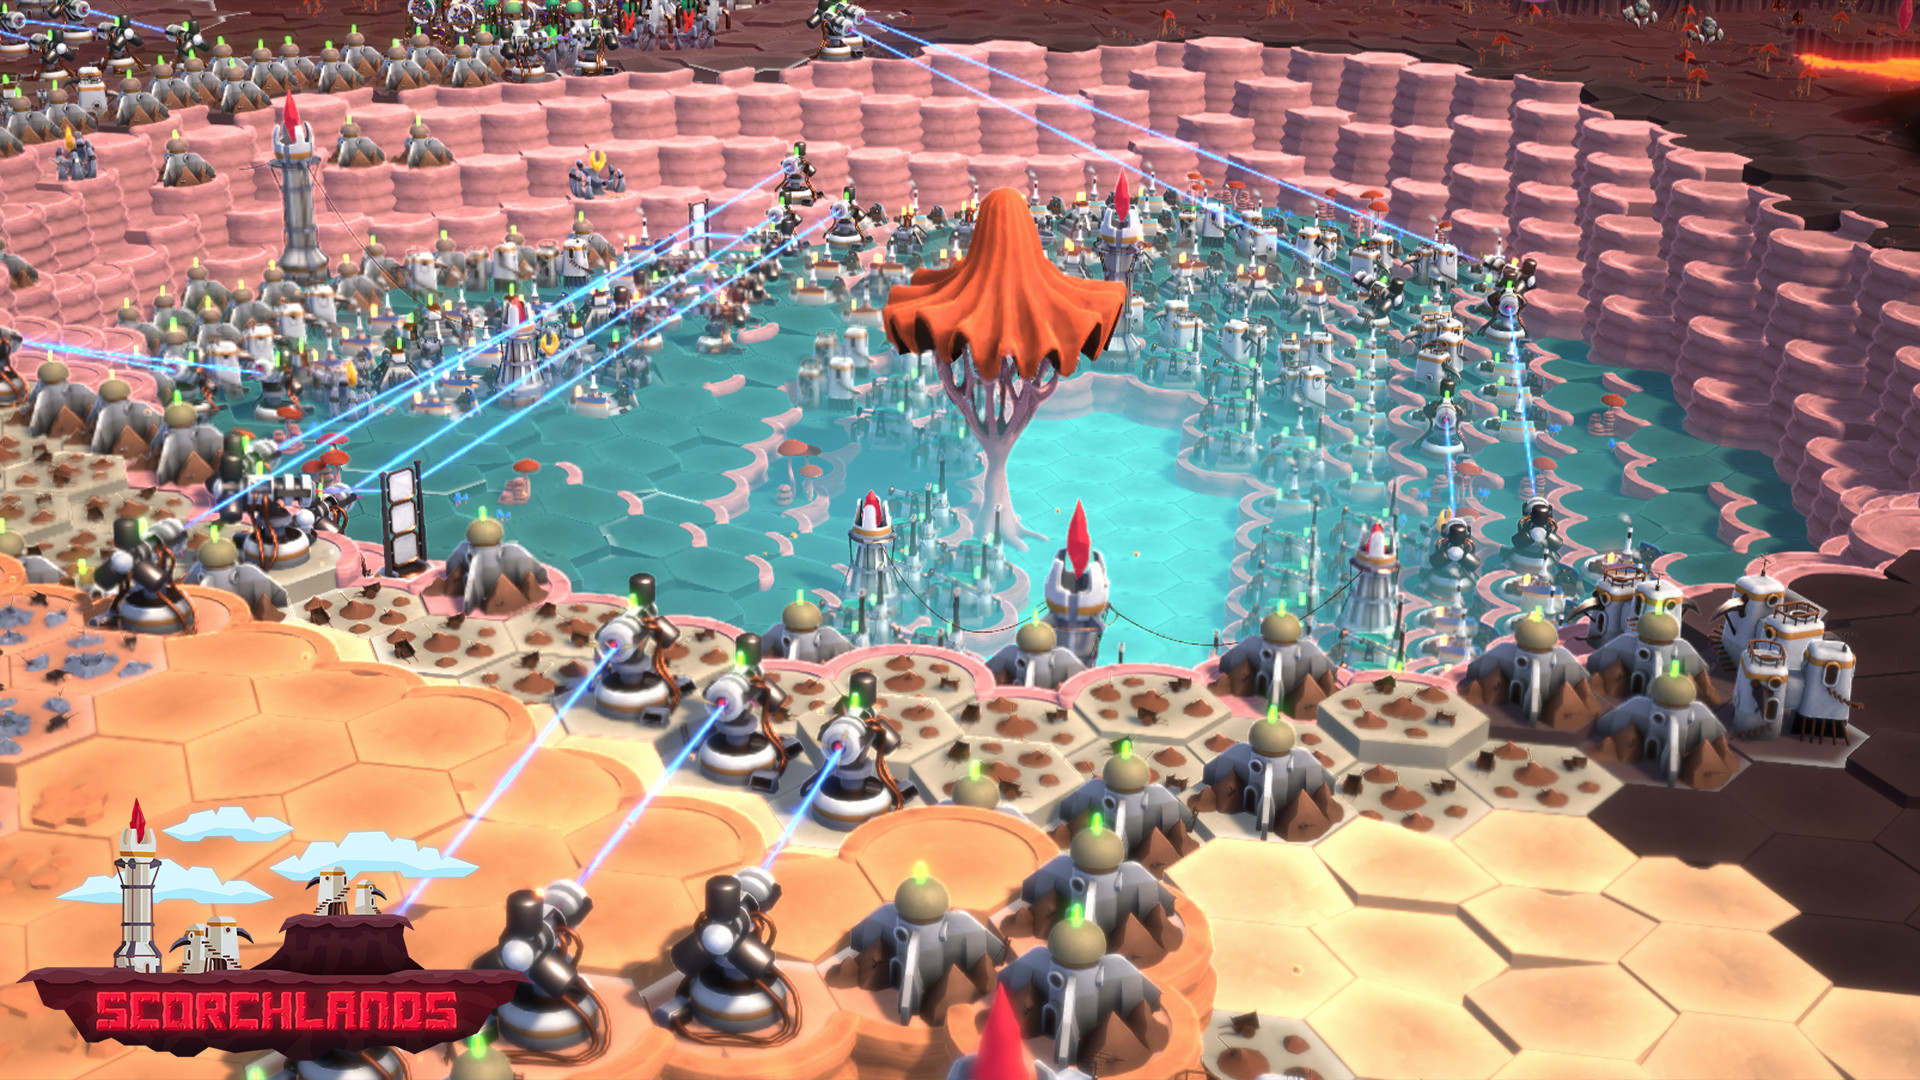
- Get creative and amaze at the scope of your civilization.
- Never wait for anything! Play as fast or slow as you want.
- 4 biomes, 21 buildings, 36 resources, 47 technologies - and more to come!
- [225.54 M]
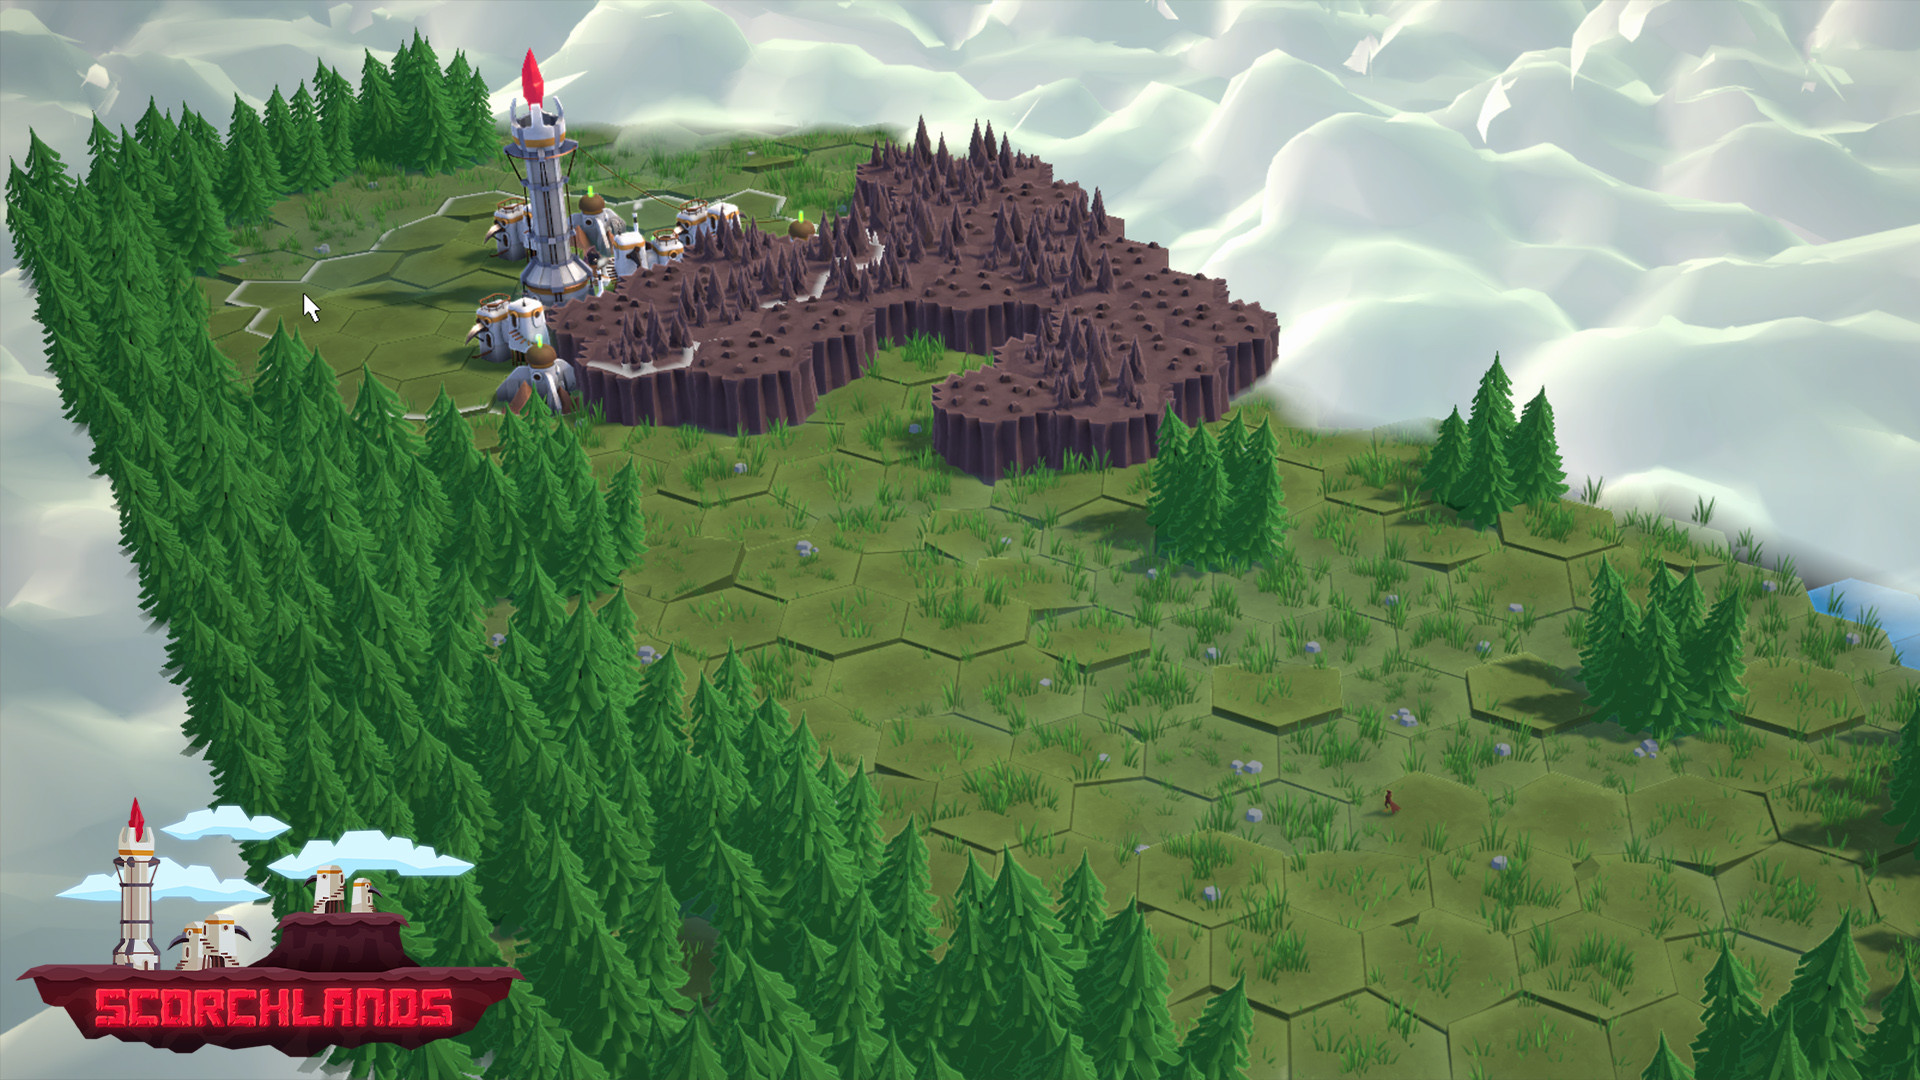
Hello, Folks! In one of the previous posts, we explained that building placement is very important in Schorchlands. There are many reasons for this limited space, resource management, etc. There is another reason.
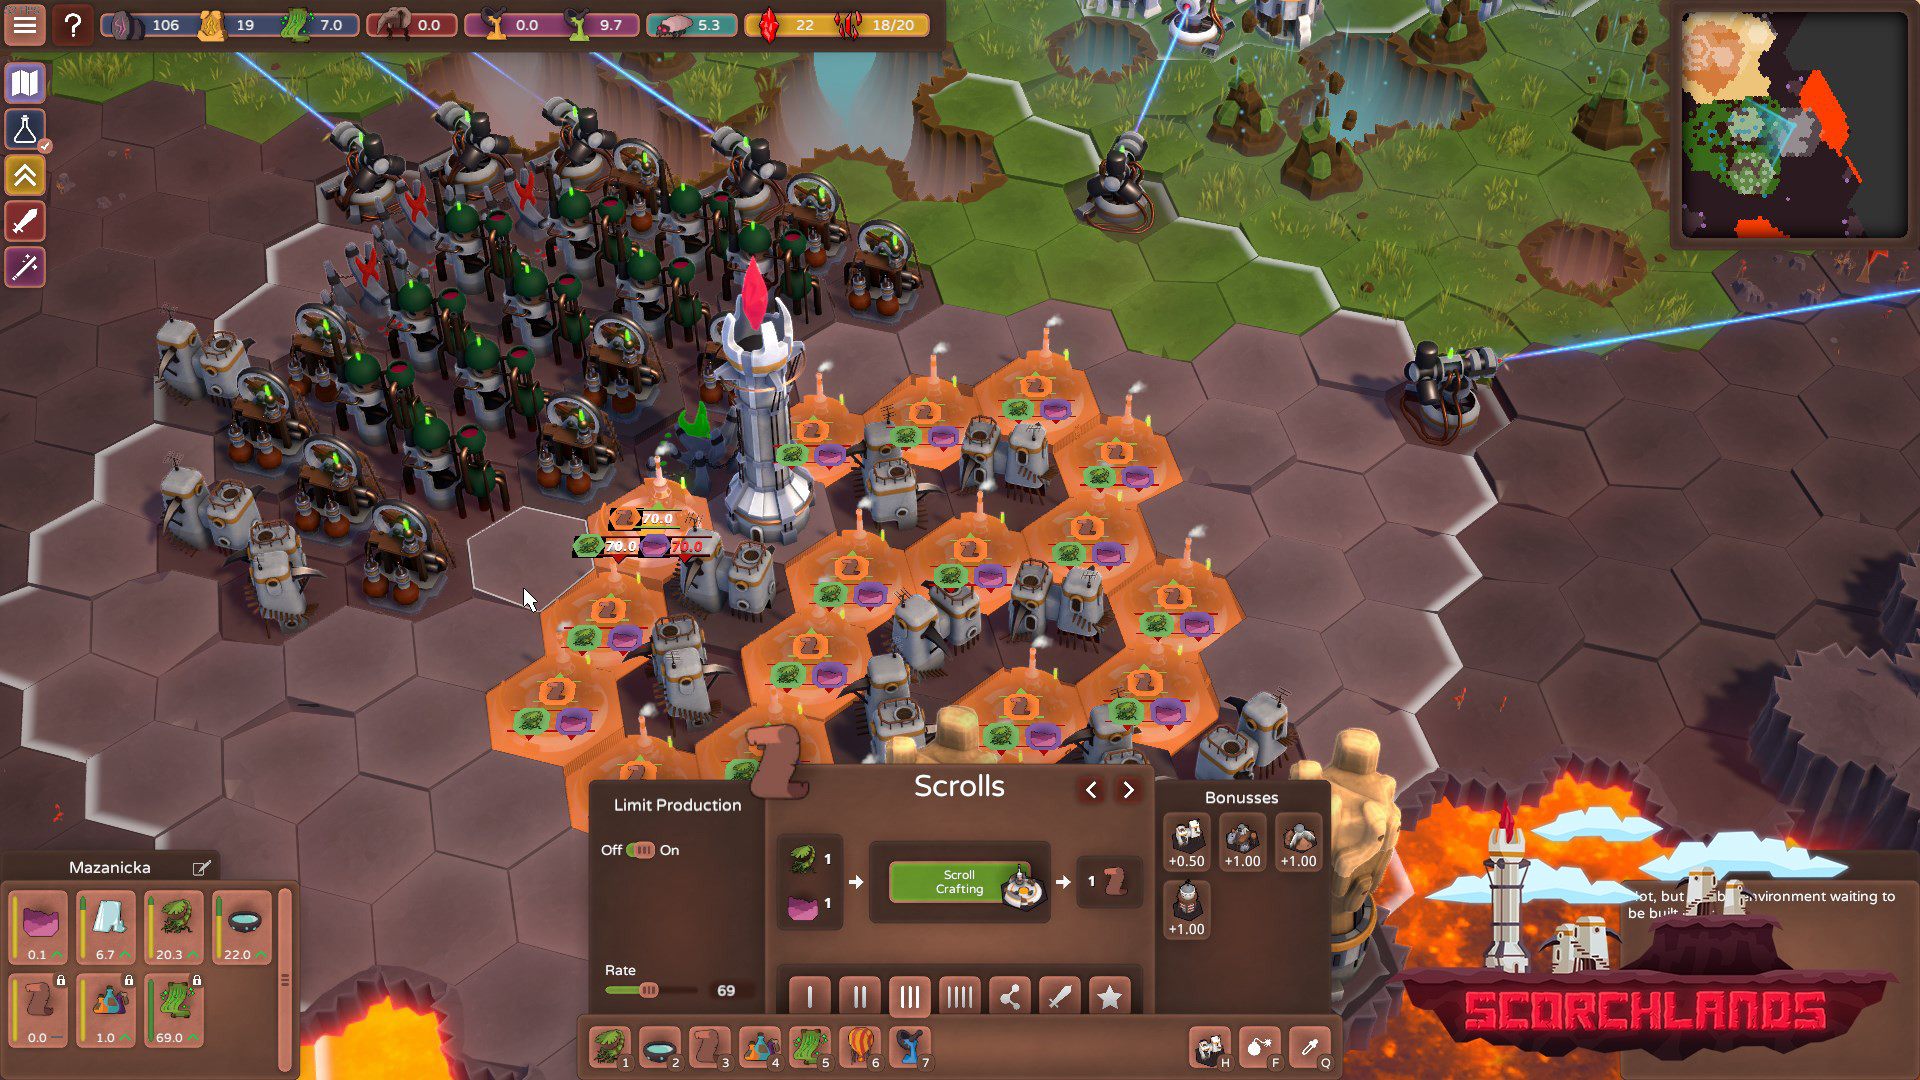
Introducing the bonus system. Each production building has its own set of rules specifying the set of conditions where it works at full capacity. Planning out your colony layout is just as much about production management, as it is about maximizing the performance of each individual building

Some bonuses can be quite straightforward. For example, raw resource producers need to be placed next to their desired resource veins, but this is only the tip of the iceberg. Liquid extractors should be placed on the shorelines, which are limited and hard to claim in a single colony. Mineshafts work faster when placed one next to another, however, they still need some unobstructed space to mine. Gatherers need a lot of free land, but with a big area, a few other buildings nearby won't hinder them that much.
Buildings that do process complex resources also behave in their own ways. Crafters work best next to raw extraction buildings. Artificer gets boosted by processing buildings, Alchemist profits from Farms and science buildings, etc.
There is no limit on bonuses that one tile can provide. If you find a very rare but very small resource vein, you can still build and organize a whole colony around it and use it to the fullest.
Thanks to all of this, planning a colony organically turns into an interesting puzzle. It will never be the same each colony will differ from one another depending on the available resource veins, resources available or buildings placed.
Are you up for the challenge?
Minimum Setup
- OS: Ubuntu 12.04 or newer
- Processor: 2.0 Ghz ProcessorMemory: 2 GB RAM
- Memory: 2 GB RAM
- Graphics: 256MB Video Memory
- Storage: 1 GB available space

[ 6366 ]
[ 6560 ]
[ 3185 ]
[ 2507 ]
[ 1655 ]
[ 1040 ]


[ 32822 ]


[ 959 ]
[ 45585 ]
[ 6014 ]

Time left:
356091 days, 22 hours, 55 minutes

Time left:
356091 days, 22 hours, 55 minutes

Time left:
24 days, 6 hours, 55 minutes

Time left:
27 days, 6 hours, 55 minutes

Time left:
28 days, 6 hours, 55 minutes

Time left:
49 days, 22 hours, 54 minutes

Time left:
30 days, 6 hours, 55 minutes

Time left:
1 days, 16 hours, 55 minutes
Time left:
3 days, 0 hours, 55 minutes
Time left:
4 days, 0 hours, 55 minutes
Time left:
9 days, 0 hours, 55 minutes
Time left:
11 days, 0 hours, 55 minutes
Time left:
15 days, 0 hours, 55 minutes
Time left:
16 days, 0 hours, 55 minutes
Time left:
16 days, 0 hours, 55 minutes
Time left:
18 days, 0 hours, 55 minutes

Time left:
1 days, 11 hours, 56 minutes

Time left:
3 days, 11 hours, 56 minutes

Time left:
6 days, 13 hours, 6 minutes

Time left:
15 days, 9 hours, 57 minutes


